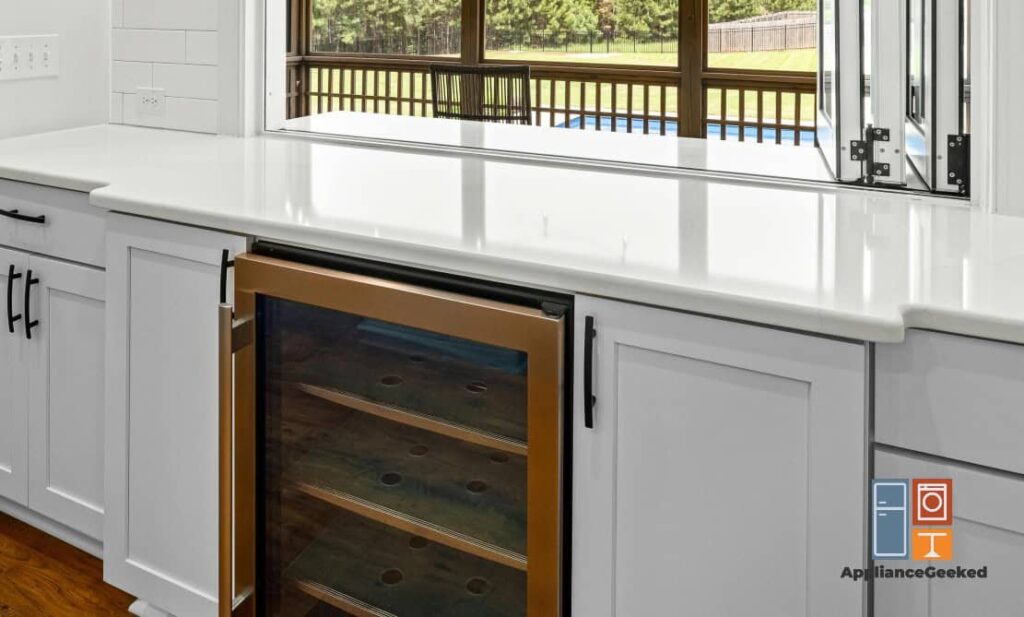
Red wine is my boozy drink of choice no matter the season, but especially in the summer. I prefer mine perfectly chilled, straight from my wine cooler, which, I must say, has been my favorite splurge ever.
So you can imagine my horror when I reached in to grab a bottle, and realized every single one was warm to the touch.
At first, I thought my wine cooler had given up on me. But with a little bit of research, I’ve learned that it’s just a little needy when it comes to care.
Now, my wine cooler runs like a dream, and you’ll never catch me with room-temperature wine again. To save you from the same heartbreak, we made a repair guide for you.
What are the most common Danby wine cooler problems?
Here are the most common issues that arise in Danby wine coolers.
- The wine cooler won’t close.
- The wine cooler won’t turn on.
- The wine cooler won’t cool.
- The wine cooler has too much condensation.
- The wine cooler is too noisy.
Start by identifying the underlying cause of your problem. Then, follow our step-by-step guide to fix it.
Troubleshooting Danby Wine Coolers
Take a closer look at the most common issues with Danby wine coolers.
The wine cooler won’t close.
A Danby wine cooler that won’t close is most likely caused by obstructions like misaligned drawers or oversized bottles. Keeping the contents organized and the drawers pushed in completely should resolve the problem.
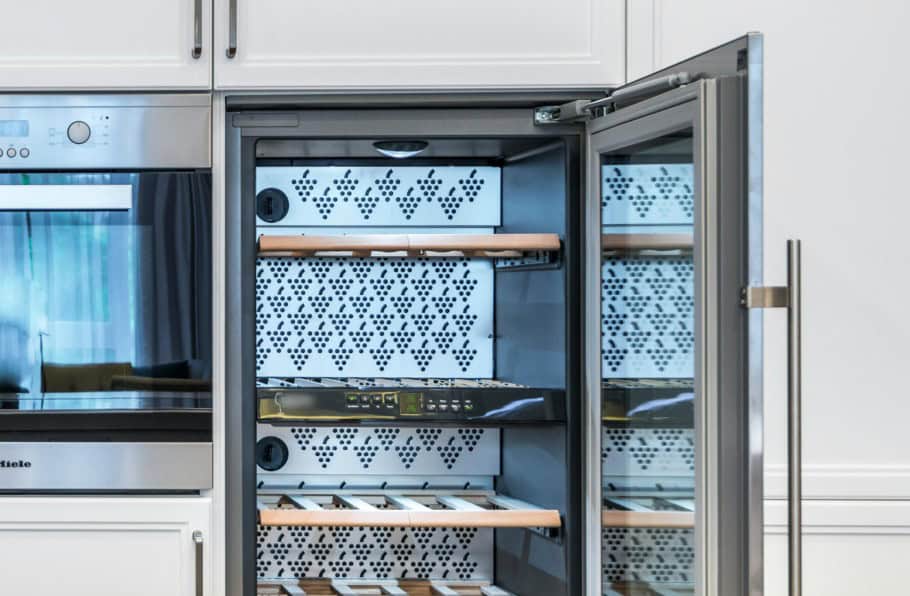
If all your wine bottles and your drawers are installed properly, and your door still won’t close, you need to look at the door seal. Over time, this rubber gasket loses its shape due to damage or natural wear and tear.
And when it does, it must be replaced.
Another potential cause that you can look into is improper leveling. It’s a quick and necessary fix, which doesn’t always require tools.
| Causes | Solutions |
| The wine cooler isn’t level. | Turn off and unplug the wine cooler. Remove all its contents. Set a carpenter’s level on top of the cabinet. Determine the necessary adjustments to level the appliance. Remove the carpenter’s level. Then, tilt the unit and let it rest on a wall to take some weight off the leveling leg. Rotate the leveling leg in a clockwise direction to raise it or counterclockwise to lower it. Keep your wine cooler upright. Place the carpenter’s level on top of the wine cooler to confirm that it’s leveled properly. If it’s not, make the necessary adjustments until the appliance is level. |
| The door swing isn’t installed properly. | Turn off and unplug the wine cooler. Use a screwdriver to remove the hinge cover and hinge from the right side of the cabinet. Then, carefully remove the door and set it aside. Remove the hinge covers from the screw holes on the left side of the cabinet. Install the upper hinge on the left side, and place the hole covers in the screw holes on the right. Transfer the hole cover on the right side of the door to the left, exposing the hinge pin hole. Remove the hinge hole cover from the top right corner of the door. Then, install it in the screw hole on the top left side. Install the door into the top hinge. Next, move the lower hinge from the right side to the left. Before tightening the bottom hinge, make sure the upper part of the door is level with the top part of the cabinet. Confirm that the door seal has an airtight seal around the door frame. Then, tighten the bottom hinge. Close the door. Reconnect it to its power source, and turn it on. |
| The door seal is damaged. | Turn off and unplug the wine cooler. Then, open the door. Pull out the rubber gasket starting from the top corner of the door frame. Use a flathead screwdriver, if necessary. Work your way around the door frame until the damaged gasket is completely free. Then, set it aside. Soak a towel in water, soapy water. Clean the grooves on the door frame. Before installing the new rubber gasket, wipe the door frame dry using a clean towel. Or, let it air-dry. Starting from the upper half of the door frame, push the gasket into the grooves to create a tight seal. Then, work your way down. Close the door to ensure the rubber gasket sits evenly. Next, open the door and look for gaps in the door seal. If you find any, use a hair dryer on its lowest setting to soften the rubber and create an airtight barrier. Close the door. Connect the wine cooler to its power source, and turn it on. After several hours, check on the wine cooler to confirm that it has maintained optimal temperatures. |
The wine cooler isn’t level.
One of the most commonly overlooked steps during installation is leveling. If your wine cooler isn’t level, the door might not align correctly with the frame, preventing it from closing shut.
Eventually, you’ll notice performance issues and an increase in energy consumption. And to put it simply, you’ll end up with warm wine.
Lucky for you, leveling a fridge is easy. Even without a professional’s help, it should take you only a few minutes.
What you’ll need:
- Carpenter’s level
Solution: To level a Danby wine cooler, follow these steps:
- Step 1: Turn off and unplug the wine cooler.
- Step 2: Remove the wine bottles from the drawers.
- Step 3: Set a carpenter’s level on top of the cabinet. Determine the necessary adjustments to level the appliance.
- Step 4: Remove the carpenter’s level. Then, tilt the wine cooler and let it rest on a wall to take some weight off the leveling leg.
- Step 5: Rotate the leveling leg in a clockwise direction to raise it or counterclockwise to lower it.
- Step 6: Keep your wine cooler upright.
- Step 7: Place the carpenter’s level on top of the cabinet to confirm that it’s leveled properly. If it’s not, repeat the previous steps until the appliance is level.
| Quick Note: The leveling instructions will vary per model. To be sure, always check and follow the user manual. |
The door swing isn’t installed properly.
Did you recently reverse the door swing? If you did, you most likely didn’t install it properly, causing the door and the frame to misalign.
We’ll show you how to install a reverse swing door properly. But first, you’ll have to undo everything.
What you’ll need:
- Screwdriver
- Carpenter’s level
Solution: To properly reverse a Danby wine cooler door swing, follow these steps:
- Step 1: Turn off and unplug the wine cooler.
- Step 2: Use a screwdriver to remove the hinge cover and hinge on the right side of the cabinet.
- Step 3: Carefully remove the door and set it aside.
- Step 4: Remove the hinge covers from the screw holes on the left side of the cabinet.
- Step 5: Install the upper hinge on the left side. Then, place the hole covers in the screw holes on the right.
- Step 6: Transfer the hole cover on the right side of the door to the left, exposing the hinge pin hole.
- Step 7: Remove the hinge hole cover from the top right corner of the door. Then, install it in the screw hole on the top left side.
- Step 8: Install the door into the top hinge, and move the lower hinge from the right side to the left.
- Step 9: Make sure the upper part of the door is level with the top part of the cabinet.
- Step 10: Confirm that the door seal has an airtight seal around the door frame.
- Step 11: Tighten the bottom hinge. Then, close the door properly.
- Step 12: Reconnect the wine cooler to its power source, and turn it on.
The door seal is damaged.
Inspect your door seal for rips, cracks, and awkward gaps. Whether due to age, improper cleaning, or accidental damage, a broken rubber gasket isn’t effective anymore and should be replaced immediately.
Without that airtight seal, you’ll end up with warm wine, and potentially, irreversible damage to other internal components.
Not to worry, it’s a quick fix and an affordable one!
What you’ll need:
- Towels
- Soap and water
- Flathead screwdriver (optional)
- Hair dryer (optional)
- New rubber door seal
Solution: To replace a Danby wine cooler door seal, follow these steps:
- Step 1: Turn off and unplug the wine cooler.
- Step 2: Open the door.
- Step 3: Pull out the rubber gasket starting from the top corner of the door frame. Use a flathead screwdriver if necessary.
- Step 4: Work your way around the door frame until the rubber gasket is completely free. Then, set it aside.
- Step 5: Soak a towel in warm, soapy water. Clean the grooves on the door frame to remove dirt.
- Step 6: Wipe the door frame dry using a clean towel.
- Step 7: Install the new door seal. Push it into place, starting from the upper half of the door frame, and work your way down.
- Step 8: Close the door to ensure the rubber gasket sits evenly.
- Step 9: Open the door and look for gaps in the door seal. If you see any, use a hair dryer on its lowest setting to soften the rubber and create an airtight barrier.
- Step 10: Close the door. Connect the wine cooler to its power source, and turn it on.
- Step 11: After 4 to 6 hours, check on the wine cooler to confirm that it’s cooling properly.
The wine cooler won’t turn on.
A wine cooler that won’t turn on is often caused by a loose connection. When the appliance isn’t plugged in properly, it receives little to no electrical supply, preventing it from turning on.
Other potential causes include a tripped circuit breaker, a blown-out fuse, or a faulty outlet.
If the problem stems from electrical issues in your home, it’s best to call a licensed electrician who can diagnose and perform the repairs.
| Causes | Solutions |
| The circuit breaker has tripped. | Unplug the wine cooler and other appliances connected to the same circuit. Locate the circuit breaker in your home. Flip the switch all the way to the OFF position. After several minutes, flip the switch back to the ON position. Plug in the Danby wine cooler. Don’t plug in other appliances or electronic devices. If the power cuts off again, an internal electrical issue in your wine cooler is most likely causing the circuit to trip. Identify the underlying problem and repair it before reconnecting the wine cooler to its power source. But if the circuit doesn’t trip, you might be dealing with other potential issues. Plug in the rest of the appliances one at a time. Then, observe and identify which ones cause the circuit to trip. If the power cuts when too many appliances are connected to the same circuit, you have an overload. Contact a licensed electrician who can help you redistribute the electrical load or upgrade the wiring in your home. |
| The wine cooler has a faulty power cord. | Call a required electrician or Danby’s customer support to replace the power cord for you. Don’t attempt to repair the cord yourself to prevent electrical shock and further damage to the appliance. |
The circuit breaker has tripped.
A circuit breaker is a safety device that shuts down the flow of electricity when it detects an overload. When you plug in too many appliances in a single circuit, it’ll draw more current than it’s designed to handle, prompting the safety mechanism to activate.
If you suspect a tripped circuit breaker, you can check the electrical panel, which is usually tucked away in a utility room, garage, or basement. Some newer panels have an indicator light that illuminates whenever the circuit trips.
But if yours doesn’t have one, just inspect the panel. When the circuit trips, the switch will either be flipped all the way to the OFF position or right between the ON and OFF positions.
Solution: First, unplug the wine cooler and other appliances connected to the circuit. Follow these steps to reset it.
- Step 1: Locate the circuit breaker in your home.
- Step 2: Flip the switch all the way to the OFF position.
- Step 3: After several minutes, flip the switch back to the ON position.
- Step 4: Plug in the Danby wine cooler. Don’t plug in other appliances and electronic devices.
If power cuts off again, an internal electrical issue in your wine cooler is most likely causing the circuit breaker to trip. You need to identify the underlying problem and repair it before reconnecting it to power.
But if the appliance doesn’t trip, you might be dealing with other electrical issues. Proceed to the next step.
- Step 5: Plug in the rest of the appliances one at a time. Observe and identify which ones cause the circuit breaker to trip.
- Step 6: If the power cuts when too many appliances are connected to the circuit, it’s most likely overloaded.
Contact a licensed electrician who can help you redistribute the electrical load or upgrade the wiring.
| Quick Note: Although Danby manuals don’t strictly require it, you should keep your wine cooler in a dedicated circuit. It’ll have a consistent and sufficient power supply, preventing overloading and promoting optimal performance. |
The wine cooler has a faulty power cord.
A damaged power cord isn’t only an inconvenience, but a safety hazard. If you notice bent, cut, or frayed sections, the internal wiring is probably compromised, which is why your wine cooler is no longer turning on.
Solution: Call a required electrician or Danby’s customer support to replace the power cord for you. Don’t attempt to repair the cord yourself to prevent electrical shock and damage to the appliance.
The wine cooler won’t cool.
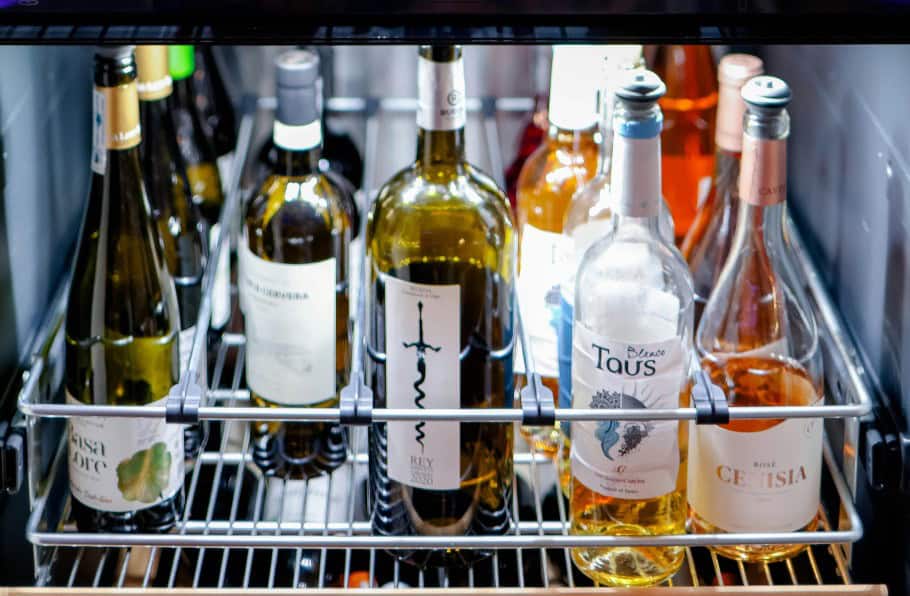
A wine cooler that won’t cool is most likely caused by dirt buildup or high ambient temperatures. Cleaning the appliance and adjusting the temperature settings should resolve the problem.
If the issue stems from a damaged door seal, a replacement is necessary.
We have a more comprehensive guide that delves into other potential causes behind a Danby wine cooler that isn’t cooling. Aside from helping you identify the underlying problem, we’ll walk you through all the steps to troubleshoot it.
| Causes | Solutions |
| The temperature settings are incorrect. | Check your user manual to determine the recommended settings for your wine cooler. Locate the temperature controls. Then, press the lower or the upper chamber button for 3 seconds to check the internal temperature. Adjust the settings to calibrate the cooling system. Then, give your wine cooler at least 3 hours to cool. Check your wine cooler’s internal temperature. |
| The condenser fan is dirty. | Turn off and unplug the wine cooler. Locate the condenser fan. Refer to the user manual if needed. Remove the cover or grill to access the condenser fan. Use a screwdriver to unfasten the mounting screws. Use a soft-bristled brush to remove dust buildup on the fan. Then, vacuum the excess dirt on the blades. Attach a nozzle to your vacuum to remove dirt in hard-to-reach areas. Soak a towel in warm, soapy water. Remove the dirt and grime on the cover or grill, then wipe it dry before reinstalling it. Mount it on the cabinet and thread the screws to keep it in place. Restore power to the wine cooler and turn it on. After several hours, check on the appliance. Confirm that it has reached optimal cooling temperatures. |
| The door seal is damaged. | Turn off and unplug the wine cooler. Open the door and carefully pull out the rubber gasket starting from the edges. Work your way around the door frame until the seal is completely free. Dip a towel in warm, soapy water. Then, clean the grooves thoroughly. Once it’s dry, install your new door seal starting from one corner. Push the rubber gasket into the groove until it’s seated properly, and work your way around the door frame. Close the door. Make sure the gasket sits evenly around the frame. If there are areas where the gasket isn’t sealing flush against the door frame, use a hair dryer on its lowest setting to improve the seal. Connect the wine cooler to its power source. Turn it on and wait for it to reach ideal temperatures. Leave the door shut. Then, check on it after several hours to confirm that it’s cooling properly. |
The temperature settings are incorrect.
You shouldn’t rely entirely on the default settings of your wine cooler. Since its actual internal temperature depends on various factors such as light exposure, humidity, and contents, it’s necessary to make adjustments to maintain optimal storage conditions.
Depending on your unit, you might have to turn a knob on an exterior wall of the cabinet or a button on the control panel.
Solution: To adjust a Danby wine cooler’s temperature settings, follow these steps:
- Step 1: Check your user manual to determine the recommended temperature setting for your wine cooler.
- Step 2: Locate the temperature controls.
- Step 3: Press the lower or upper chamber button for 3 seconds to check the actual temperature inside the compartments.
- Step 4: Adjust the settings to recalibrate the cooling system. Refer to the user manual.
- Step 5: Let the unit reach optimal cooling temperatures. Refrain from frequently opening the door during this time or adding warm bottles of wine.
- Step 6: After 3 to 4 hours, check the internal temperature of your wine cooler and confirm that it’s cooling properly.
| Quick Note: When you’re restocking the fridge, only add a few warm bottles at a time to prevent the internal temperature from getting too warm. |
The condenser fan is dirty.
If the condenser fan is clogged with dust, it can’t effectively move air to the condenser coils, which are responsible for releasing heat from the refrigerant. With poor airflow, heat will continue to build up in your wine cooler, raising the internal temperature.
That’s why routine cleaning is important. Even if it’s just once a month, removing dust buildup in your wine cooler can significantly improve its cooling efficiency and increase its lifespan.
What you’ll need:
- Towels
- Soap and warm water
- Screwdriver
- Soft-bristled brush
- Vacuum
Solution: To remove dust buildup on a Danby wine cooler’s condenser fan, follow these steps:
- Step 1: Turn off and unplug the wine cooler.
- Step 2: Locate the condenser fan in your unit. Refer to the user manual if needed.
- Step 3: Use a screwdriver to unthread the mounting screws on the cover or grill. Then, set it aside.
- Step 4: Remove dust buildup on the condenser fan using a soft-bristled brush.
- Step 5: Vacuum the excess dirt on the fan blades. Attach a nozzle to remove dust in hard-to-reach areas.
- Step 6: Soak a clean towel in warm, soapy water.
- Step 7: Clean the dirt and grime off the cover or grill. Then, wipe it dry before reinstalling it.
- Step 8: Mount the cover or grill on the cabinet. Then, fasten the screws to secure it in place.
- Step 9: Restore power to the wine cooler and turn it on.
- Step 10: After several hours, check on the unit to confirm that it’s reaching optimal cooling temperatures.
The door seal is damaged.
As your wine cooler ages, the rubber gasket that seals the cool air inside becomes less efficient. It can tear, dry out, or crack over time, preventing your appliance from reaching optimal temperature levels.
The paper test is the best way to check for a damaged door seal. You just have to slip a piece of paper (a dollar bill will do, too) between the rubber gasket and the door frame, then close the door shut.
Next, just carefully pull the paper. If it comes out so easily, the door seal is no longer effective and should be replaced.
What you’ll need:
- Towels
- Soap and water
- Flathead screwdriver (optional)
- Hair dryer (optional)
- New rubber door seal
Solution: To replace a damaged door seal on a Danby wine cooler, follow these steps:
- Step 1: Turn off and unplug the wine cooler.
- Step 2: Open the door.
- Step 3: Carefully pull out the door seal starting from one corner. Use a flathead screwdriver if necessary.
- Step 4: Work your way around the door frame until the door seal is completely free. Then, set it aside.
- Step 5: Dip a towel in warm, soapy water. Clean the grooves thoroughly to remove dust and other gunk.
- Step 6: Wipe the grooves dry with a clean towel.
- Step 7: Get your new door seal and install it, starting from the upper half. Gently push the rubber gasket into the groove and work your way down.
- Step 8: Close the door and make sure the gasket sits evenly around the frame. If there are gaps in some areas, use a hair dryer on its lowest setting to soften the rubber gasket and improve the seal.
- Step 9: Connect the wine cooler to its power source, and turn it on.
- Step 10: After 4 to 6 hours, check on the wine cooler to confirm that it has reached ideal temperature levels.
| Quick Note: If the door seal is too tough to pry off with your hands, use a hair dryer on low heat to soften it. Make sure not to overheat it to prevent damage to other parts of the wine cooler. |
The wine cooler has too much condensation.
Improper ventilation, faulty door seals, and high ambient temperatures are common causes of high condensation in a wine cooler. Opening the door frequently also allows warm, moist air to enter and condense on cooler surfaces.
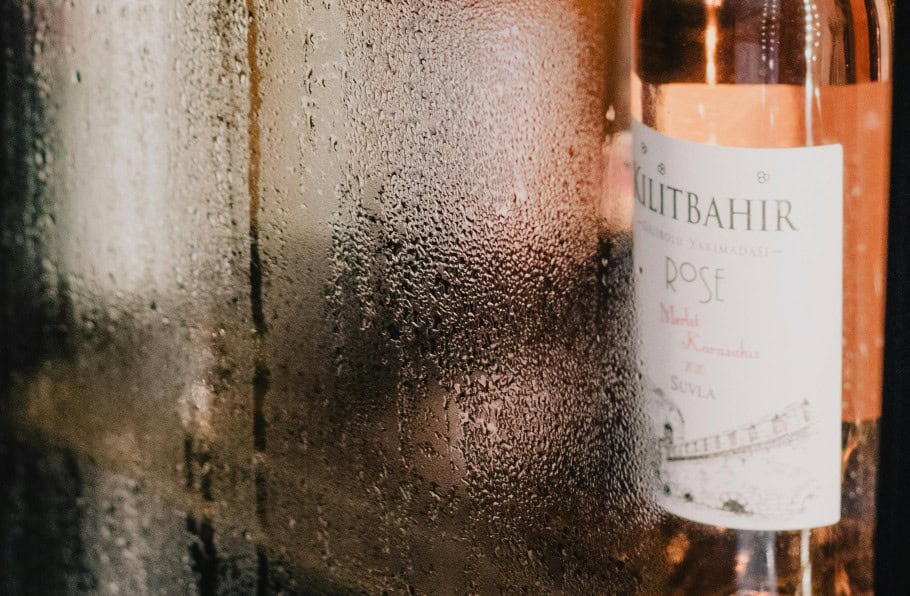
If excess condensation isn’t addressed, you can potentially damage the internal components of your appliance. And of course, you’ll end up with spoiled wine.
| Causes | Solutions |
| The ambient temperature is too high. | Use a dehumidifier near your wine cooler to reduce the humidity levels in the room. Then, improve airflow by keeping the vents free from obstructions. Refrain from frequently opening the fridge door. And don’t leave it ajar for long periods of time. Avoid overfilling the fridge. When you load warm bottles of wine, only add a few at a time. Regularly wipe away the condensation that forms in the wine cooler to prevent moisture from accumulating. |
| The door seal is damaged. | Turn off the wine cooler and unplug it from its power source. Then, open the door. Pry out the rubber gasket starting from the top corner of the door frame. Use a flathead screwdriver if necessary. Work your way around the door frame until the rubber gasket is completely free. Then, set it aside. Soak a towel in warm, soapy water. Clean the grooves on the door frame before installing the new rubber gasket. Wipe the grooves dry using a clean towel. Install the new door seal. Push it into place, starting from the top half of the door frame, and work your way down. Close the door to ensure the rubber gasket sits evenly around the cabinet. Open the door and look for gaps in the rubber gasket. If you find any, use a hair dryer on its lowest setting to soften the rubber and improve the seal. Close the door. Connect the wine cooler to its power source and turn it on. After several hours, check on the wine cooler again. Confirm that it has reached optimal temperatures without excessive condensation. |
The ambient temperature is too high.
High ambient humidity levels in your home can increase condensation in your wine cooler. When you frequently open the fridge door or have a broken rubber gasket, it exacerbates the problem, leading to excessive moisture buildup in the compartments.
Managing ambient humidity is key to preventing condensation issues in your wine cooler.
Solution: Use a dehumidifier near the wine cooler to reduce the humidity levels in the room. Then, improve airflow by keeping ventilation openings clear of obstructions.
Here are other tips to help you manage ambient humidity:
- Open the door only when you need to. Don’t leave it ajar for long periods of time.
- Avoid overfilling the fridge. When you load warm bottles of wine, only do a few at a time.
- Regularly wipe away the condensation that forms in the wine cooler to prevent moisture from accumulating.
The door seal is damaged.
When the rubber gasket no longer makes an airtight seal around the door, it allows cool air to escape and warm, moist air to enter. This contributes to high condensation inside the wine fridge.
Once a door seal is loose, torn, or cracked, you can no longer repair it, but you can replace it with a new one.
What you’ll need:
- Towels
- Soap and water
- Flathead screwdriver (optional)
- Hair dryer (optional)
- New rubber door seal
Solution: To replace a damaged door seal on a Danby wine cooler, follow these steps:
- Step 1: Turn off and unplug the wine cooler.
- Step 2: Open the door.
- Step 3: Pull out the rubber gasket starting from the top corner of the door frame. Use a flathead screwdriver if necessary.
- Step 4: Work your way around the door frame until the rubber gasket is completely free. Then, set it aside.
- Step 5: Soak a towel in warm, soapy water. Clean the grooves on the door frame to remove dirt.
- Step 6: Wipe the door frame dry using a clean towel.
- Step 7: Install the new door seal. Push it into place, starting from the top half of the door frame, and work your way down.
- Step 8: Close the door to ensure the rubber gasket sits evenly.
- Step 9: Open the door and look for gaps in the door seal. If you find any, use a hair dryer on its lowest setting to soften the rubber and create an airtight barrier.
- Step 10: Close the door. Connect the wine cooler to its power source and turn it on.
- Step 11: After at least 4 hours, check on the wine cooler to confirm that it’s cooling properly without excess condensation.
The wine cooler is too noisy.
A wine cooler that is making too much noise is most likely not installed correctly or not maintained properly. With proper leveling and routine maintenance, the loud buzzing and humming should go away.
| Causes | Solutions |
| The wine cooler isn’t level. | Turn off and unplug the wine cooler. Then, unload the bottles from the racks. Set a carpenter’s level on top of the cabinet. Determine the necessary adjustments to level the appliance. Remove the carpenter’s level. Then, tilt the unit and let it rest on a wall to take some weight off the leveling leg. Rotate the leveling leg in a clockwise direction to raise it or counterclockwise to lower it. Keep your wine cooler upright. Place the carpenter’s level on top of the cabinet to confirm that it’s leveled properly. If it’s not, make the necessary adjustments until the appliance is level. |
| The condenser fan is dirty. | Turn off and unplug the wine cooler. Locate the condenser fan in your unit. Refer to the user manual if needed. Unfasten the mounting screws on the cover or grill to access the condenser fan. Remove dust buildup on the fan using a soft-bristled brush. Use a vacuum to remove excess dirt. Attach a nozzle to the vacuum to get into those hard-to-reach areas. Soak a clean towel in warm, soapy water. Use it to remove caked-on dirt and grime on the cover or grill. Refrain from cleaning the condenser fan and other internal components with water. Wipe the cover or grill dry with a clean towel. Then, mount it on the cabinet and secure it in place using the screws. Restore power to the wine cooler. After several hours, check to see if the unit is performing smoothly without excessive noise. |
| The condenser coils are dusty. | Turn off and unplug the wine cooler. Locate the condenser coils in your unit. Refer to the user manual if needed. Remove the cover or grill to access the condenser coils. Use a screwdriver to unfasten the screws holding it in place. Use a soft-bristled brush to remove the dust buildup on the condenser coils. Vacuum the excess dust. Attach a nozzle to your vacuum to get into those hard-to-reach areas. Using a towel soaked in warm, soapy water, remove caked-on dirt and grime on the cover or grill. Then, wipe it dry before reinstalling it. Mount the cover or grill on the cabinet and thread its screws to keep it in place. Restore power to the wine cooler. After several hours, check on the appliance to confirm that it’s operating smoothly without excessive noise. |
The wine cooler isn’t level.
One possible reason your wine cooler is making excessive noise is improper leveling. If the appliance is lopsided, its internal components will not function optimally, resulting in louder-than-normal gurgling and vibrating noises.
You should fix your uneven wine cooler right away to prevent further problems that may require more expensive repairs.
For now, all you need is a carpenter’s level and a couple of minutes to level your wine cooler properly.
What you’ll need:
- Carpenter’s level
Solution: To level a Danby wine cooler, follow these steps:
- Step 1: Turn off and unplug the wine cooler.
- Step 2: Take the bottles out of the drawers.
- Step 3: Set a carpenter’s level on top of the cabinet. Determine the necessary adjustments to level the appliance.
- Step 4: Rotate the leveling leg in a clockwise direction to raise it or counterclockwise to lower it.
- Step 5: Keep your wine cooler upright.
- Step 6: Place the carpenter’s level on top of the cabinet to confirm that it’s leveled properly. If it’s not, repeat the previous steps until the appliance is level.
| Quick Note: Different Danby wine cooler models have varying leveling instructions. To find the exact requirements for your unit, check your user manual. |
The condenser fan is dirty.
In a wine cooler, the condenser fan circulates air over the condenser coils to help dissipate heat. When it’s obstructed by dirt, dust, and maybe even pet hair, it’ll struggle to spin, causing loud buzzing and humming noises in the process.
If the fan isn’t damaged, a quick clean-up should fix your problem. And with routine maintenance, you can make sure that it won’t happen again.
What you’ll need:
- Screwdriver
- Soft-bristled brush
- Vacuum
Solution: To clean the condenser fan of a Danby wine cooler, follow these steps:
- Step 1: Turn off the wine cooler and unplug it.
- Step 2: Locate the condenser fan. Refer to the user manual if needed.
- Step 3: Unmount the cover or grill to access the fan. Use a screwdriver to unfasten the screws holding it in place.
- Step 4: Use a soft-bristled brush to remove dirt buildup on the fan.
- Step 5: Vacuum the dirt on the fan’s blades and the surrounding areas. If necessary, attach a nozzle to the vacuum to get into those hard-to-reach spots.
- Step 6: Soak a clean towel in warm, soapy water.
- Step 7: Remove caked-on dirt and grime on the cover or grill. Then, wipe it dry before reinstalling it.
- Step 8: Fasten the mounting screws on the cover or grill to secure it in place.
- Step 9: Plug in the power cord and turn on the appliance.
- Step 10: After several hours, check on the wine cooler to confirm that it’s operating smoothly without excessive noise.
| Quick note: Avoid cleaning the condenser fan with water to prevent irreparable damage to its electrical components. |
The condenser coils are dusty.
Dirt build-up on your wine cooler’s condenser coils reduces its ability to dissipate heat, making it work harder to maintain optimal temperatures. As a result, you’ll notice excessive vibrations and buzzing noises.
Once you dust off the coils, you should see a significant difference in the wine cooler’s performance and noise level—that is, if there’s no damage to the component.
What you’ll need:
- Towels
- Screwdriver
- Soap and warm water
- Soft-bristled brush
- Vacuum
Solution: To clean your Danby wine cooler’s condenser coils, follow these steps:
- Step 1: Turn off the wine cooler and unplug it from its power source.
- Step 2: Locate the condenser coils in your unit. Refer to the user manual if needed.
- Step 3: Remove the cover or grill to access the condenser coils. Use a screwdriver to unfasten the screws holding it in place.
- Step 4: Use a soft-bristled brush to remove dust and other dirt buildup on the condenser coils.
- Step 5: Vacuum the rest of the dust. Use a nozzle attachment to get into those hard-to-reach areas.
- Step 6: Using a towel soaked in warm, soapy water, remove caked-on dirt and grime on the cover or grill. Then, wipe it dry before reinstalling it.
- Step 7: Mount the cover or grill and fasten its screws to secure it in place.
- Step 8: Restore power to the wine cooler and turn it on.
- Step 9: After several hours, check on the appliance to confirm that it’s operating smoothly without any excessive noise.
FAQs
Are there safety precautions I should take when fixing my Danby wine cooler?
Yes. Whether you’re dealing with cooling issues or electrical problems, you must always disconnect the wine cooler from its power source before inspecting or repairing anything.
You should also avoid using makeshift tools to prevent damage to the appliance and potential injuries. Only use proper screwdrivers and parts specified for the repair.
Is a Danby wine cooler worth repairing?
Yes. The most common Danby wine cooler issues are minor, which you can troubleshoot yourself with a few tools and a little help from our guide.
You can dodge costly fees if you perform the repairs yourself. But if the appliance is nearing the end of its lifespan and the repairs are exceeding half the cost of a new unit, you should consider replacing it.
What is the life expectancy of a Danby wine cooler?
The average lifespan of a Danby wine cooler ranges from 5 to 10 years. But with routine cleaning and maintenance, your unit can last longer.