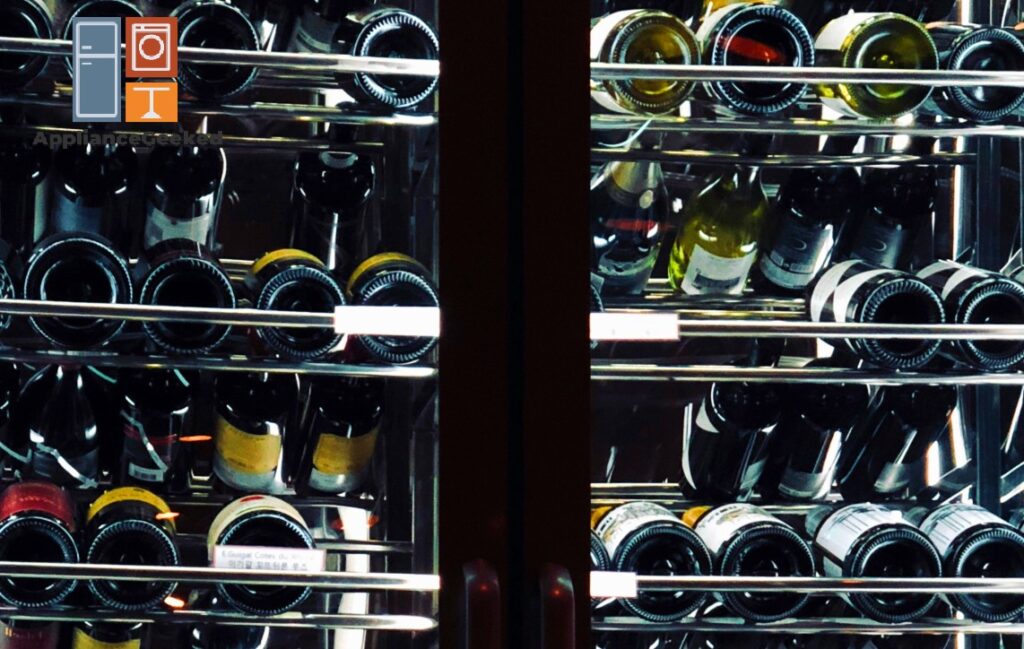
After an exhausting work week, I like to come home and unwind, preferably with a chilled glass of wine. Imagine my surprise one Friday evening when I reached out for my favorite bottle of rosé only to find out it was…warm.
My first thought was that there must’ve been a power outage while I was at work. But after seeing that my fridge was completely fine, still packed with cold, unspoiled food, I knew it was my wine cooler that was broken.
As it turns out, it was a simple issue, which I was able to fix. On the following night, I had my favorite show on, takeout, and finally a chilled glass of rosé.
Below, I’ll walk you through all the potential causes behind a Danby wine cooler that isn’t cooling. I’ll also give you step-by-step instructions to help you fix it.
Why is my Danby wine cooler not cooling?
A Danby wine cooler that isn’t cooling might have power issues, obstructed vents, dirty condenser coils, or broken door seals.
Additionally, opening the door for long periods of time or stocking it with warm contents will temporarily raise the temperature.
Before making any repairs, try these simple steps to troubleshoot your wine cooler:
- Confirm that it’s receiving power.
Make sure it’s plugged in properly and inspect the power indicator light to verify that the wine cooler is ON.
If you have a loose connection, your wine cooler will receive an insufficient power supply, hindering its ability to cool effectively. Just plug it in properly and give it enough time to cool.
- Verify the temperature setting.
Your unit can’t reach ideal temperatures if the settings are wrong. The upper compartment can be set between 5°C and 10°C, while the bottom can be set between 10°C and 18°C.
- Close the door properly.
Shut the door properly and leave it closed for several minutes before checking on it again. Repeatedly opening and closing the door can raise the temperature inside.
- Ensure proper airflow.
Look for the wine cooler’s vents and remove possible obstructions. To ensure proper ventilation, maintain 3-6 inches of space on each side and at the back, as well as 20 inches at the top.
If the issue recurs after doing these steps, you might be dealing with a more complicated problem. Keep reading our guide, and we’ll help you identify other potential causes.
Causes and Solutions
Take a closer look at the reasons why your Danby wine cooler isn’t cooling.
| Causes | Solutions |
| The circuit breaker has tripped. | Turn off the wine cooler and unplug it. Then, unplug other appliances and electrical devices connected to the same circuit. Locate the circuit breaker in your home. Flip the switch to the OFF position. Wait for a few minutes before flipping the switch back to the ON position to reset it. Plug in the wine cooler and observe if it trips the circuit. If the unit is malfunctioning, it may draw excessive current and cause the circuit to trip. Disconnect the wine cooler from power and identify the underlying problem. Contact tech support if needed. If the wine cooler doesn’t trip the circuit, you might be dealing with other electrical issues, especially if other appliances are connected to the circuit. In this case, plug in the appliances one at a time. Observe and identify which one causes the circuit to trip. Disconnect the appliance from power and identify the underlying issue. Contact tech support if needed. If the circuit trips only when all of the appliances are plugged in, you might have an electrical overload. Contact a licensed electrician who can help you redistribute the electrical load or upgrade the wiring. |
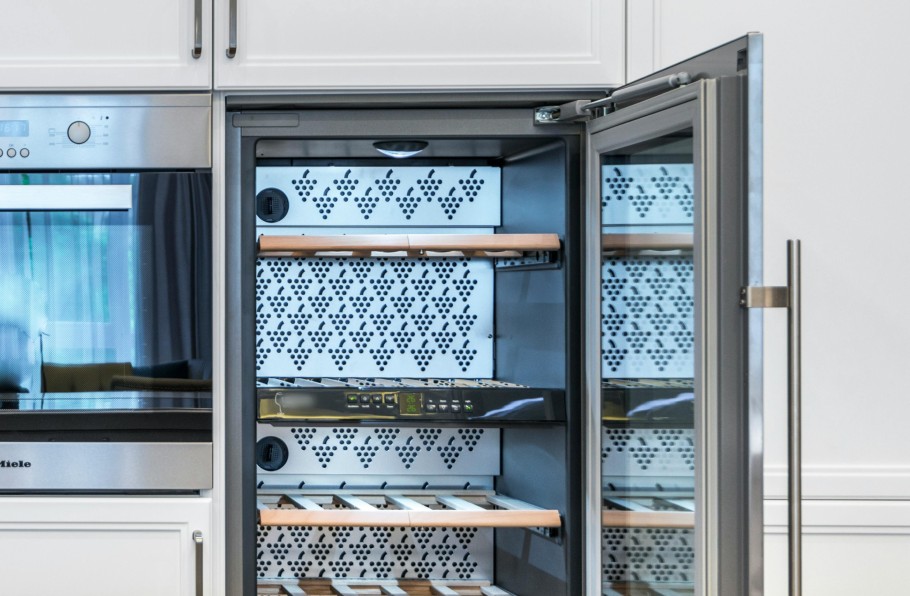
| The condenser coils are dusty. | Turn off the wine cooler and unplug it. Carefully move the wine cooler away from the wall. Locate the condenser coils. Refer to the user manual if needed. Use a soft-bristled brush to remove the dust from the coils. Then, clean up the remaining debris with a vacuum. Use a damp cloth with a mild cleaning solution to remove caked-on dirt on the grate and the cover. Refrain from spraying water onto the internal components to prevent any damage. Reinstall the wine cooler in its proper position. Maintain adequate space on all sides to ensure good airflow. Reconnect the wine cooler to its power source and turn it on. Give it enough time to cool and refrain from opening the door while waiting. After at least 4 hours, check if the unit is cooling. |
| The door seal is dirty. | Turn off and unplug the wine cooler. Get a damp cloth and dip it in a mild cleaning solution. Use it to wipe the dirt and grime off the rubber door gasket. Gently pull the rubber to get rid of the gunk stuck between the grooves. Rinse off the cleaning solution using a damp cloth. After, use a clean, dry cloth to wipe around the door seal. Leave the door open to allow the gasket to dry thoroughly. Make sure the gasket is properly installed. Then, reconnect the wine cooler to its power source and turn it on. Keep the door shut for several hours, allowing the wine cooler to reach ideal cooling temperatures. After at least 4 hours, check on the unit again to verify that it’s cooling properly. |
| The door seal is damaged. | Turn off and unplug the wine cooler. Then, open the door. Carefully pull out the rubber seal starting from the edges. Work your way around the door frame until the damaged seal is completely free. Get your new door seal and install it. Gently push it into the grooves around the door, and make sure it’s seated properly. Close the door. Slip a piece of paper or a dollar bill between the gasket and the door frame. Slowly pull the paper out of the door. If you feel some resistance, the gasket is installed correctly. But if the paper slides out easily, make some adjustments to ensure that the gasket is seated tightly around the frame. Reconnect the wine cooler to its power source, and turn it on. Then, leave the door shut for several hours and allow it to cool. After 4 to 6 hours, check on the wine cooler again to verify that it’s now cooling properly. |
The circuit breaker has tripped.
If there are too many high-powered appliances connected to a single circuit, the electrical load may exceed the breaker’s rated capacity. As a result, the circuit trips to prevent potential fire hazards.
Solution: Reset the circuit and determine if the wine cooler is causing it to trip. Follow these steps.
- Step 1: Unplug the Danby wine cooler. If other appliances and electronic gadgets are connected to it, disconnect all of them from their power source.
- Step 2: Locate the circuit breaker in your home.
- Step 3: Flip the switch to the OFF position.
- Step 4: After several minutes, flip the switch back to the ON position to reset it.
- Step 5: Plug in the Danby wine cooler and observe if it trips the circuit.
A malfunctioning appliance may draw excessive current, causing the circuit to trip. Identify the underlying problem in your wine cooler and fix it before reconnecting it to power.
But if the wine cooler doesn’t cause the circuit to trip, you might be dealing with other electrical issues. Proceed to the next step. - Step 6: Plug in the rest of the appliances to the circuit one at a time. Observe and identify which one causes the circuit to trip.
Have the appliance serviced before reconnecting it to power. - Step 7: If the circuit trips only when all of the appliances are connected, you might have an electrical overload.
Contact a licensed electrician who can help you redistribute the electrical load or upgrade the wiring.
Quick Note:
To prevent overloading, keep the Danby wine cooler, as well as other high-powered appliances, connected to a dedicated circuit.
The condenser coils are dusty.
Dirt build-up is one of the most common culprits of cooling problems in a Danby wine cooler. Over time, dust can stick to the condenser coils, which help dissipate heat.
If the coils are packed with dirt, your unit will struggle to regulate its temperature. To improve the cooling performance, all you have to do is clean the coils.
What you’ll need:
- Soft-bristled brush
- Vacuum
Solution: To clean your Danby wine cooler’s condenser coils, follow these steps:
- Step 1: Turn off the wine cooler and unplug it.
- Step 2: Carefully move the wine cooler away from the wall or the cabinet.
- Step 3: Locate the condenser coils. Refer to your user manual if needed.
- Step 4: Use a soft-bristled brush to remove dust from the condenser coils.
- Step 5: Vacuum the rest of the dirt.
- Step 6: Use a damp cloth and mild cleaning products to wipe off caked-on grime and dirt on the grate, cover, and coils. Avoid spraying the internal components with water to prevent any damage.
- Step 7: Move the wine cooler back into its proper position. Make sure to maintain adequate space on all sides to ensure proper airflow.
- Step 8: Plug in the wine cooler. Refrain from opening the door while it cools.
Check back in 4 to 6 hours to confirm that it’s cooling.
Quick Note:
Clean the coils carefully. Avoid bending them while cleaning to prevent further issues with your appliance.
The door seal is dirty.
The door seal keeps cool air in and warm air out. Sometimes, dirt, grime, mold, or even soap will build up on the gasket, preventing it from creating an airtight seal.
When cool air is constantly escaping, your appliance has to work harder to regulate its temperature. As a result, you’ll notice an increase in energy consumption and inefficient cooling.
If the rubber gasket has no damage, a replacement won’t be necessary. You can easily resolve this through cleaning.
What you’ll need:
- Cloth
- Warm water
- Mild cleaning solution
Solution: To clean your Danby wine cooler’s dirty door gasket, follow these steps:
- Step 1: Turn off and unplug the wine cooler.
- Step 2: Wet a cloth in warm water.
- Step 3: Use a mild cleaning solution to remove dirt and grime around the door seal. Gently pull on the rubber gasket to get rid of gunk stuck between the grooves.
- Step 4: Use a damp cloth to rinse off the cleaning solution.
- Step 5: Get a clean, dry cloth and wipe the rubber gasket.
- Step 6: Leave the door open for several minutes to allow the gasket to dry thoroughly.
- Step 7: Make sure the gasket is properly seated back in place.
- Step 8: Turn on and reconnect the wine cooler to power.
- Step 9: Keep the wine cooler’s door shut for several hours and allow it to reach ideal temperatures. After 4 to 6 hours, check on the unit again to verify that it’s cooling properly.
Quick Note:
Avoid using abrasive chemicals like bleach to clean the rubber seal. These harsh cleaning products can lead to cracks and tears, which are permanent damages that can no longer be fixed.
The door seal is damaged.
Due to age, dirt, or improper cleaning, the door seal can get damaged. Once it’s ripped or torn, you can no longer repair the rubber gasket, but you can replace it.
If there are no visible signs of wear and tear, the easiest way to check for a damaged gasket is by running your hand along the rubber seal. Check for any escaping air.
Another popular method is the paper test. Slip a piece of paper or a dollar bill between the door and the gasket and simply pull it out.
If it slips out easily, the door seal is no longer airtight. A replacement is necessary to prevent further cooling issues.
What you’ll need:
- New door gasket
Solution: To replace a Danby wine cooler’s damaged gasket, follow these steps:
- Step 1: Turn off and unplug the wine cooler.
- Step 2: Open the door.
- Step 3: Starting from the edges, carefully pull the door seal away from the frame. Work your way around the door until the gasket is completely free.
- Step 4: Get your new door gasket and install it. Gently push the rubber seal into the grooves around the door.
- Step 5: Make sure the gasket is seated properly around the frame.
- Step 6: Close the door. Place a dollar bill or a piece of paper between the gasket and the door.
If you feel some resistance, the seal is properly installed. However, if the paper slides out easily, make some adjustments to ensure that the gasket is seated well. - Step 7: Reconnect the wine cooler to its power source and turn it on.
- Step 8: Leave the door shut for several hours and allow it to cool.
- Step 9: After 4 to 6 hours, check the wine cooler to verify if it’s cooling properly.
Quick Note:
If the new door seal is too stiff, you can warm it up using the lowest setting on a hairdryer. This makes it more pliable and easier to install.
FAQs
Is it worth repairing an old Danby wine cooler that isn’t cooling?
Yes, an old Danby wine cooler with cooling issues is worth repairing. These problems are often pretty minor, which you can resolve on your own and prevent with thorough and regular maintenance.
How long does a Danby wine cooler’s door seal last?
With regular maintenance, a Danby wine cooler’s door seal can last anywhere from 5 to 10 years. Aside from your cleaning habits, usage and environmental conditions will affect the longevity of the rubber.
How often should you clean the condenser coils of a wine cooler?
Generally, you must clean your wine cooler’s condenser coils at least once or twice a year. Since conditions will vary per household, it’s always best to check on them regularly and clean them whenever necessary to prevent dirt from building up.
How often should you clean a wine cooler’s door gasket?
A wine cooler’s door gasket must be cleaned regularly to prevent dirt and grime buildup. You should clean it at least once a month, or whenever you notice any gunk, to ensure a tight seal and efficient cooling.
How do I know when to replace my Danby wine cooler?
If your Danby wine cooler is at least a decade old with repair costs exceeding 50% of the price of a new model, you should consider getting a replacement.