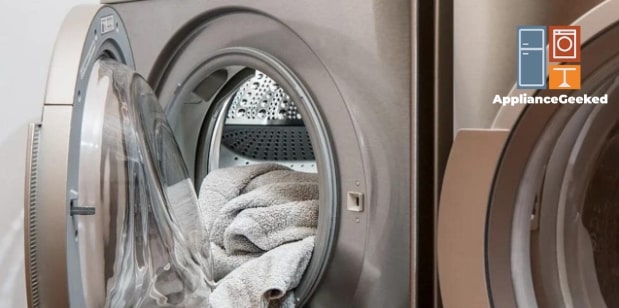
One laundry day, a polite but persistent “Check Vent” error kept showing up on my dryer—even though I had just cleaned the lint trap. I dismissed it, thinking it was probably no big deal until I started noticing a difference in its performance.
My dryer was taking forever to finish a load. When the clothes started coming out damp, I definitely started taking it more seriously.
Turns out, there were other obstructions I had not cleared that caused the Check Vent error. But they were surprisingly very easy to fix and didn’t require professional services at all.
Here, we’re going to walk you through the steps to help you clear obstructions, promote good airflow, and resolve your Whirlpool dryer’s Check Vent error.
What is a Whirlpool dryer Check Vent error?
A Check Vent error on a Whirlpool dryer indicates restricted airflow. A clogged lint screen, a bent vent hose, or a blocked outside vent exhaust hood can cause it.
Luckily, a Check Vent error isn’t difficult to resolve and can be done in a matter of minutes. Here are a few steps to help you troubleshoot the problem.
- Reset the dryer.
Power interruptions or surges may cause your dryer’s electronic system to go haywire, causing all sorts of errors. You can reset the unit by disconnecting it from its power source for a few minutes.
- Confirm that the lint screen is installed properly.
If the lint screen is loose or missing, it can cause the dryer to overheat, prompting a Check Vent error. Just pull the filter out of the dryer and reinstall it properly to resolve the problem.
- Inspect the lint screen for damages, and replace it if necessary.
A torn or broken lint screen can’t effectively trap lint from your clothes. This will cause dirt to build up in the venting system, which can potentially damage the dryer and pose safety risks to your home.
When you see damage to your lint screen, get a replacement immediately. Don’t run a load until the filter is replaced.
Keep reading our guide below if your dryer still has a Check Vent error. We’ll delve into other possible reasons and provide easy-to-follow instructions.
Causes and Solutions
Take a closer look at the most common causes of Check Vent errors on a Whirlpool dryer. We’ve also added step-by-step solutions to help you address them.
| Causes | Solutions |
| Clogged Lint Screen | Locate the lint screen and pull it out of your Whirlpool dryer. Roll the lint off the screen using your fingers. Wet each side of the screen with hot water. Mix liquid detergent and hot water in a small container. Then, dip a nylon brush into this solution. Gently scrub both sides of the screen. After, rinse it in hot water. Carefully inspect the lint screen for any remaining detergent and lint build-up. Scrub and rinse again if necessary. Wipe the lint screen with a clean towel. Slide the flexible hose of your vacuum inside the cavity to remove dirt buildup. Then, use a long-handled wire vent brush to reach inside and remove more lint. Reinstall the lint screen by pushing it firmly into place. Use a clean cloth to wipe the area around it clean. Run a test cycle to see if the Check Lint or Check Lint Screen indicator lights up. |
| Kinked or Crushed Dryer Vent Hose | Disconnect your dryer from power. Turn off the gas supply if you have a gas dryer. Pull the dryer about a foot away from the wall. Remove the tape or the vent clamps on the hose connecting the dryer to the vent system. Set your vent hose on a flat surface. Then, take a PVC pipe and slip it about 2 inches into the hose. Gently roll the vent hose with the PVC pipe inside to smoothen out the edges. Cut three slits on the tubing to widen the opening. Use pliers to create hook-like protrusions on the dryer vent. Install the hose over the vent. Then, carefully press down around the mouth of the hose to secure it. Tighten the clamp to prevent the hose from getting disconnected. Reconnect your dryer to power, and verify that the Check Vent error has disappeared. |
| Blocked Dryer Vent | Disconnect your dryer from power. Turn off the gas supply if you have a gas dryer. Pull the dryer about a foot away from the wall to access the vent hose. Remove the tape or the vent clamps on the hose connecting the dryer to the vent system. Pull out any visible lint in the hose using your hand. Then, use a vacuum to clean up the remaining dirt. Slip the vacuum’s hose into the vent at the back of the dryer to remove lint buildup. Use a long-handled vent brush to reach into the vent, pull the brush out, and vacuum the bristles. Repeat this step until the brush comes out clean. Reconnect the vent hose to the dryer. Turn on the dryer and select the No Heat Mode. Then, push the Start button. |
| Clogged Outside Exhaust Hood | Turn off the dryer. Remove any dried lint on the exhaust hood using your hands or a long-handled brush. Remove the louvers of the exhaust hood. If you have an angled or a boxed type of hood, skip this step. Dip a clean cloth in hot water and dishwashing liquid solution. Use it to remove residual lint and dirt build-up on the louvers. Assemble your long-handled wire vent brush by adding the adapter to the drill and then tighten it. Add the flexible rods, one at a time, until you reach your preferred length. Then, tape the rods at the seams to keep them secure. Slip the dryer vent brush into the ductwork. Press the drill to rotate the brush inside and remove all the lint. Pull the brush out and remove the lint using your hand. Insert the brush into the ductwork again and repeat the process until the vent system is clean. Reinstall the louvers. |
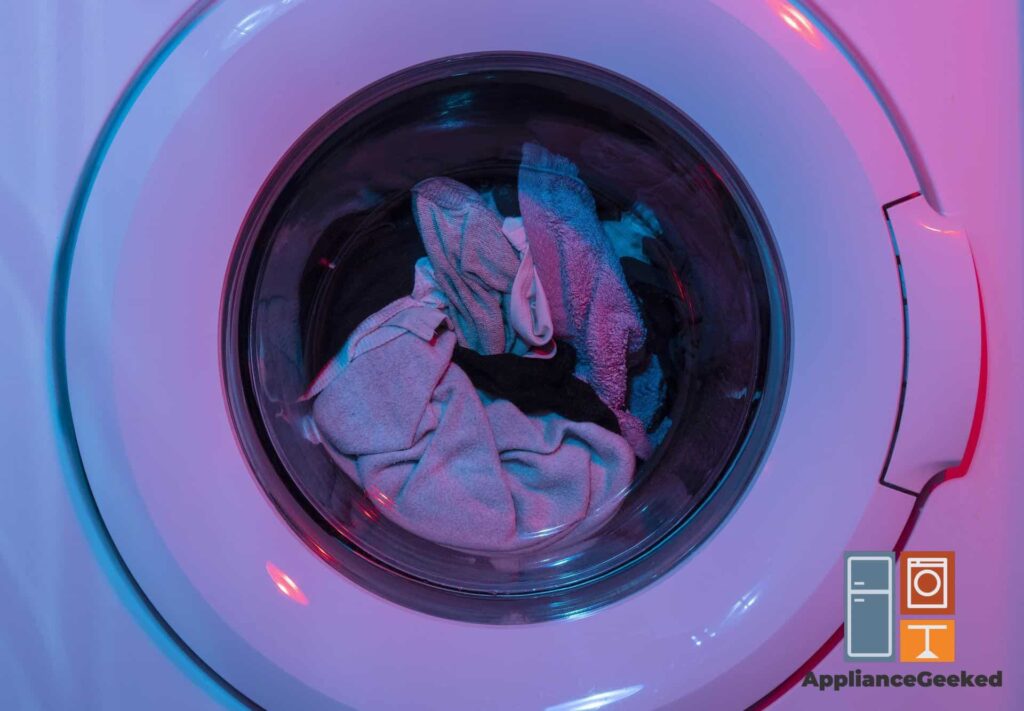
Clogged Lint Screen
Your dryer has a small, mesh-like filter that traps lint, loose fibers, and detergent residue. Over time, this screen can get blocked and restrict airflow, leading to a Check Vent error.
All you have to do is remove the dirt buildup on the screen to promote better airflow. Once the issue is resolved, the Check Lint or Check Lint Screen indicator light will not illuminate when you run a cycle.
To ensure good airflow and prevent recurring Check Vent errors, clean the dryer’s lint screen before every load.
What you’ll need:
- Nylon brush
- Long-handled wire vent brush
- Liquid detergent
- Hot water
- Clean towel
- Vacuum
Solution: To clear obstructions on a Whirlpool dryer’s lint screen, follow these steps:
- Step 1: Locate the lint screen and pull it out of your Whirlpool dryer.
- Step 2: Roll the lint off the screen using your fingers.
- Step 3: Wet each side of the screen with hot water.
- Step 4: Mix liquid detergent and hot water in a small container. Then, dip a nylon brush into this solution.
- Step 5: Gently scrub both sides of the lint screen.
- Step 6: Rinse the lint screen in hot water.
- Step 7: Carefully inspect the lint screen for any remaining detergent and lint build-up. Scrub and rinse again if necessary.
- Step 8: Wipe the lint screen with a clean towel.
- Step 9: Slide the flexible hose of your vacuum into the cavity to remove dirt buildup.
- Step 10: Use a long-handled wire vent brush to reach inside and remove more lint. Then, pull out the brush and vacuum the dirt stuck to it.
Repeat this step until the brush comes out clean.
- Step 11: Reinstall the lint screen by pushing it firmly into place.
- Step 12: Wipe the area around the lint screen with a clean cloth.
- Step 13: Run a test cycle to see if the Check Lint or Check Lint Screen indicator lights up.
Quick Note:
Never run a load when your lint screen is damaged, loose, or missing. It’ll cause the dryer to overheat, ruining your clothes and your machine.
Kinked or Crushed Dryer Vent Hose
Is your dryer vent hose made of flexible metal foil or plastic tubing? These materials easily get crushed or kinked when the unit gets pushed back onto the wall, causing venting issues for your dryer.
Whirlpool recommends the use of a rigid or flexible venting material on all their dryers. Moreover, you should choose a hose with a 4” diameter to promote better airflow.
If you pick a smaller or larger diameter, it can restrict the air movement and lead to longer drying times. And of course, it’ll trigger that Check Vent error.
What you’ll need:
- PVC Pipe
- Scissors
- Pliers
- Rigid/Flexible venting material
Solution: To prevent kinks in the dryer vent hose, avoid using the flexible metal foil tubing or plastic duct. Replace it with the smooth rigid kind or a flexible metal duct.
Follow these steps to straighten out those kinks:
- Step 1: Disconnect your dryer from power.
- Step 2: Turn off the gas supply if you have a gas dryer.
- Step 3: Pull the dryer about a foot away from the wall.
- Step 4: Remove the tape or the vent clamps on the hose connecting the dryer to the vent system.
- Step 5: Set your vent hose on a flat surface. Then, take a PVC pipe and slip it about 2 inches into the hose.
- Step 6: Gently roll the vent hose with the PVC pipe inside to smoothen out the edges.
- Step 7: Cut three slits on the tubing to widen the opening.
- Step 8: Use pliers to create hook-like protrusions on the dryer vent.
- Step 9: Install the hose over the vent. Then, carefully press down on the opening area of the hose to secure it.
- Step 10: Tighten the clamp to prevent the hose from getting disconnected.
- Step 11: Reconnect your dryer to power and verify that the Check Vent error has disappeared.
Quick Note:
You can invest in a more modern venting kit with a powerful magnet to prevent the hose from slipping off the vent, which is a very common problem.
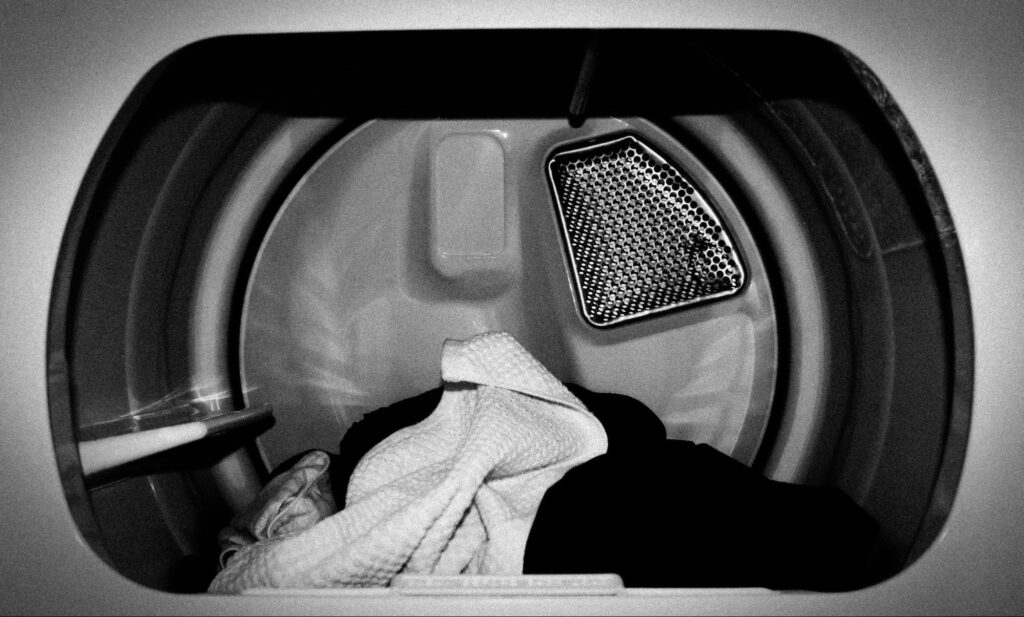
Blocked Dryer Vent
A blocked dryer vent occurs when lint, dust, or debris accumulates in the venting system, restricting airflow. When this happens, your dryer has to work harder to expel hot, humid air, leading to longer drying times, overheating, and reduced efficiency.
To prevent future clogs and keep your dryer running smoothly, you should clean the vent system every 6–12 months.
What you’ll need:
- Screwdriver
- Vacuum
- Long-handled wire vent brush
Solution: To clean a blocked Whirlpool dryer vent, follow these steps:
- Step 1: Disconnect your dryer from power.
- Step 2: Turn off the gas supply if you have a gas dryer.
- Step 3: Pull the dryer about a foot away from the wall to access the vent hose.
- Step 4: Remove the tape or the vent clamps on the hose connecting the dryer to the vent system.
- Step 5: Pull out any visible lint in the hose using your hand. Then, use a vacuum to clean up the remaining dirt.
- Step 6: Slip the vacuum’s hose into the vent at the back of the dryer to remove lint buildup.
- Step 7: Use a long-handled vent brush to reach into the vent. Then, pull out the brush and vacuum the bristles.
Repeat this step until the brush comes out clean.
- Step 8: Reconnect the vent hose to the dryer.
- Step 9: Turn on the dryer.
- Step 10: Run the dryer on No Heat Mode to expel any remaining lint in the vent system.
Clogged Outside Exhaust Hood
Once you’ve ruled out possible obstructions in the vent system inside the dryer, you should look into potential blockages in the outside exhaust hood. It’s often the overlooked culprit in venting issues.
This essential component, located on your home’s exterior wall, is responsible for expelling hot, humid air from your dryer. Over time, debris like lint, dust, or even leaves can build up inside, restricting airflow.
Worse, small critters might find their way in, creating a cozy (but problematic) nesting spot.
To keep your dryer running efficiently, make it a habit to clean the outside exhaust hood every three months. Regular maintenance not only improves air circulation and reduces drying times but also reduces your risk of a potentially dangerous dryer fire.
What you’ll need:
- Hot water
- Clean cloth
- Electrical tape
- Dishwashing liquid
- Long-handled wire vent brush
- Dryer vent cleaning rods
Solution: First, inspect the air movement of your vent system to confirm possible blockages.
- Step 1: Set your dryer to run for 5 to 10 minutes on Air Dry.
- Step 2: Press the Start button.
- Step 3: Check the air movement of your vent system by placing your hand on the exhaust hood.
If it feels similar to a hair dryer on high speed, it has good air movement. However, if it doesn’t, you could be dealing with a clog at the exhaust hood.
To clear obstructions in the outside exhaust hood, follow these steps:
- Step 1: Turn off the dryer.
- Step 2: Remove any dried lint on the exhaust hood using your hands or a long-handled brush.
- Step 3: Remove the louvers of the exhaust hood. If you have an angled or a boxed type of hood, skip to step 5.
- Step 4: Dip a clean cloth in hot water and dishwashing liquid solution. Use it to remove residual lint and dirt build-up on the louvers.
- Step 5: Assemble your long-handled wire vent brush by adding the adapter to the drill and then tighten it. Add the flexible rods, one at a time, until you reach your preferred length.
- Step 6: Tape the rods at the seams.
- Step 7: Slip the dryer vent brush into the ductwork.
- Step 8: Press the drill to rotate the brush inside and remove all the lint.
- Step 9: Pull the brush out and remove the lint using your hand.
- Step 10: Slip the brush into the ductwork again and repeat the steps until the vent system is clean.
- Step 11: Reinstall the louvers.
Quick Note:
Never place plants and other objects directly in front of the outside exhaust vent to prevent overheating.
FAQs
Where is the lint screen of a Whirlpool dryer located?
On front-load Whirlpool dryers, you’ll find the lint screen conveniently tucked inside the drum. In contrast, top-load units usually have a screen near the control panel for easy access.
Combo washer-dryers typically have the lint screen inside the drum as well, but some units don’t even have one at all. The best way to locate this filter in your Whirlpool dryer is to check your user manual.
Is a Check Vent error a serious issue?
Yes, a Check Vent error is a serious issue that needs prompt action. If not addressed, poor ventilation can result in reduced drying efficiency, mold growth, and higher energy consumption.
Restricted airflow can also cause your dryer to overheat, potentially igniting the lint buildup and causing a house fire.
Can you fix a Check Vent error by yourself?
Yes. In most cases, you can troubleshoot a Check Vent error by yourself without paying for professional services.
Depending on the underlying cause, you should be able to fix it by removing gunk on the lint trap and obstructions on the vent. However, when it comes to cleaning the dryer vent system, let the professional handle it for you.