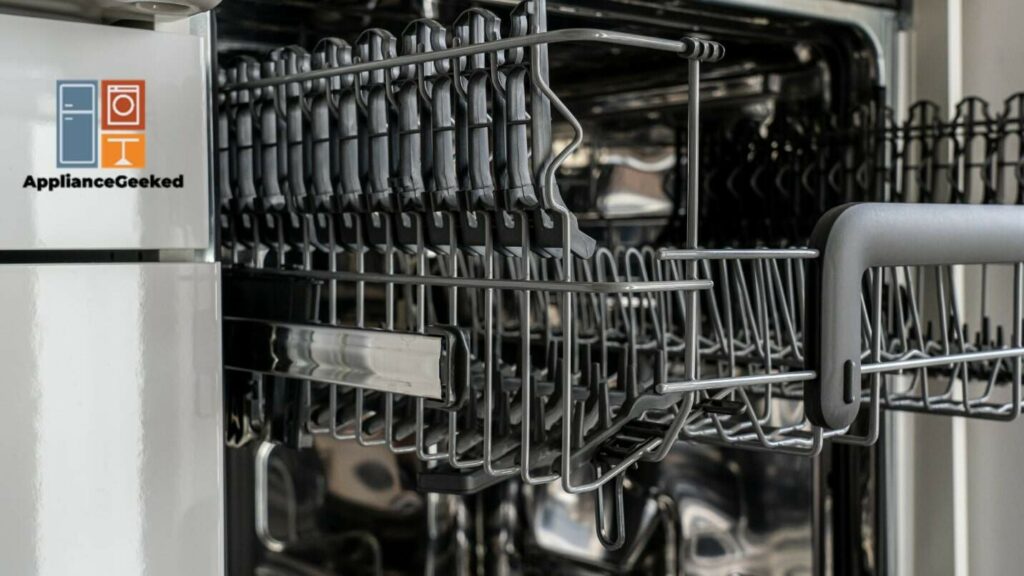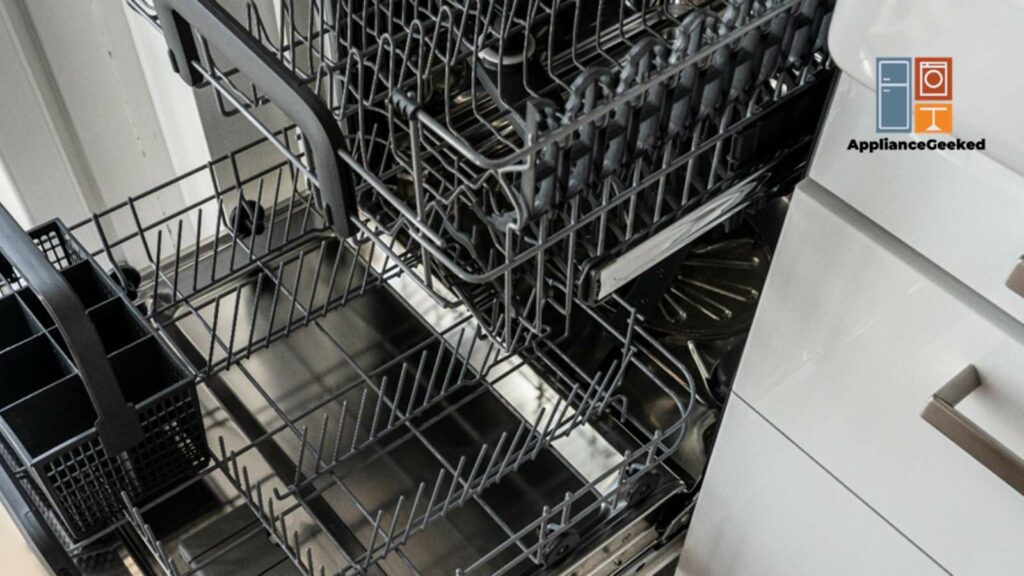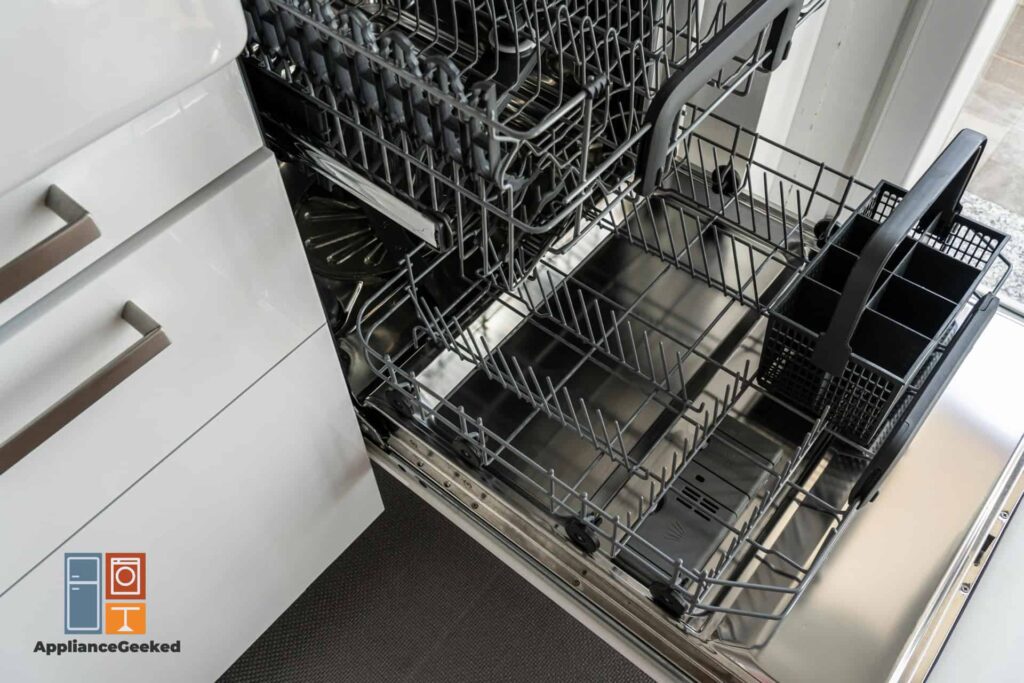
One of the joys of owning a dishwasher is not having to clean up after an exhausting day. I just load up the greasy plates and walk away like a boss.
Although my dishwasher often gets the job done without a hitch, it has let me down a few times. Instead of freshly-cleaned plates, I’ve found grimy dishes and standing water—definitely not what you want to see after a long day.
Admittedly, seeing a pool of dirty water in my dishwasher was intimidating the first time. But now that I know better, I can tell you: the issue is usually not that deep (pun intended), and it only takes a couple of minutes to fix.
Here, we made a little guide to help you figure out why your Kenmore dishwasher isn’t draining. We’ll even show you how to fix it.
Why is my Kenmore dishwasher not draining at the end of the cycle?
A Kenmore dishwasher that won’t drain most likely has an obstruction in the filter. Other areas that should be checked for clogs include the air gap and the hose.
If it’s not a blockage, a faulty drain pump, check valve, or control board could cause the problem.
Before making any repairs, here are a few ways to troubleshoot your dishwasher:
- Straighten out any kinks in the drain hose.
Check the drain hose’s connection to the sink/garbage disposal and the dishwasher. Look for kinks and carefully straighten them.
- Run the garbage disposal.
Turn on the garbage disposal to clear any food debris that might be obstructing the drain hose.
- Remove the knockout plug.
If you had a new garbage disposal system installed, the knockout plug might still be attached, causing the draining problem. Just use a screwdriver to remove it.
If your Kenmore dishwasher still won’t drain, you might have to do a more thorough cleanse of its parts or replace a broken component of the draining system.
Causes and Solutions
We’ve made a list of the most common causes of draining errors. We also added easy-to-follow solutions to help you resolve them in a jiffy.
| Causes | Solutions |
| Blocked Air Gap | Turn off the dishwasher. Locate the air gap and remove its decorative cover. Then, take off the cap to reveal the tube. Inspect the air gap for obstructions. Use tweezers or toothpicks to remove the food debris. Use a small tube brush to get rid of any remaining gunk. Place the caps back on. Restore power to the dishwasher and run a test cycle to confirm that it can drain properly. |
| Obstructed Drain Hose | Turn off the dishwasher. Unload all the dishes. Then, pull out the racks and set them aside. Use towels or sponges to remove the standing water at the bottom of the tub. Disconnect the drain hose from the garbage disposal and check for any obstructions. If needed, use tweezers or a small brush to pull out the gunk. Reconnect the drain hose to the garbage disposal. Unfasten the screws on the dishwasher’s lower access panel. Then, remove it and set it aside. Locate the drain hose. Refer to the user manual if needed. Place towels underneath the drain hose to absorb any leaks. Use pliers to loosen the clamp. Then, carefully pull the drain hose to disconnect it. Check for any obstructions. Use tweezers or a small brush to pull out any visible dirt. Reconnect the drain hose and secure it in place. Mount the lower access panel and rethread its screws. Reinstall the racks and load all the dishes. Turn on the dishwasher. Run a test cycle to confirm that it can drain properly. |
| Clogged Filters | Turn off the dishwasher. Then, unload all the dishes and pull out the racks. Use towels or sponges to remove the standing water at the bottom of the tub. Locate the filter at the bottom of the tub. Then, rotate it counterclockwise and pull it out of the dishwasher. Rinse the filter under running water to remove most of the gunk. Use a brush with soft bristles and dish soap to scrub any remaining food debris. Then, rinse it off. Slip the filter into its housing and rotate until it locks in place. Reinstall the racks in your dishwasher and load all the dishes. Turn on the dishwasher. Run a test cycle to confirm that it can drain properly. |
| Defective Check Valve | Disconnect the dishwasher from its power source. Unload all the dishes. Then, remove all the racks. Get rid of the standing water in the tub using towels or sponges. Unfasten the screws on the lower access panel. Then, remove it and set it aside. Locate the check valve. Refer to the user manual if needed. Place some towels underneath the check valve to absorb any leaks. Use pliers to loosen the clamps on the drain hose. Then, pull to disconnect it. Remove the check valve by rotating it counterclockwise. Use pliers if necessary. Get your new check valve and align it in its slot. Rotate it clockwise until it’s installed securely. Reconnect the drain hose to the check valve. Then, reinstall the clamp to lock it in place. Mount the access panel and reinstall the screws. After, slide the racks back into place and load all the dishes. Turn on the dishwasher. Run a test cycle to confirm that it can drain properly. |
| Faulty Drain Pump | Disconnect the dishwasher from its power source. Unload all the dishes and pull out the racks. Remove the standing water in the tub using towels or sponges. Unfasten the mounting screws on the lower access panel. Then, remove and set it aside. Locate the drain pump under the dishwasher. Refer to the user manual if needed. Reach under the dishwasher and unplug the wire connectors to the drain pump. Loosen the clamp securing the drain hose to the pump. Then, unplug the hose. Release the clamp securing the inlet hose to the sump. Carefully pull the hose free. Use a flathead screwdriver to push the retaining tabs and detach the mounting plate. Get your new drain pump and align its tabs along the slots on the sump. Push it in to keep it in place. Connect the inlet hose to the sump port. Tighten the clamp to secure the connection. Attach the drain hose to the pump and rethread the screws. Then, tighten the clamp. Plug in the wire connectors to the new pump. Mount the lower access panel and rethread the screws. Reinstall the racks and load all the dishes. Turn on the dishwasher. Run a test cycle to confirm that it drains properly. |
| Broken Control Board | Disconnect the dishwasher from its power source. Unload all the dishes and pull out the racks. Remove the standing water in the tub using towels or sponges. Open the dishwasher door. Unfasten the screws mounting the control assembly to the door. Close the dishwasher. Unthread the screws securing the control board cover. Then, pull it out and set it aside. Take a photo of the wire connectors. Use it as a reference during the reassembly process. Unplug the wires from the control board. Then, detach the ribbon connector. Unthread the mounting screws on the control board. Remove the damaged component and prepare your replacement. Align the new control board on the panel and rethread its mounting scews. Plug in the ribbon connector and the wires. Use your photo reference if needed. Mount the control board cover and rethread the screws. Align the control board assembly on the dishwasher door. Tighten its mounting screws to secure it in place. Reinstall the racks and load all the dishes. Turn on the dishwasher. Run a test cycle to confirm that it can drain properly. |
Blocked Air Gap
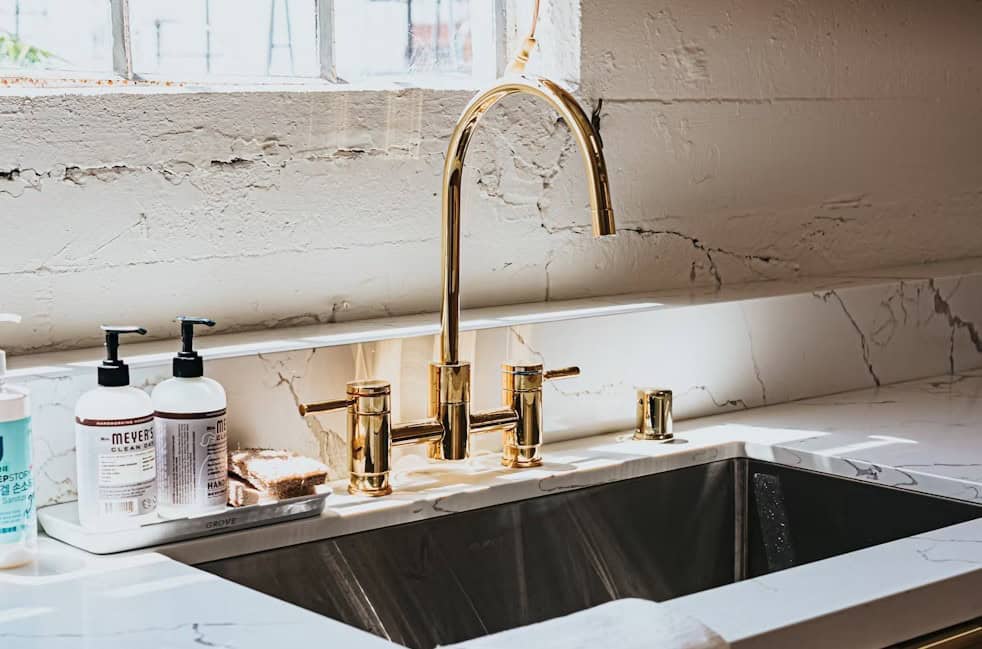
An air gap is a small cylindrical fitting, usually located near the sink. Its main purpose is to prevent dirty water from siphoning back into the dishwasher.
If you don’t pre-rinse the dishes, large food scraps can get lodged in the air gap, preventing it from functioning properly. When it gets clogged, the dirty, used water will flow back into the dishwasher, soiling your newly washed plates.
Luckily for you, it’s quite an easy fix that doesn’t require any replacement. All you need is a few minutes to remove the obstruction.
What you’ll need:
- Small brush
- Toothpick or tweezers
Solution: To unclog a dirty air gap, follow these steps:
- Step 1: Turn off the dishwasher.
- Step 2: Locate the air gap and remove its decorative cover. Then, take off the cap covering the tube.
- Step 3: Inspect the air gap for blockages.
- Step 4: Remove the debris using a toothpick or tweezers.
- Step 5: Use a small tube brush to get rid of any remaining gunk.
- Step 6: Place the caps back on.
- Step 7: Power on the dishwasher and run a test cycle to confirm that it can drain properly.
Obstructed Drain Hose
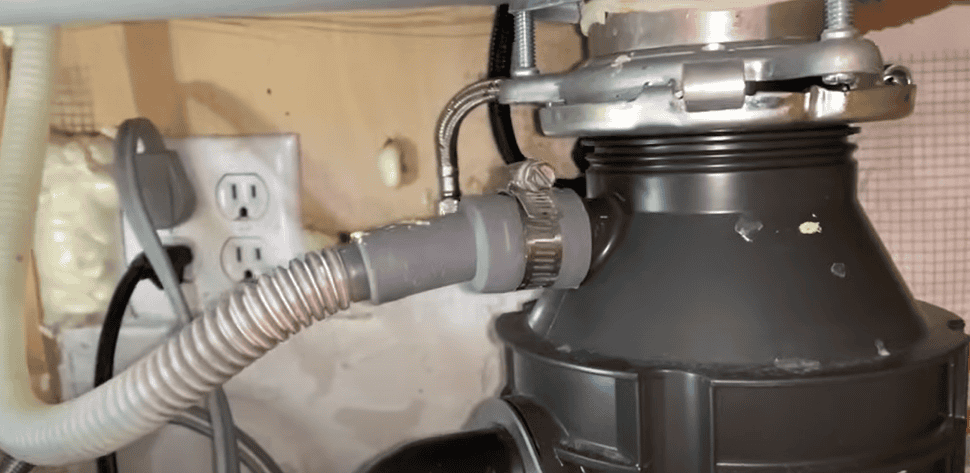
Another likely culprit of drain errors in a dishwasher is a clogged drain hose. If you don’t scrape off the large chunks of food debris on the plates, they can build up in the hose over time, causing slow draining or a complete blockage.
Unless there’s damage, a replacement won’t be necessary. To resolve this problem, all you have to do is disconnect the hose and clear the blockage.
What you’ll need:
- Pliers
- Towels or sponges
- Tweezers or a small brush
Solution: To clean an obstructed drain hose, follow these steps:
- Step 1: Turn off the dishwasher.
- Step 2: Unload all the dishes and racks.
- Step 3: Use sponges or towels to remove all the standing water in the tub.
- Step 4: Disconnect the drain hose from the garbage disposal and check for any obstructions. If needed, use tweezers or a small brush to pull out gunk.
- Step 5: Reconnect the drain hose to the garbage disposal.
- Step 6: Unfasten the screws on the lower access panel of the dishwasher. Then, remove it and set it aside.
- Step 7: Locate the drain hose. Refer to the user manual if needed.
- Step 8: Place towels underneath the drain hose to absorb any leaks.
- Step 9: Use pliers to loosen the clamp. Then, carefully pull the drain hose to disconnect it.
- Step 10: Check for any obstructions. Use tweezers or a small brush to pull out any visible blockages.
- Step 11: Reconnect the drain hose and secure it in place.
- Step 12: Mount the lower access panel and rethread its screws.
- Step 13: Reinstall the racks and load all the dishes.
- Step 14: Turn on the dishwasher.
- Step 15: Run a test cycle to confirm that it can drain properly.
Clogged Filters
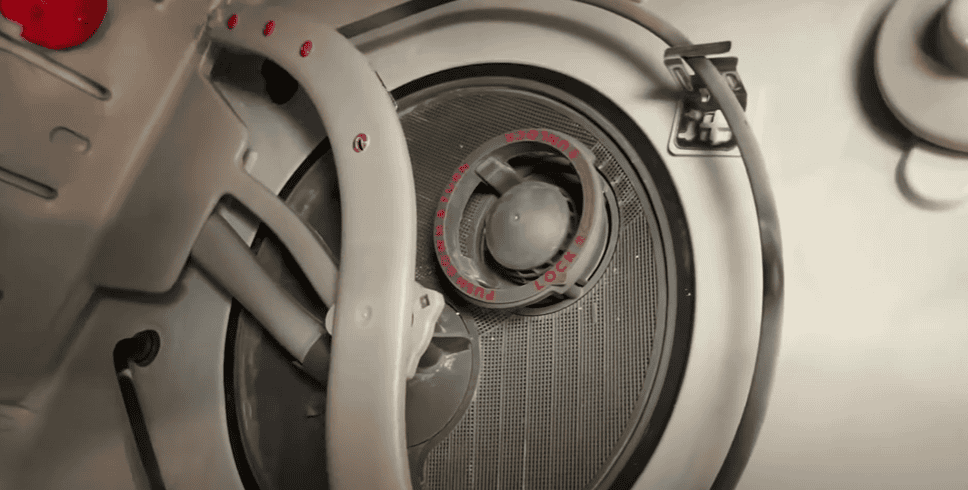
Every dishwasher has a built-in filter, which you can access right from the tub. While some modern self-cleaning iterations have mesh features that break down food particles and prevent blockages, older versions still require manual cleaning.
Regardless of how dirty the filter is, it should only take you a few minutes to scrub it clean. Plus, you won’t need any fancy equipment to get the job done—just dish soap and maybe a brush.
What you’ll need:
- Towels or sponges
- Dish soap
- Soft brush
Solution: To clean a Kenmore dishwasher’s filter, follow these steps:
- Step 1: Empty the dishwasher. Transfer all the dishes before making any repairs.
- Step 2: Disconnect the dishwasher from its power source.
- Step 3: Remove the standing water in the tub using towels, sponges, or a small cup.
- Step 4: Locate the filter at the bottom of the tub. Then, rotate it counterclockwise and pull it out of the dishwasher.
- Step 5: Rinse the filter under running water to remove most of the gunk.
- Step 6: Use a brush with soft bristles and dish soap to scrub any remaining debris. Then, rinse it off.
- Step 7: Slip the filter into its housing and rotate until it locks in place.
- Step 8: Reinstall the racks in your dishwasher.
- Step 9: Load all the dirty dishes.
- Step 10: Turn on the dishwasher.
- Step 11: Run a test cycle to confirm that it can drain properly.
| Quick Note: Avoid using abrasive cleaning tools like scouring pads and wire brushes to prevent damage to the filter. Once damaged, it will be ineffective and require a replacement. |
Defective Check Valve
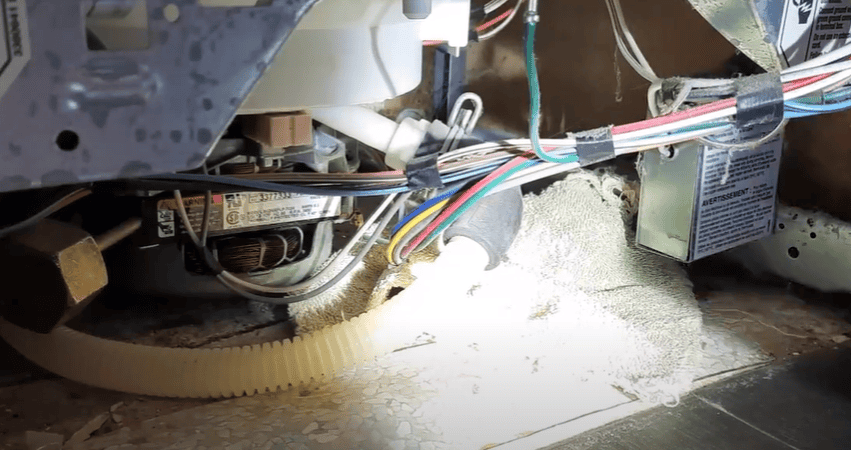
During the wash cycle, the check valve opens, allowing wastewater from the tub to pass through the hose and into the garbage disposal. After draining, it closes shut to prevent any backflow of dirty water into the dishwasher.
Whether from mineral build-up, high-pressure surges, or wear and tear, the check valve can get damaged. And when it does, it can lead to poor drainage, bad odors, and even mold.
Once the component is broken, you must replace it to continue using your dishwasher properly. Not to worry, it’s an easy fix that you can perform on your own.
What you’ll need:
- Pliers
- Screwdriver
- Towels or sponges
- New check valve
Solution: To replace a check valve on a Kenmore dishwasher, follow these steps:
- Step 1: Disconnect the dishwasher from its power source.
- Step 2: Unload all the dishes. Then, pull out the racks.
- Step 3: Remove the standing water in the tub using towels or sponges.
- Step 4: Unfasten the screws on the access panel to remove it.
- Step 5: Locate the check valve. Refer to the user manual if needed.
- Step 6: Place towels underneath the check valve to absorb any leaks.
- Step 7: Use pliers to loosen the clamps on the drain hose. Then, pull to disconnect it.
- Step 8: Remove the check valve by rotating it counterclockwise. Use pliers if necessary.
- Step 9: Get your new check valve and align it in its slot. Rotate it clockwise until it’s installed securely.
- Step 10: Reconnect the drain hose to the check valve. Then, reinstall the clamp to lock it in place.
- Step 11: Mount the access panel and reinstall the screws.
- Step 12: Slide the racks back into place. After, load all the dirty dishes.
- Step 13: Turn on the dishwasher.
- Step 14: Run a test cycle to confirm that it can drain properly.
| Quick Note: If there is standing water in the tub, you must remove it before disconnecting the drain hose from the check valve. Water will leak all over your floor if you skip this step. |
Faulty Drain Pump
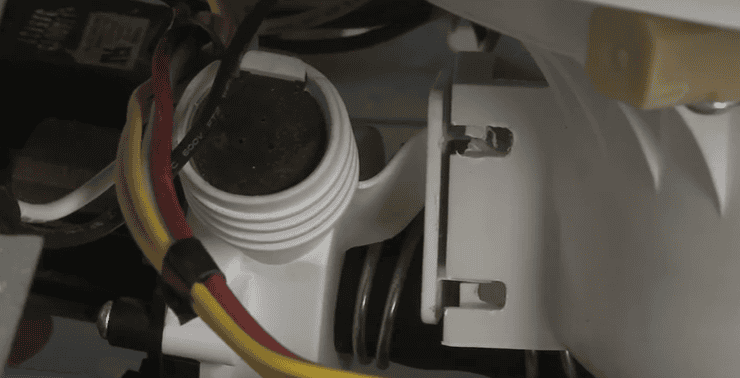
One of the most important components of your dishwasher is the drain pump. After every wash cycle, it forces dirty water out of the tub and into the hose to keep your dishes clean.
If the component fails due to electrical or mechanical damage, it has to be replaced to prevent drainage issues and leaks.
What you’ll need:
- Towels or sponges
- Phillips screwdriver
- New drain pump
Solution: To replace a broken drain pump on a Kenmore dishwasher, follow these steps:
- Step 1: Disconnect the dishwasher from its power source.
- Step 2: Unload all the dishes and pull out the racks.
- Step 3: Remove the standing water in the tub using towels or sponges.
- Step 4: Unfasten the mounting screws on the lower access panel. Then, remove and set it aside.
- Step 5: Locate the drain pump under the dishwasher. Refer to the user manual if needed.
- Step 6: Reach under the dishwasher and unplug the wire connectors from the drain pump.
- Step 7: Loosen the clamp securing the drain hose to the pump. Then, pull the hose off.
- Step 8: Release the clamp securing the pump inlet hose to the sump.
- Step 9: Carefully pull the hose free. Use a flathead screwdriver to push the retaining tabs and detach the mounting plate.
- Step 10: Get your new drain pump and align its tabs along the slots on the sump.
- Step 11: Gently push the pump to mount it.
- Step 12: Connect the inlet hose to the sump port. Tighten the clamp to secure the connection.
- Step 13: Attach the drain hose to the pump and rethread the mounting screw to keep it in place. Then, tighten the clamp.
- Step 14: Plug the wire connectors into the new pump.
- Step 15: Mount the lower access panel and rethread the screws.
- Step 16: Reinstall the racks and load all the dishes.
- Step 17: Turn on the dishwasher.
- Step 18: Run a test cycle to confirm that it drains properly.
Broken Control Board
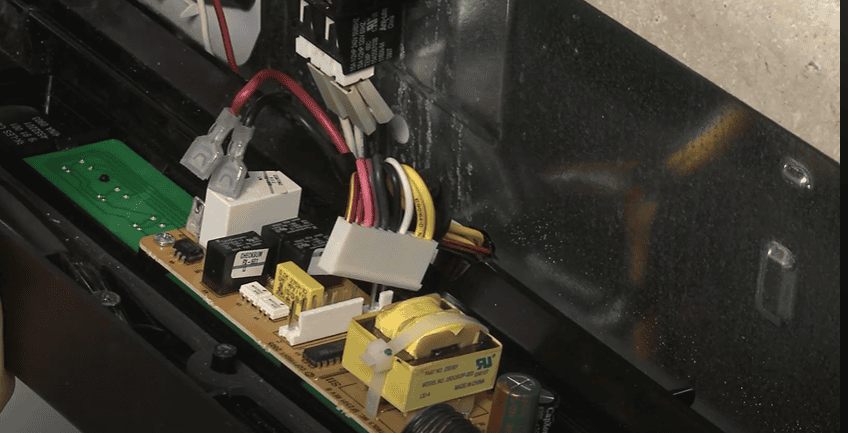
If none of the repairs have worked for you so far, you might be dealing with a faulty control board. Although it’s not as common as the rest, it’s still a possibility, especially if you have an older unit or poor electrical connections.
The control board is responsible for all of the appliance’s functions. When it’s damaged, it can cause all sorts of issues like draining, unresponsive control buttons, and more.
Located right behind the control panel, the control board is usually easy to access. Although some reassembly is required, it’s very manageable as you won’t need to do any heavy lifting.
What you’ll need:
- Towels or sponges
- Phillips-head screwdriver
- Multimeter
- New control board
Solution: First, isolate the control board and test to confirm that it’s malfunctioning. If it’s defective, a replacement will be necessary to continue using your Kenmore dishwasher.
- Step 1: Disconnect the dishwasher from its power source.
- Step 2: Unload all the dishes and pull out the racks.
- Step 3: Remove any standing water in the tub using towels or sponges.
- Step 4: Open the dishwasher.
- Step 5: Unfasten the screws mounting the control assembly to the door.
- Step 6: Close the dishwasher.
- Step 7: Locate the control board. Refer to a user manual if needed.
- Step 8: Unthread the mounting screws on the control board cover.
- Step 9: Get your multimeter. Turn the dial to the continuity setting.
- Step 10: Restore power to the dishwasher.
- Step 11: Refer to the appliance’s wiring diagram to determine which points on the control board you must test.
- Step 12: Place the probes on each side of the recommended fuses.
- Step 13: Check the multimeter reading.
If you don’t hear a beep, the fuse is bad. Since it’s not repairable and sold separately, you have to replace the entire component.
To replace a broken control board on a Kenmore dishwasher, follow these steps:
- Step 1: Disconnect the dishwasher from its power source.
- Step 2: Unload all the dishes and pull out the racks.
- Step 3: Remove the standing water in the tub using towels or sponges.
- Step 4: Open the dishwasher.
- Step 5: Unfasten the screws mounting the control assembly to the door.
- Step 6: Close the dishwasher.
- Step 7: Remove the screws securing the control board cover. Then, pull it out of the unit.
- Step 8: Take a photo of the wire connectors. Use it as a reference during the reassembly process.
- Step 9: Unplug the wires from the control board. Then, detach the ribbon connector.
- Step 10: Unthread the mounting screws on the control board. Remove it from the panel and prepare your replacement.
- Step 11: Align the new control board on the panel and rethread the screws to secure it in place.
- Step 12: Plug in the ribbon connector and the wires. Use your photo reference if needed.
- Step 13: Mount the control board cover and rethread the screws.
- Step 14: Align the control assembly on the dishwasher door. Then, secure it by tightening the mounting screws.
- Step 15: Reinstall the racks and load all the dishes.
- Step 16: Turn the dishwasher on.
- Step 17: Run a test cycle to confirm that it can drain properly.
FAQs
Why is there water in my dishwasher after the cycle?
It’s normal to see a shallow pool of water in your dishwasher, particularly near the filter, after each cycle. However, if the water is a few inches deep and covers the entire bottom of the tub, you most likely have a drainage problem.
Is a dishwasher’s drain pump worth replacing?
If your dishwasher is relatively new, a drain pump is a cost-effective repair. Depending on the model, it can cost anywhere from $25+ to $75+, which is still more affordable than buying a new unit.
You can cut expensive repair costs by getting more hands-on. With a little help from our guide above, you can get the job done with a few tools.
How often do you need to clean a dishwasher filter?
You must clean a dishwasher filter at least every three months, especially if you’re doing 8 to 14 loads per week. But if you scrape and rinse off the dishes before running a cycle, you should wash the filter twice a year.