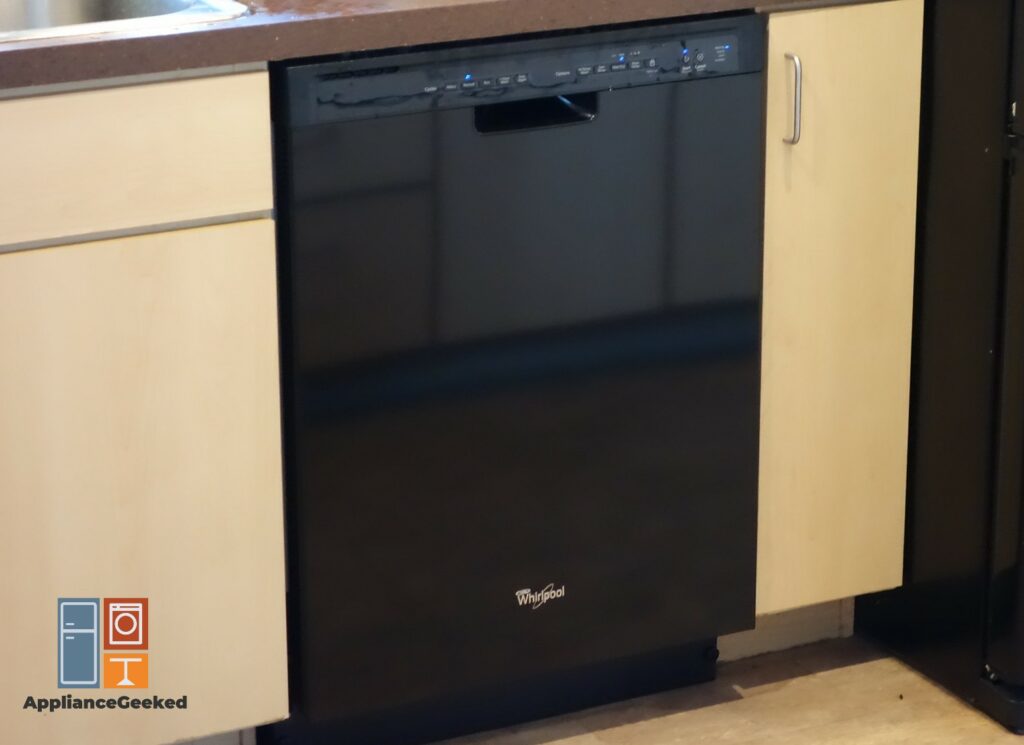
Troubleshooting a Whirlpool dishwasher that won’t drain is easier than you think. Most of the time, it just entails removing blockages and cleaning the dishwasher thoroughly until it starts draining again.
With Appliance Geeked’s simple, easy-to-follow guides, you can carry out the solutions with confidence—even with limited repair experience and know-how. Plus, you can save hundreds of dollars on hefty repair costs!
Before you pick up the phone to hire repair services, read our guide below to find out how easy it is to fix a Whirlpool dishwasher that won’t drain.
Why won’t my Whirlpool dishwasher drain?
A Whirlpool dishwasher that won’t drain most likely has a blockage. There might be dirt buildup in the filter, air gap, drain hose, or sump area, preventing it from draining.
If the drain problem isn’t caused by an obstruction, test the drain pump for continuity. You must replace it if it has none.
Before carrying out any repairs, here are a few quick steps to troubleshoot the dishwasher’s drainage problem. Wear protective gloves just in case of sharp debris.
- Remove clogs in the sump area. Inspect the sump area for obstructions like broken glass, which can get into the pump and cause malfunctions.
- Run the garbage disposal. If you have a built-in dishwasher, try turning on the garbage disposal to remove any obstructions in the drain line, which will allow water to drain.
Keep reading our guide below to learn more ways to troubleshoot a Whirlpool dishwasher that won’t drain. We delve into the most common causes of drain issues and offer step-by-step solutions to help you troubleshoot them.
Causes and Solutions
If a Whirlpool dishwasher won’t drain because of blockages, you must look for the clog and remove it. The most likely areas to get clogged include the hose, air gap, and filter.
However, if the problem is caused by a defective pump, a replacement is necessary to get your dishwasher to drain again.
Let’s take a look at the different causes of drain problems on a Whirlpool dishwasher.
| Causes | Solutions |
| The knockout plug hasn’t been removed. | • Unplug the garbage disposal and disconnect the drain hose. • Unmount the garbage disposal and set it on its side. Use a hammer and screwdriver to knock out the plug. • Remove the plug. • Install the garbage disposal and attach the drain hose. |
| The drain hose is obstructed. | • Unplug the dishwasher or turn off the power at the dishwasher. • Disconnect the drain hose from its port. • Connect the end of the drain hose to a wet or dry vacuum. Then, use tape to seal the ends together. • Turn on the vacuum and keep it running for 5 minutes. • Mix 1:1 parts of warm water and distilled white vinegar in a small bowl. • Pour the solution down the hose and let it sit for about 15 minutes. • Pour hot water down the hose to clear the solution. • Wipe the drain port on the dishwasher before reattaching the hose. • Restore power to the dishwasher and turn it on. • Run a test cycle to check if the dishwasher drains. |
| The air gap is clogged. | • Locate the air gap and remove its stainless steel cover. Pull out the inner cover to access the air gap. • Use a toothpick or bamboo skewers to pull out visible food particles and dirt from the air gap. • Get a shallow bowl and put it over the air gap so that water will flow into the sink instead of the counter. Add towels around the air gap to absorb spills. • Run a brief rinse cycle to clear any remaining dirt and food residue. • Wait for the water to flow out of the air gap. Hold down the bowl to prevent water from spilling all over your counter. • Inspect the air gap again for any obstructions. Remove them if you find any. • Reinstall the inner cover and the stainless steel outer cover. |
| The filter is dirty. | • Unplug the dishwasher and empty the racks. Add rags at the bottom of the unit to soak up any accidental spills. • Clean up any standing water at the bottom of the dishwasher by scooping it into a container and dumping it into the sink. • Once it is too shallow to scoop up, add towels to soak up the excess water. • Remove the lower dish rack and look for the filter assembly. • Give the upper filter a slight turn clockwise and pull it out. Lift and remove the lower filter. • Clean the filter under running water to remove grease, grime, and food scraps. • Use a soft brush to remove calcium deposits and other stubborn dirt. • Insert the filter into the housing. Place it under the tabs so the upper filter can align with the round opening. • Fit the upper filter on top of the lower filter. Then, rotate it clockwise until it locks into place. • Check if the filter is seated properly to ensure it runs in optimal condition. • Restore power to the dishwasher. Run a test cycle once your filter is seated properly. |
| The drain pump is defective. | • Unplug your dishwasher or turn off the power at the circuit breaker. • Unthread the screws on the lower access panel. Set aside the panel and the attached insulation. • Locate the drain pump. Place a towel underneath it to absorb any spills. • Depress the retaining tab and rotate it counterclockwise to remove it. Unhook the wire from its retainer. Then, disconnect it from the defective pump. • Get the replacement part. Plug the wire into the new drain pump and secure the wire into the retainer. • Insert the new pump into the sump housing. Turn it clockwise to lock it into place. • Align the access panel at the bottom of the washer. Make sure it doesn’t touch the float assembly. • Reinstall the screws to secure the access panel. • Restore power to the dishwasher. • Run a test cycle to check if the drain problem is resolved. |
The knockout plug hasn’t been removed.
Have you recently installed a garbage disposal system? If you have, a likely culprit of your draining problem is the knockout plug, which needs to be removed in order for your dishwasher to drain.
Typically, the garbage disposal’s inlet tube is covered by a knockout plug because not all households have dishwashers.
Once you connect the line to a dishwasher, you must remove the plug to enable efficient draining and prevent water from backing up and overflowing from the air gap.
What you’ll need:
- Hammer
- Screwdriver
Solution: To remove a garbage disposal knockout plug, follow these steps:
- Step 1: Unplug the garbage disposal and disconnect the drain hose.
- Step 2: Remove the garbage disposal and set it on its side.
- Step 3: Knock out the plug using a hammer or screwdriver.
- Step 4: Take the plug out.
- Step 5: Reinstall the garbage disposal.
- Step 6: Reconnect the drain hose.
- Step 7: Run a cycle to confirm that the drain problem is gone.
The drain hose is obstructed.
Inspect your drain hose for kinks, crimps, and other bent areas, which can restrict the flow of water and prevent the dishwasher from draining.
Once you’ve straightened out all the kinks, but the dishwasher still won’t drain, you can check the hose for any obstructions. Simply detach the hose from its port and pour water down one end to check if it flows right out of the other.
If it doesn’t, you have a blocked drain hose.
You can remove any visible obstructions by hand. However, if the obstruction is too deep into the hose, you should try other methods like cleaning products to break down the clump or a vacuum to push it out the other end.
What you’ll need:
- Vacuum cleaner
- Warm water
- Distilled white vinegar
- Small bowl
- Towel
- Tape
Solution: To unclog a drain hose, follow these steps:
- Step 1: Unplug the dishwasher or turn off the power at the dishwasher.
- Step 2: Disconnect the drain hose from its port.
- Step 3: Connect the end of the drain hose to a wet or dry vacuum. Then, use tape to seal the ends together.
- Step 4: Turn on the vacuum and keep it running for 5 minutes.
- Step 5: Clean the drain hose using a homemade solution of 1:1 warm water and distilled white vinegar. Just pour the solution down the hose and let it sit for about 15 minutes.
- Step 6: After 15 minutes, pour hot water down the hose to clear the solution.
- Step 7: Wipe the drain port on the dishwasher before reattaching the hose.
- Step 8: Restore power to the dishwasher and turn it on.
- Step 9: Run a quick cycle to confirm that the dishwasher drains.
Quick Note:
Aside from the homemade cleaning solution, you can use an enzymatic cleaner to break down dirty and greasy obstructions. It is a mild yet effective alternative to chemical-based cleaners, which can damage your hose.
The only downside is that you may need to soak the hose in the cleaner overnight so that the solution can break up the blockage.
The air gap is clogged.
Another area that can get clogged with tiny bits of food scraps and gunk is the air gap.
An air gap is a small chrome or stainless steel fitting in your sink—usually right next to the tap. It prevents dirty water from flowing back into your dishwasher and contaminating your dishes.
Thus, if the air gap is clogged, wastewater will start to siphon back into the dishwasher, leaving a pool of water at the bottom of the tub.
If your dishwasher is connected to an air gap, you can simply remove its cap and do a quick visual inspection to determine if it has an obstruction.
What you’ll need:
- Toothpick/bamboo skewers
- Shallow bowl
- Towels
Solution: To clean a clogged air gap, follow these steps:
- Step 1: Locate the air gap and remove its stainless steel cover. It is usually located near the faucet.
- Step 2: Pull out the inner cover to access the air gap.
- Step 3: Use a toothpick or a bamboo skewer to remove bits of food and dirt lodged inside the air gap.
- Step 4: Get a shallow bowl and put it over the air gap so that water will flow into the sink instead of the counter. Spread towels around the air gap to absorb spills and prevent flooding in your kitchen.
- Step 5: Run a brief rinse cycle to expel stubborn dirt and food residue.
- Step 6: Wait for the water to flow out of the air gap. Hold down the bowl to prevent water from spilling all over your counter.
- Step 7: Inspect the air gap again for any obstructions. Use a toothpick or a bamboo skewer to pull out any particles.
- Step 8: Attach the inner cover until it locks into place.
- Step 9: Reinstall the stainless steel air gap cover.
Quick Note:
Not all dishwashers are connected to an air gap. If you can’t find one near your sink, you can rule this one out and search for a clog elsewhere.
The filter is dirty.
Poor wash performance is a tell-tale sign that the filter is dirty. If your dishes are coming out grimy and dirty, you might want to clean the filter to improve its cleaning efficiency.
Every dishwasher has a filter that catches food waste and other foreign debris, preventing them from entering the sump area and damaging the pump.
The most common causes of blockages in the filter include wet clumps of paper labels from food containers and popcorn kernels.
If too much gunk accumulates, it will restrict the flow of water, preventing it from draining. Unfortunately, these blockages may lead to overflows and leaks, which can cause extensive damage to your floors and furniture.
What you’ll need:
- Towels
- Soft brush
Solution: To clean a dirty filter on a Whirlpool dishwasher, follow these steps:
- Step 1: Unplug the dishwasher and empty the racks.
- Step 2: Add rags at the bottom of the unit to soak up any accidental spills.
- Step 3: Clean up any standing water at the bottom of the dishwasher.
Scoop the water into a container and dump it into the sink. Once it is too shallow to scoop up, add towels to soak up the excess water.
- Step 4: Remove the lower dish rack and look for the filter assembly.
You’ll find it either at the back corner of the dishwasher or the base of the spray arm.
- Step 5: Give the upper filter a slight turn clockwise and pull it out.
- Step 6: Lift and remove the lower filter.
- Step 7: Clean the filter under running water to remove grease, grime, and food scraps.
- Step 8: Use a soft brush to remove calcium deposits and other stubborn dirt.
- Step 9: Insert the filter into the housing. Place it under the tabs so the upper filter can align with the round opening.
- Step 10: Fit the upper filter on top of the lower filter. Then, rotate it clockwise until it locks into place.
- Step 11: Check if the filter is seated properly to ensure it runs in optimal condition. If it can still turn freely, it hasn’t locked yet and should be rotated clockwise until it is secure.
- Step 12: Restore power to the dishwasher. Run a test cycle once your filter is seated properly.
Quick Note:
Never use scouring pads and other abrasive tools to clean the filter because you may end up damaging it.
The drain pump is defective.
If you’ve cleaned and removed obstructions but your dishwasher still won’t drain, you probably have a defective drain pump.
The drain pump pushes the water through the hose and onto the drain system for removal. With a broken pump, your dishwasher won’t work during the drain cycle.
To confirm that your drain pump is broken, you have to remove and isolate the pump and use a multimeter to check its continuity.
A broken drain pump is irreparable, but it is replaceable. By doing the replacement yourself, you can save hundreds of dollars in repair costs.
What you’ll need:
- Flathead screwdriver
- Towels
- Multimeter
- New drain pump
Solution: Test the drain pump for continuity to confirm that it is defective and requires replacement.
- Step 1: Unplug your dishwasher or turn off the power at the circuit breaker.
- Step 2: Unthread the screws on the lower access panel. Set aside the panel and the attached insulation.
- Step 3: Locate the drain pump. Place a towel underneath it to absorb any spills.
- Step 4: Depress the retaining tab and rotate it counterclockwise to remove it.
- Step 5: Unhook the wire from its retainer. Then, disconnect it from the pump.
- Step 6: Place the pump on a dry, stable surface where you can test it for continuity.
- Step 7: Get a multimeter and rotate its dial to the lowest setting for ohms of resistance.
- Step 8: Set the black probe on one of the terminals on the drain pump and the red probe on the other terminal.
On your multimeter, you will see 15 to 40 ohms of resistance if the drain pump is functioning properly. If there is little to no change on the meter, the pump lacks electrical continuity and requires replacement.
To replace a defective drain pump on a Whirlpool dishwasher, follow these steps:
- Step 1: Unplug your dishwasher or turn off the power at the circuit breaker.
- Step 2: Unthread the screws on the lower access panel. Set aside the panel and the attached insulation.
- Step 3: Locate the drain pump. Place a towel underneath it to absorb any spills.
- Step 4: Depress the retaining tab and rotate it counterclockwise to remove it.
- Step 5: Unhook the wire from its retainer. Then, disconnect it from the defective pump.
- Step 6: Get the replacement part. Plug the wire into the new drain pump and secure the wire into the retainer.
- Step 7: Insert the new pump into the sump housing. Turn it clockwise to lock it into place.
- Step 8: Align the access panel at the bottom of the washer. Make sure it doesn’t touch the float assembly.
- Step 9: Reinstall the screws to secure the access panel.
- Step 10: Restore power to the dishwasher.
- Step 11: Run a test cycle to check if the drain problem is resolved.
Maintenance Tips to Prevent Drain Errors on a Whirlpool Dishwasher
Routine cleaning and maintenance are the best ways to prevent drain problems on a Whirlpool dishwasher, as well as other malfunctions.
To keep your dishwasher in optimal condition, run long hot wash cycles frequently. Every 3 to 6 months, give your dishwasher a deep clean.
Clean your dishwasher every 3 months or so.
According to Whirlpool, you should clean your dishwasher every 3 to 6 months, depending on your usage and water hardness.
If you live in an area with hard water, you should do deep cleans more frequently to remove calcium deposits and other mineral buildups.
- After cycles: Remove any visible food waste and debris from the dishwasher after every cycle.
- Monthly: Clean your dishwasher using baking soda and vinegar at least once a month.
- After cleaning certain items: Whenever you use the dishwasher to wash non-tableware items, clean your dishwasher thoroughly to prevent cross-contamination.
Regularly check and clean your filter.
We recommend connecting your Whirlpool dishwasher to the mobile app.
When you do, you’ll receive notifications on your phone whenever the filter needs cleaning. This helpful reminder makes it easier for you to keep your dishwasher in tip-top shape.
By regularly checking and cleaning your filter, you can prevent food scraps and debris from accumulating, which can eventually lead to drain errors.
Typically, you should clean the filter every 3 to 6 months, depending on your usage and water hardness.
Here are Whirlpool’s recommendations for your filter cleaning schedule.
| Number of Loads | Cleaning Schedule | |
| Rinsing dishes before loading | Up to 14 loads per week | Once per year |
| Only scraping dishes before loading | 1 to 7 loads per week | Twice per year |
| 8 to 14 loads per week | Every three months | |
| Scraping and rinsing dishes before loading | 1 to 7 loads per week | Once per year |
| 8 to 14 loads per week | Twice per year | |
| No scraping or rinsing before loading | 1 to 3 loads per week | Every two months |
| 4 to 7 loads per week | Once per month | |
| 8 to 12 loads per week | Every two weeks | |
| 13 to 14 loads per week | Once per week |
Scrape—don’t rinse your dishes!
Believe it or not, you don’t have to rinse your dishes before loading them into the dishwasher. All you have to do is scrape off large chunks of food scraps and crumbs from the dishes before placing them on the racks.
Rinsing your dishes impairs the cleaning ability of your dishwasher. By washing away the grease and food stains off the plates, its sensors will think that the dishes are cleaner than they actually are, resulting in a decrease in wash performance.
Scraping your dishes will not only prevent your dishwasher from getting clogged but it also keeps your unit running in optimal condition. This way, you can make sure your dishes come out clean after every wash.
Frequently Asked Questions
Yes. However, some Whirlpool dishwashers have advanced filtration systems that limit the need for manual cleaning of the filter.
To find out the particulars of your dishwasher model’s filtration system, we recommend checking your user manual.
Whenever you’re cleaning the sump area, which includes the filter, you should wear protective gloves. This way, you can protect your hands from any sharp objects and debris like broken shards of glass.
We strongly recommend against using soap in the dishwasher. You must only use dishwasher detergent because regular dish soap will produce extra suds during wash cycles, creating various problems, including drain errors and leaks.
Only use Whirlpool replacement parts on your Whirlpool dishwasher to prevent further malfunctions. If, for example, your drain pump is defective, you must get factory-specified parts that are made for your particular dishwasher model.
Yes, you can perform the replacement yourself. Just remember that different components will entail varying degrees of difficulty and skills for disassembly and installation.
Ultimately, it will depend on your skills and confidence in performing the fix. But with Appliance Geeked’s repair guides, we can walk you through all the steps necessary to carry out the repair.
If you prefer professional services, you can always contact customer support or hire local repair services.