My favorite part about dishwashers is they don’t just wash – they also dry our plates afterward! So imagine my surprise when one day I found my washed dishes still soaking wet.
After lots of research and repair attempts, I can now confidently troubleshoot my dishwasher when it’s not drying my dishes. I’m going to share what I learned with you!
This article will explain the reasons behind your dishwasher not drying and how to solve it.
Why is my Whirlpool dishwasher not drying the dishes?
When your Whirlpool dishwasher’s not drying the dishes, it’s because of an incorrect cycle setting, heating malfunction, or improper loading.
If your dishes are still wet after a cycle, double-check the cycle setting, buy replacement parts, or rearrange your load for full heat coverage.
A dishwasher not drying after a wash cycle is a serious issue, but pinpointing its causes and solving them isn’t as complicated as you’d first think. This article will show you how easy it is.
What causes a Whirlpool dishwasher not to dry dishes and how to fix it?
Ease your worries and get your Whirlpool dishwasher drying dishes again with this guide.
| Causes | Solutions |
| Wrong cycle setting | • Press stop if there’s an ongoing cycle. • Check your dishwasher’s control board to see the current cycle setting. • Press the button for Heat Dry or Extended Heat Dry setting. • Press start to begin another cycle. |
| Malfunctioning heating element | • Turn off your dishwasher and unplug it. Remove the load if there’s any. • Switch off the water supply valves to avoid any leaks. • Next, unscrew the sides of your dishwasher to detach it from your drawer or cabinet. • After carefully uninstalling your dishwasher, turn it around to access the heating element terminals. • Find the terminals at the bottom of the dishwasher. Disconnect the wires attached to it. • Using a wrench, twist and loosen the fasteners keeping the heating element in place. • Open your dishwasher door and remove the dish racks to access the heating element at the bottom. • Remove the heating element for testing. It’s a circular metal rod. • Get a multimeter to test if the heating element is not broken. • Set the multimeter to the ohms setting then touch the two probes on each of the heating element’s terminals. • The reading should show 10 – 20 ohms. If not, purchase a new heating element. • Position the new heating element in place after removing the old one. • Behind the dishwasher, secure the heating element in place with its fasteners. • Reconnect the wires to the terminals. • Put the dish racks back inside the dishwasher. • Reinstall the dishwasher back in its spot between your drawers. Screw the sides securely. • Switch the water supply on and plug your dishwasher into its power source. |
| Defective high-limit thermostat | • Turn off your dishwasher then unplug it from the power outlet. • Switch off the water supply source. • Remove the cover of the access panel, which is found at the foot of the dishwasher. • Temporarily disconnect the water supply hose. Prepare a rag for possible water spills. • At the side, find the terminal box and unscrew its cover. • Disconnect the wires connected to the terminal box by untwisting them. • Remove the wires and set them aside. • Next, unscrew the dishwasher from its mount and pull it off the cabinet. • Flip your dishwasher and let it lie on the floor to access the thermostat. • Unscrew the thermostat bracket and disconnect the wires connected to it. • Remove the old thermostat from its bracket. The thermostat is small, black, and round. • Slot the new thermostat into the bracket then connect the wires. • Screw the thermostat bracket back to secure it in place. • Flip the dishwasher upright and put it back inside the cabinet. • Return the screws on the mount to keep the dishwasher in place. • Reattach the water supply hose and switch the water valve on again. • Put the terminal box back and reconnect the wires. Screw in its cover tightly. • Put the access panel cover back. • Plug in your dishwasher. |
| Broken air vent | • Disconnect the dishwasher from the power outlet. • Open the dishwasher door and remove the screws around it. • After removing the screws, carefully separate the door from the inner panel. • Find the control board and unlatch it. The control board is a small box at the very top. • Release the control board housing from the outer door panel. • Use a screwdriver to unmount it if necessary. • Remove the outer door panel completely and set it aside. • Detach the air vent from the inner door panel. • The vent is at the top left corner, opposite the control board housing. • After removing the old air vent, remove its rubber gasket and transfer it to the new one. • Install and position the new air vent to the dishwasher’s inner door panel. • Lock it in place with the air vent cover. • Position the outer door panel of your dishwasher in place. Align the hinges. • Mount the control board box to the outer panel again. • Once mounted, screw the outer door back against the inner door panel. • Close your dishwasher’s door, plug it in, and prepare to start a new cycle. |
| Improper loading | • Press pause to stop the ongoing cycle. • Open the dishwasher door and pull the dish racks out to check the load. • See if the dirty dishes are not overcrowded. Reduce the load. • Reposition the remaining dishes on the rack with enough space between them this time. • Push the rack back and press the start button. |
For quicker and easier troubleshooting, take a closer look at this step-by-step process to make your dishwasher’s dryer work again.
Wrong Cycle Setting
Entering the wrong wash cycle or even forgetting to set it are common mistakes that lead to our dishwasher not drying the dishes.
If we don’t select the right drying setting, our dishwashers won’t release sufficient heat to dry its load completely.
Solution: Stop the current cycle. Go to your dishwasher’s control board and check the current cycle setting.
Select the button for Heat Dry or Extended Heat Dry mode. Press the start button to begin another cycle.
Malfunctioning Heating Element
The heating element provides the heat level required to dry our dishes after a wash.
That’s why a malfunctioning heating element must be replaced, otherwise, our dishwashers will not emit enough heat to dry our dishes.
Solution: Turn your dishwasher off first and unplug it. If there are dishes inside, remove them first.
Switch off the water supply valves to avoid water from leaking during the replacement process. The valves can be found under your dishwasher.
Remove the screws on the sides of your dishwasher with the help of your screwdriver. Detach it from the drawer or cabinet where it’s installed.
After carefully removing your dishwasher, turn it around to see the back. This will give you easy access to the heating element terminals at the bottom of the appliance.
Disconnect the wires attached to the terminals but remember their placements for later.
Grab a wrench to twist and loosen the fasteners keeping the ends of the heating terminals in place.
Open your dishwasher door and remove the dishracks to access the heating element. It is the circular metal you will see at the very bottom.
Simply pull the heating element up to remove it. Get your multimeter to test the part and see if it’s still functioning.
If you don’t have a multimeter, purchase one from hardware stores or online.
Set the multimeter to ohms and have its two probes touch the heating element’s terminals.
See if the reading will show 10 – 20 ohms. If not, your heating element is due for a replacement.
Buy a brand new heating element from Whirlpool’s store or any appliance store. Once you have a new heating element, place it on its spot on the dishwasher’s floor.
Put the dish racks back inside the dishwasher. Fasten the heating element’s ends at the back of your dishwasher.
Remembering the wire placements, reconnect them to the heating element’s terminals. Then, push the dishwasher back into its cabinet and screw it securely on its mount.
Switch the water supply on and plug in your dishwasher to the power source.
To help you visualize the steps better, watch this:
Defective High Limit Thermostat
Your dishwasher’s high-limit thermostat monitors the heat inside your dishwasher. It’s a safety measure that modern dishwashers have to prevent them from overheating.
When the machine becomes too hot inside during a cycle, the high-limit thermostat stops the machine’s drying process.
If the thermostat is malfunctioning, it can incorrectly detect heat and stop the dishwasher from continuing its drying cycle.
You’ll need to replace the broken thermostat.
Solution: Buy a new high-limit thermostat from Whirlpool’s official store or any appliance center.
Turn off your dishwasher and unplug it from the power outlet. Next, switch off the water supply source for added safety.
Find the access panel at the foot of the dishwasher and remove its cover. You may need a screwdriver if the cover is secured with screws.
Temporarily remove the water supply hose by pulling it from the valve. Have a dry rag prepared to catch possible water spills.
Locate the terminal box at the side and remove its cover. Unscrew it with your screwdriver.
Remove the wires connected to the terminal box by simply untwisting them. Pull the wires off and set them aside.
Next, unscrew the dishwasher from its mount and get it off the cabinet. Flip your appliance to its front and let it lie on the floor so you can access the thermostat.
Remove the thermostat bracket by unscrewing it. Then, disconnect the wires connected to it.
Push the old thermostat out of the bracket. The thermostat is small, black, and round.
Get your new thermostat and slot it into the bracket where the old one was placed. Connect the wires to it.
With the new thermostat now mounted on the bracket, screw it back securely in place.
Flip the dishwasher upright carefully then push it back into its cabinet space. Screw it on the mount to keep it in place.
Put the water supply hose back and switch the water valve on again.
Return the terminal box to its palace and reconnect the wires. Screw in its cover tightly.
Return the access panel cover. Plug in your dishwasher.
Broken Air Vent
The air vent aids in drying your dishes inside the dishwasher by bringing in air and helping it circulate around.
If your air vent is broken, your dishwasher won’t have the necessary air supply for its drying cycle. You’ll need to purchase a new air vent and replace the old one.
Solution: Buy a new air vent from Whirlpool or hardware stores.
Unplug your dishwasher from the power outlet before opening its door.
Remove the screws keeping the outer door panel and inner door panel together. After removing the screws, carefully separate the door panels from each other.
Find the control board, which is a small box at the very top of the door. You’ll see it right after separating the outer and inner panels.
Unlatch the control board from its housing to detach it from the outer door panel. Use a screwdriver to unmount it if you’re experiencing difficulty in removing it.
Remove the outer door panel completely and set it aside once the control board is no longer attached to it.
Detach the air vent from the inner door panel. The vent is at the top left corner of the door, right across the control board housing.
After detaching the old air vent, get its rubber gasket and transfer it to the new one.
Install the new air vent to the dishwasher’s inner door panel.
Using the air vent cover, lock the new vent in place. After that, you can now position the outer door panel of your dishwasher in place and align it to the hinges.
Before screwing the inner and outer panels together, mount the control board box to the outer panel again.
When the control board is already mounted, get your screwdriver and screw the outer door panel and inner door panel together.
Close your dishwasher’s door, plug it into its power source, and prepare to start a new cycle.
Improper Loading
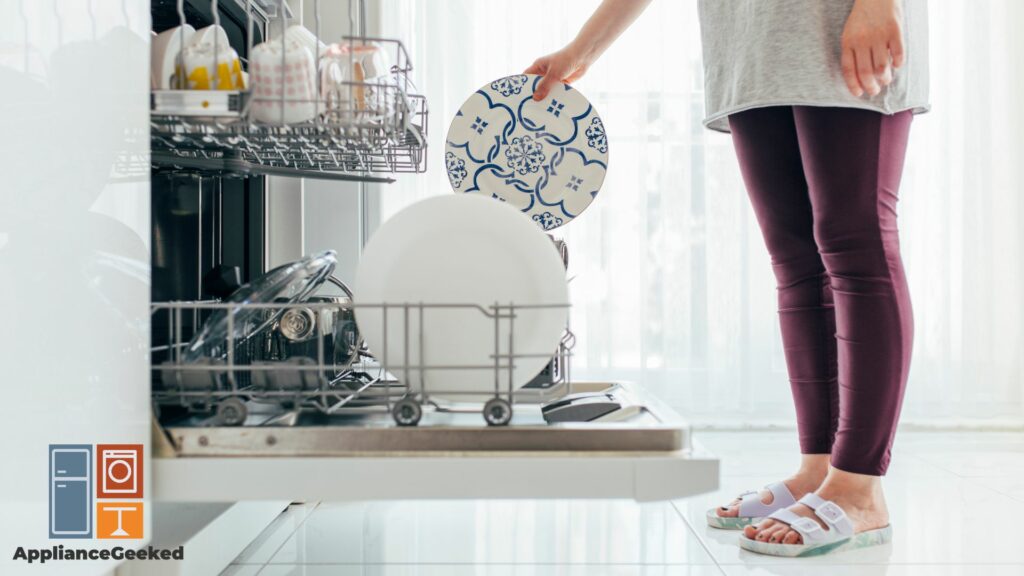
No matter how heavy-duty our dishwashers are, overloading them isn’t a good idea.
Putting too many dirty dishes inside will hinder proper heat and air distribution, leading to an undried load.
Solution: Press the pause or stop button to stop the current cycle.
Open the dishwasher door and pull the dish racks out. Check if the load is not overcrowded.
You’ll know that the dishwasher is overloaded if the dishes are piled atop each other, disorganized, and are not arranged on the rack properly.
Reduce the load by taking a few pieces out, starting with the items haphazardly piled on top of the others.
You should also remove the largest pieces first and set them aside for a wash cycle of their own.
Rearrange the remaining dishes on the rack. Make sure there is enough space between them this time to let the hot air pass.
Push the rack back inside and press the start button.
Depending on the issue, troubleshooting your dishwasher when it’s not drying can take time. But even so, you’ll find that it’s easy to check and fix it as long as you do it step by step.
But if you don’t have time amidst your busy schedule, call your trusted technician and put your dishwasher in good hands.


