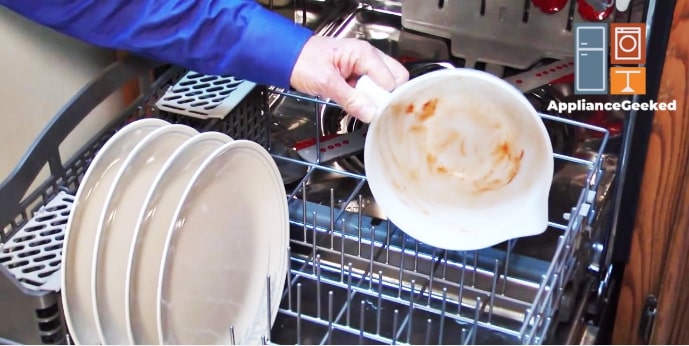
It’s worrying when your dishes aren’t clean even after putting them in your Samsung dishwasher.
Since hand washing your dirty dishes isn’t exactly a favorable solution, let’s talk about what’s causing this issue and what you can do to fix it.
Why is your Samsung dishwasher not cleaning your dishes?
A Samsung dishwasher won’t clean the dishes properly if they are pre-rinsed or loaded incorrectly, the dishwasher’s interior is dirty, or there are water supply issues.
Clean your dishwasher’s interior walls, filters, and nozzle. Reload the dishes and make sure to leave enough space in between them.
If this doesn’t fix the issue, try the following steps:
- Choose a different cycle to wash tough-to-clean dishes.
- Make sure that the water supply and temperature meet your dishwasher’s requirements.
- Re-wash your dishes and add rinse aid to remove the white spots.
Keep reading below to learn more about how to perform these troubleshooting methods step-by-step.
Important Note: Unplug your dishwasher before performing any of the suggested repairs. Press the power button and make sure that the dishwasher no longer lights up.
Causes and Solution
There are 6 possible reasons your Samsung dishwasher isn’t cleaning your dishes after a cycle.
- The dishes have been loaded incorrectly.
- The wrong cycle was selected.
- The dishes were pre-rinsed before they were loaded.
- Too much detergent was used.
- The dishwasher interior is dirty.
- There are issues with the water supply.
With that in mind, here’s a quick overview of how to troubleshoot each issue.
| Causes | Solution |
| Incorrectly Loaded Dishes | Remove all the items in the racks and reload them correctly. Make sure to leave enough space in between each dish to allow the water to pass through. Do a second cycle if you have more dishes to wash. |
| Wrong Cycle Selected | Pick the right cycle to clean your dishes. Choose the Heavy cycle if you are washing tough-to-clean items such as pans, pots, casserole dishes, and other similar items. |
| Pre-rinsed Items | Scrape off large leftover food in your dishes such as bones, vegetable chunks, or pasta noodles. Avoid pre-rinsing your dishes before loading them on the racks. |
| Excessive Detergent | Read the manufacturer’s recommended amount of detergent to use. If you are using the right amount, consider replacing your detergent with a different brand. |
| Dirty Dishwasher Interior | Unplug your dishwasher and pull out all the removable items. Clean the interior walls, racks, and baskets. Remove the filter assembly and wash it thoroughly. Reinstall everything back once they have been cleaned. |
| Water Supply Error • Low Water Supply • Low Water Temperature | Make sure that your dishwasher has enough water supply to operate normally. Check your home’s plumbing or the dishwasher’s inlet valve if you are getting a low-level water issue. Verify that the water temperature is set between 120-149 degrees Fahrenheit. Inspect your dishwasher’s heating element and replace it if it’s damaged. |
Now, let’s talk about what causes these errors and how to resolve them in more detail.
Incorrectly Loaded Dishes
One of the common reasons your dishes still come out dirty after a cycle is that they are loaded incorrectly.
This happens when your dishes are stacked too closely together or facing the wrong way.
If the water from the nozzles doesn’t have enough space to spray into the dishes, heavily dirty and greased items won’t be cleaned thoroughly.
Items that are nested together such as bowls, glasses, spoons, and forks won’t be washed correctly as well.
Solution: Follow the steps below to load your dishes correctly.
- Step 1: Remove all the items on both racks.
- Step 2: Place all the dishes on the top rack if you are only washing a few.
- Step 3: Consider the sizes and number of your washables before loading them. Plan ahead to determine the best loading pattern.
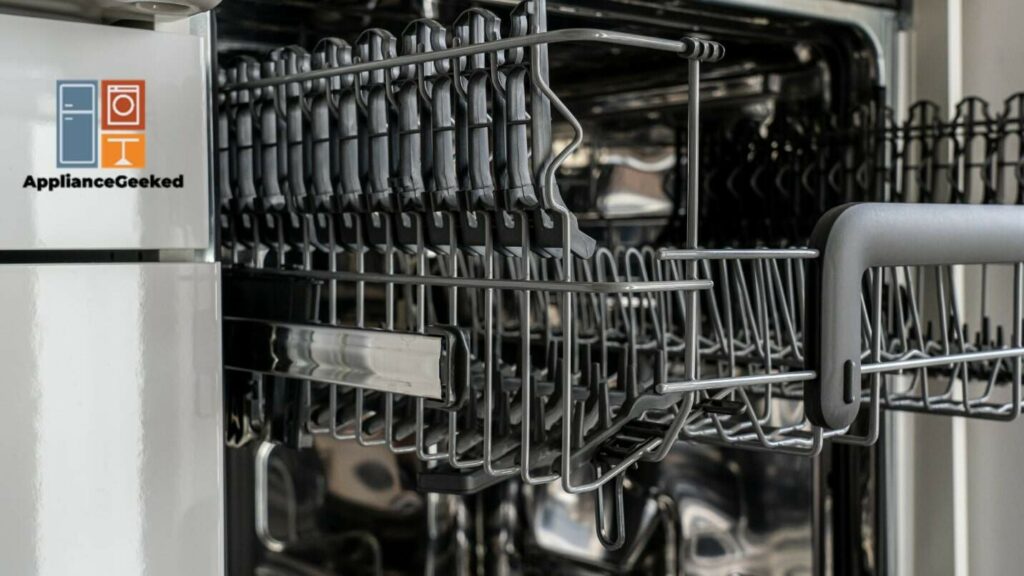
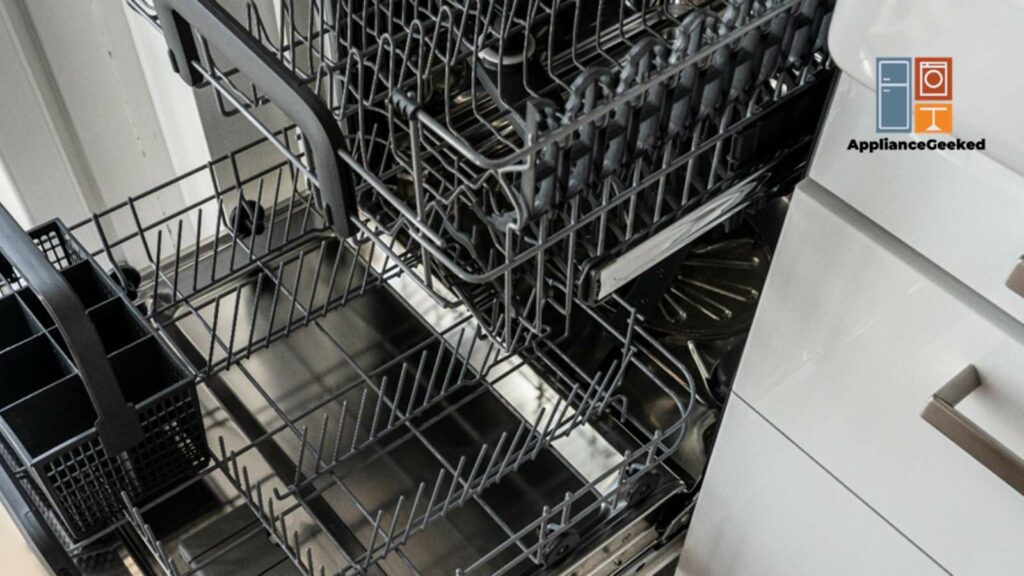
- Step 4: Utilize your dishwasher’s features and possible configurations.
- Step 5: Scrape off large leftover food debris such as bones, meat chunks, or seeds.
- Step 6: Position the dishes so that the dirtiest side is facing the center of the dishwasher.
- Step 7: Place concave items such as bowls and pots face down so water can be sprayed into them.
- Step 8: Make sure that there is enough space in between your dishes.
- Step 9: Load large items such as pots and pans on the bottom rack.
- Step 10: Place smaller items such as saucers, mugs, glasses, and other dishwasher-safe plastic items on the top rack.
- Step 11: If your model has one, use the glass support rack for your stemware. Fold it if not in use.
- Step 12: Use the cutlery basket for your utensils. Make sure that your spoons and forks do not nest with each other.
- Step 13: Load your spoons and forks with the handles down. Load knives the other way around (handles up).
- Step 14: Secure small items so they don’t bounce off or come loose during the cycle.
- Step 15: Make sure that no items are sticking out of the racks so they don’t bump against the water nozzles or WaterWall reflector.
Wrong Cycle Selected
Some dishes can be cleaned with a dry cycle or a normal cycle.
However, items such as pots and casseroles may need a stronger cycle to remove all the grease and food grimes.
If your washables are still dirty after a cycle, you may have chosen an inappropriate setting to do the job.
Solution: Consider the number and dirtiness of your dishes and select the best cycle to clean them. Here are some quick suggestions on which cycle to choose:
- Auto Cycle. This cycle is best used when there are only a few easy-to-wash dishes.
- Normal Cycle. Choose this cycle for washing a regular number of dishes.
- Heavy Cycle: Select this cycle if you’re washing dirtier and greasier items that are used for cooking or serving food.
Pre-rinsed Items
It’s highly recommended to remove large leftover food such as bone pieces and meat chunks on your dishes before loading them into your dishwasher.
This lessens your dishwasher’s workload by only cleaning the grease and smaller food particles left on the dishes.
But in an effort to help your dishwasher clean faster (or better), you might also think it’s a good idea to pre-rinse your dishes.
Pre-rinsing your dishes is not recommended. This is because most detergents attach to the sauce and grease to break them down.
When your dishes are already pre-rinse, the detergents will attach to your dishes instead, covering them with a white film after the cycle.
Solution: Re-wash your dishes and add rinse aid to remove the white film.
On your next cycle, remember to only scrape off larger residual food and leave the sauce and grease on your dishes.
Excessive Detergent
Another likely cause of uncleaned dishes is using too much dishwasher detergent.
While most of the detergent gets washed away during the rinse cycle, some of it can get stuck in the finer grooves of your dishes.
You’ll also be seeing a white film covering some of your glassware and other transparent items.
Solution: Read and follow the manufacturer’s manual on the recommended amount of detergent to use.
Consider using another brand of dishwasher detergent if you are already using the right amount but are still seeing white spots on your dishes.
Avoid using liquid soaps as an alternative since they are not designed for dishwashers.
Dirty Dishwasher Interior
Another possible reason your dishes are not clean after a cycle is that your dishwasher itself is dirty.
If there is food residue left at the bottom of the tub, stuck on the interior walls, or clogged in the filters, it can transfer to your dishes as water is sprayed from the nozzles.
If the water nozzle is left uncleaned for too long, small food particles or detergent suds that are wedged in the openings are sprayed directly onto your dishes during the cycle.
Solution: Clean the dishwasher’s interior using a clean cloth soaked in warm water. Make sure to remove any leftover food and detergent suds on the walls and the bottom of the tub.
Clean the water nozzles or spray arms. To do this, perform the following steps:
- Step 1: Unplug your dishwasher.
- Step 2: Pull out the bottom rack and baskets to access the nozzle.
- Step 3: Remove the nozzle cap by turning it counterclockwise.
- Step 4: Clean the nozzle thoroughly using a dishwasher brush or old toothbrush.
- Step 5: Soak the nozzle in distilled white vinegar overnight then rinse it in running water.
- Step 6: Inspect if the water can pass through all the nozzle openings.
- Step 7: Reinstall the nozzle and lock the cap by turning it clockwise.
- Step 8: Check if you have installed it correctly by spinning it.
Take out the filter assembly to clean it as well. Follow the steps below if your model has a removable filter system:
- Step 1: Unplug your dishwasher.
- Step 2: Remove the lower rack to access the filter assembly.
- Step 3: Turn the filter handle counterclockwise to unfasten the compartment door.
- Step 4: Remove the compartment door and pull out the filter assembly underneath.
- Step 5: Clean the filter and filter door, remove food remains, and soak them in distilled white vinegar overnight. Rinse them in running water.
- Step 6: Reinstall the filter and fasten the filter door in place.
Water Supply Error
Your dishwasher’s water supply plays a major role in cleaning your dishes. Here are some of the reasons it may be causing your dishes to come out dirty.
Low Water Supply
Your dishwasher needs the right amount of water and pressure to function properly.
If you are experiencing a low-level water error, your dishwasher won’t be able to wash tough-to-clean dishes. You’d also be seeing the 9E error code in the control panel.
Solution: Check your water inlet valve for clogs and signs of damage. Pull out the inlet hose and test it to see if water can flow freely from end to end.
Clean the inlet valve and hose and make sure that they are not clogged by hard water minerals, dirt, and other debris.
Straighten any irregular bends on the hose and tighten its connections. Test the water inlet valve for continuity and replace it if damaged.
Low Water Temperature
Hot water is better for cleaning your dishes. If your water is not set at the right temperature, this will significantly decrease your dishwasher’s cleaning performance.
Solution: Check the heating element at the bottom of the tub for breaks, blistering, and discoloration. Perform a resistance reading to make sure that it’s working correctly.
To perform this test, do the following:
- Step 1: Unplug your dishwasher and remove the heating rod. Set it aside somewhere you can perform the test safely.
- Step 2: Adjust the range selection dial of the multitester to the lowest setting of ohms of resistance.
- Step 3: Pinch the probes together to calibrate the meter. Adjust the needle to zero while you’re calibrating.
- Step 4: Use the probes to touch both ends of the heating element.
- Step 5: Check the reading in your tester. A working heating element should give a reading between 0 to 50 ohms of resistance.
Replace the heating element if the needle does not move significantly or at all.
If you connected your dishwasher to a water heater, make sure that your water temperature is set at 120-149 degrees Fahrenheit.
We hope that following these steps helps you improve your Samsung dishwasher’s cleaning performance. But if you’re not very comfortable carrying out these repairs, hire a professional for assistance.


