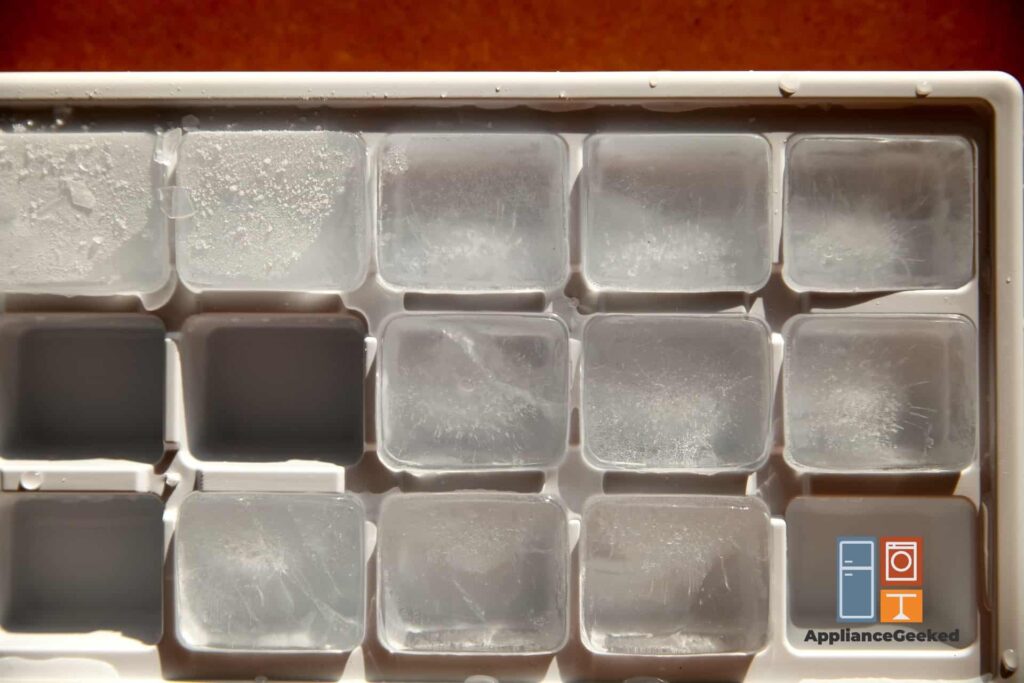
Fixing a slow ice maker can be as easy as lowering the temperature in your freezer or reorganizing its contents. It can be done in a few minutes without any special tools.
Even when the slow ice production is caused by a damaged door gasket or worn-out water filter, you can troubleshoot it in a few simple steps.
We’ll show you how to speed up ice production in your Samsung fridge. We’ll walk you through the entire process and give you a few tips to prevent this from happening again.
Let’s get right into it.
Why is my Samsung refrigerator making ice so slowly?
If your Samsung ice maker is producing ice very slowly, it’s most likely because the temperature in your freezer is too warm. Lowering the temperature should fix your problem.
Other possible causes of slow ice production include an overfilled freezer, a damaged door seal, or a worn-out water filter.
How to Test Your Samsung Fridge’s Ice Production
To test your Samsung fridge’s ice production, empty your ice tray and let your unit run for 24 hours.
Your ice maker should produce at least 120 ice cubes during the test cycle. If it only produces 50 to 90 ice cubes, your ice maker is slow.
Try lowering your freezer’s temperature after the 24-hour test cycle. Then, observe your fridge’s ice production.
If you don’t see any changes, you have to find out the underlying cause of your fridge’s slow ice production. In doing so, you can perform the appropriate fix to speed up the ice-making cycle.
How to Fix Your Samsung Ice Maker’s Slow Ice Production
To fix your Samsung fridge’s slow ice production, activate Power Freeze. Press the Freezer button for three seconds to speed up ice production.
If it doesn’t work, check the door seal or filter for damages and replace them if necessary. You can also organize your freezer to promote better airflow.
We’ll give you step-by-step instructions so you can perform these fixes with confidence. After a few steps, you can speed up the ice-making process of your Samsung fridge.
| Causes | Solutions |
| Incorrect Temperature Settings | Manually adjust the freezer’s temperature from the control panel. Set the temperature to 5º F (-15º C) or lower for optimal ice production. Or, activate Power Freeze. Press the Power Freeze button for three seconds to turn it on. |
| Damaged Door Gasket | Unplug your fridge and open your freezer door. Grab the edge of the old gasket and gently pull it out of the groove. Start from one corner and work your way around the door. Take the new gasket and align its ridges with the grooves on the door. Push the gasket in and make sure every section is sealed in properly. Use a blow dryer in the lowest heat setting to attach sections that aren’t sealing properly. Plug your fridge’s power back in. |
| Overfilled Freezer | Keep your freezer 75% full. Remove any items that don’t need to stay in the freezer compartment, such as defrosted meats, eggs, and sodas. Store your food items on the right shelves or compartments and avoid blocking the air vents. |
| Damaged Water Filter | Buy a genuine Samsung water filter. Get the appropriate filter type for your fridge. Open the fridge doors and turn off the water supply. Turn the old water filter counterclockwise and pull it out of the housing. Insert the new water filter into the housing and turn it clockwise. |
Incorrect Temperature Settings
Your Samsung freezer must be set to 5º F (-15º C) or lower for your ice maker to function properly. You can manually lower the temperature from the control panel.
Or, you can use Power Freeze.
Power Freeze speeds up ice production. It reduces the amount of time it takes to freeze a tray of ice from 90 to 55 minutes.

Solution: To lower your freezer’s temperature and speed up ice production, turn on Power Freeze. Just press and hold the Power Freeze button for three seconds to activate this feature.
Once Power Freeze is activated, your compressor and freezer fan will run nonstop for 10 hours. Your ice maker will also start producing an entire tray of ice faster.
If your ice bucket reaches its maximum capacity after 10 hours, your fridge will automatically deactivate the Power Freeze function.
Damaged Door Gasket
If resetting the temperature isn’t speeding up ice production, check the door gasket around your freezer for dirt build-up or damage.
Dirt and grime will often build up around your door gasket, preventing it from closing properly. You can try cleaning the dirt on your freezer door gasket with a damp cloth and mild soap.
However, if you see any damage to the rubber lining, you have to replace it. A faulty door gasket will let cold air seep out of the food compartment, making it harder for your freezer to maintain optimal temperatures.
Here are a few tips that can help you seal your gasket properly.
- Before installing the gasket, lay it out in a warm area so it can return to its natural shape. Do this at least 24 hours before installing it.
- Soak sections of the gasket in hot water.
- Use a blow dryer in the low heat setting to seal the gasket properly.
- Let the gasket acclimate to your door.
When you buy a new gasket, it usually comes folded or twisted inside the package. This is why it’s important to prep it before installing it.
After laying your new gasket flat for 24 hours, as we recommended, you can start installing it with our guide as your reference.

Solution: To fix your freezer’s damaged door gasket, follow these steps:
- Step 1: Unplug your fridge.
- Step 2: Open your freezer door.
- Step 3: Grab the edge of the old gasket and carefully pull it back to remove it from the groove. Start from one corner and work your way around the freezer door.
- Step 4: Install the new door gasket. Align the ridges on the gasket with the grooves of the door and push it in firmly.
- Step 5: Use a blow dryer in the lowest heat setting to seal the gasket properly. Don’t overdo it because the rubber might melt.
- Step 6: Plug your fridge’s power back in.
Overfilled Freezer
If you keep too much food inside your freezer, you can restrict airflow inside and overwork your condenser. Slow ice production is one of many possible consequences of an overfilled freezer.
Fortunately, it’s so easy to resolve.

Solution: To promote better airflow in your freezer, keep it about 75% full. Organize everything inside without blocking any air vents.
Here are a few tips for maintaining a well-organized freezer:
- Avoid storing items that need to stay frozen near the door, which is the warmest zone in your freezer.
- Use the top shelf to store items that won’t leak or contaminate other food.
- Remove items that don’t need to be in the freezer, such as defrosted meats, fish, eggs, cooked pasta, sodas, and more.
- Store large food packages vertically to save space. Just make sure you aren’t blocking the vents.
Damaged Water Filter

Your water filter should be replaced at least every six months. If your household frequently uses the water dispenser or ice maker, you might have to replace the filter more often.
An unchanged water filter can cause scale or deposit buildup in your ice maker, which slows down ice production. To fix this problem, you must replace the filter with a new one.
| Remember that only authentic Samsung water filters are designed to work with your fridge. If you use a non-brand filter, you might do more harm than good to your fridge. |
HAF-CIN and HAF-QIN Water Filters
The best way to determine the type of filter your fridge needs is to check the one you currently have. If you have a modern Samsung fridge, you’ll most likely have a HAF-CIN (round) or a HAF-QIN (square) water filter.
Solution: To replace your Samsung fridge’s HAF-CIN or HAF-QIN water filter, follow these steps:
- Step 1: Buy an authentic Samsung water filter.
Using a non-brand water filter can cause all sorts of problems for your Samsung refrigerator, including water leakage. Thus, only use a genuine Samsung water filter as a replacement.
To verify the authenticity of your water filter, detach the Authentication Tag on the body of the filter. Put the tag on the back of the magnet, which comes with your purchase.
If you see green stripes, it means you have a genuine Samsung water filter.
- Step 2: Locate the water filter on your Samsung fridge.
If you own a Samsung French-door unit, your water filter is most likely located between the crisper drawers. In other fridge types, it will still be somewhere inside the main compartment.
Check your user manual to be sure.
- Step 3: Turn off your water supply.
- Step 4: Remove the old water filter. Rotate it counterclockwise and carefully pull it out of the housing.
- Step 5: Remove the cap on the new filter. Then, insert the new filter into the housing and turn it clockwise to keep it secure.
- Step 6: Reset your water filter light.
Press the Filter Reset button on the control panel until the indicator light changes back to its normal color. This resets the timer and reminds you six months later to replace your filter.
HAFCU1 Water Filter
Older Samsung refrigerators use a HAFCU1 water filter, which is a lot bigger than the modern ones.
Solution: To replace your Samsung fridge’s HAFCU1 filter, follow these steps:
- Step 1: Turn off the water supply.
- Step 2: Locate the water filter in your Samsung fridge.
- Step 3: Rotate the old water filter to the left to unlock it.
- Step 4: Pull down the old water filter to remove it from its housing.
- Step 5: Take your new water filter and insert it into the housing. Then, twist it to the right to lock it in place.
- Step 6: Restart your water filter timer. Press the Filter Reset button until the indicator light changes color.


