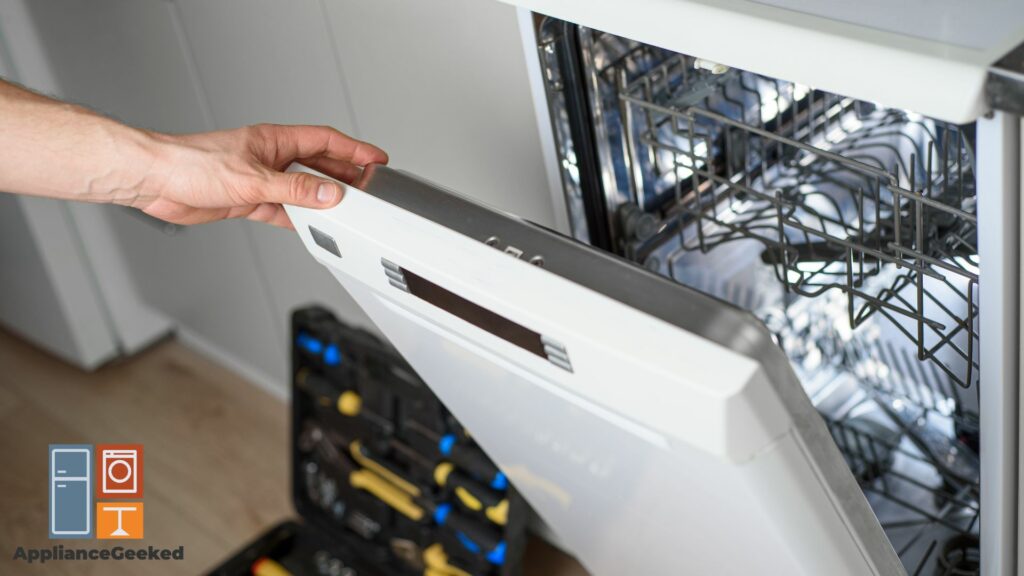
Whenever we encounter something wrong with our Whirlpool dishwasher, we disassemble it to clean up its dirty parts or fix and replace damaged components.
But have you ever experienced finding nothing wrong with the machine’s parts yet it’s still not working? If that’s the case, it’s your Whirlpool dishwasher’s control board that’s causing the issue.
If you think your dishwashing machine is malfunctioning, watch out for any sign pointing to control board issues before anything else.
Signs That Your Whirlpool Dishwasher’s Control Board Has Issues
Flashing lights, error codes on the display screen, and unresponsive buttons are signs that your dishwasher’s control panel has a problem and needs to be replaced.
The Whirlpool dishwasher’s control board may malfunction due to power source issues, worn-out keypads, and even activated child locks.
If you see these signs on your Whirlpool washer, its control board has a problem. Before replacing it, try these troubleshooting steps first to address each issue.
Whirlpool Control Board Problems With Easy Solutions
Don’t worry if your Whirlpool dishwasher’s control board acts up! Before you buy a replacement, try these troubleshooting steps first.
| Problem: | Solution: |
| Blinking lights | • Reset the control board. • Start by turning the dishwasher off. Unplug it from the power outlet. • Let it rest and stay disconnected for up to 15 minutes. • Plug it back in and turn it on. Select “High” on the control panel. • Next, choose a heat cycle by pressing the corresponding button. • Leave it be again for another minute. • Press “High” and select a heat cycle again. This will reset the control board. |
| Unresponsive keypads | • Switch off or unplug the dishwasher from the power source. • Unscrew the control board and remove its cover. • Find the connection slot in the control board. The slot is where the wires, cables, and other components are connected. • Disconnect the ribbon cable of the keypad from the control board. • Next, see if the other cables and wires are securely in place. • Reassemble the control panel, but keep the dishwasher door ajar. • Reconnect the power to the dishwasher by plugging it into its power source. • Wait 5 seconds to pass. After, gently close the dishwasher door. • Check if the control board detects a short circuit. • Blinking lights, error codes, and unresponsiveness are indications that the control board detected a short circuit. • If the dishwasher turns on the drain motor, your control board is fine. • Reconnect the ribbon cable securely then close the control board. • Reset your dishwasher. |
Don’t give up on your Whirlpool dishwasher’s control board just yet! Let’s walk through these easy steps and fix the issue like a pro.
Blinking Lights
Rapidly blinking lights serve as warning signals and it’s your dishwasher’s way of telling you that something’s wrong with it.
However, this doesn’t automatically translate to a serious problem. Most of the time, the control board just needs a quick reset!
Solution: To reset the control board, switch your dishwasher off then unplug it from its power outlet.
Let it stay disconnected from the power source for 15 minutes to ensure that it is completely rested and drained.
After such time, connect it to the power source again and turn it on. Press “High” on the control panel.
Next, select any of the heat cycle options. Leave it to rest for another minute.
Press “High” and select a heat cycle again to reset the control board.
Quick tip:
Besides pressing “High”, you can also press the “Pots and Pans” option when resetting the dishwasher.
Unresponsive Keypads
If the control board refuses to initiate a command to start a cycle, your keypads are either damaged or completely dead.
Unresponsive keypads are often caused by loose or mismatched wire connections.
Ensuring that the wires, cables, and components inside your control board are in place can solve your keypad problem.
Solution: Switch off or unplug the dishwasher first to avoid unsavory accidents during the process.
Remove the screws on your dishwasher’s door to separate its inner and outer panels.
Find the control board, which is a white square box located at the top.
Next, locate the connection slots of the control board and remove its covers. These are where all the wires and cables are connected.
Find the ribbon cable of the keypad in the control board. The ribbon cable has a flat and flexible structure with a ribbon-like appearance.
Check if the other cables and wires are securely slotted in their proper places. Keep the ribbon cable disconnected.
Reassemble the control board, but don’t close the dishwasher’s door completely. Leave a small gap.
Plug in the dishwasher to its power outlet then turn it on. Wait for 5 seconds to pass before gently closing the door.
Wait and observe if the control board detects a short circuit. If it does, you’ll see rapidly blinking lights and an error code will flash on the display screen.
You’ll see the E2/F2 error code flashing, which indicates that the control board fails to detect a signal from the control panel or user interface.
The dishwasher will also remain unresponsive if the control board detects a short circuit.
On the other hand, the control board will activate the drain motor if it’s working fine.
After ensuring that your control board is functioning well, reconnect the ribbon cable securely.
Reset your dishwasher by turning it off first and disconnecting it from its power source for 15 minutes.
Plug it again into the power outlet and switch it on. Press the “High” option on the control panel.
Next, select a heat cycle. Leave it alone for a minute.
Press “High” and select a heat cycle again. This will automatically reset the control board.
How do I test my Whirlpool dishwasher’s control board?
It’s understandably confusing how to know if your dishwasher’s control board is really faulty. Fortunately, you can test the control board first by following these steps.
Step 1: Switch your dishwasher off and unplug it from the power source.
Step 2: Unscrew and separate your dishwasher’s door panels to locate the control board.
Step 3: Remove the control board’s cover.
Step 4: Check all the wires and cables, and remember their placements.
Step 5: Carefully disconnect all the wires and cables from the control board.
Step 6: Reconnect the wires and ensure that they are tight and securely attached to the control board.
Step 7: Grab a multimeter for testing. You can purchase one from hardware stores and appliance centers.
Step 8: Set the multimeter to volts AC.
Step 9: Plug in your dishwasher to the power source and turn it on.
Step 10: Connect the multimeter’s probes to the control board’s terminal wires.
Step 11: Check the multimeter’s reading. It should show around 120 volts.
Step 12: Using the multimeter, check if the other parts of your dishwasher are working by simply letting the probes touch them.
If the other components of your dishwasher are functioning well, it means that your control board is not working despite receiving power according to the multimeter’s readings.
To understand the process better, check out this video:
Your Whirlpool dishwasher’s control board is defective and needs to be replaced.
How to Replace Your Whirlpool Dishwasher’s Control Board
Replacing your dishwasher’s control board is easier than you think! Just get your screwdriver and new control board ready then follow these steps.
Step 1: Turn your dishwasher off and disconnect it from the power source.
Step 2: Open your dishwasher’s door and remove the screws on its panels.
Step 3: Detach the outer door panel from the inner door panel.
Step 4: Locate the control board and unscrew it from the outer door panel.
Step 5: Detach the board by gently pulling it off.
Step 6: Remove the wire tab covers to access the wires and cables.
Step 7: Take note of the wire placements.
Step 8: Disconnect the wires on the control board.
Step 9: Get your new control board and dispose of the old one. You can order a new control board from Whirlpool’s official store or appliance centers near you.
Step 10: Remembering the wire placements, attach the wires to your new control board and put the wire tab covers back.
Step 11: Get your dishwasher’s outer panel and screw the control board back to it.
Step 12: Reattach the outer panel to the inner panel by screwing them together securely.
Step 13: Close the dishwasher door.
Step 14: Plug the dishwasher into its power outlet and turn it on.
Here’s a closer look at how to replace the control board:
With a new control board installed, your dishwasher is now good to go and ready for a cycle.
If your control board is broken, your dishwasher can’t run a cycle. In worst-case scenarios, it won’t even turn on at all!
You should test your control board immediately to see if it’s malfunctioning. With this troubleshooting guide, be confident that you can get your dishwasher working again in no time.
There’s also nothing wrong with asking a technician for extra help. Feel free to call for professional assistance so you can rest easy.


