One of the simple joys in life is not having to do the dishes, especially after a hectic workday. All you have to do is scrape off the leftovers, load the plates into the dishwasher, and close the door to run a cycle—but what if it doesn’t?
If your dishwasher door won’t close, it won’t start. Lucky for you, it’s mostly an installation issue, which you can fix right away.
So you won’t have to do the dishes by hand, we’ve made a quick guide to help you troubleshoot a GE dishwasher door that won’t close.
Why won’t my GE dishwasher door stay closed?
A GE dishwasher door won’t stay closed due to poor installation. If the dishwasher isn’t level, the door is misaligned, or the racks are installed incorrectly, the door will not close.
The door latch can also get damaged due to natural wear, preventing the dishwasher from closing and running a cycle.
If your dishwasher is detecting an open door, here are a few steps that can help you identify the underlying cause.
- Do a visual inspection.
Does the door hit the cabinet when you try to close it? Is the dishwasher tilting sideways – or just the door?
Most of the time, a quick inspection of the dishwasher will help you determine the root cause of the problem.
- Enter the diagnostic error code mode.
If the door closes but the dishwasher won’t run a cycle, you most likely have an issue with the latch.
Entering the diagnostic error code mode will help you verify a door operation problem.
How to Fix a GE Dishwasher Door That Won’t Close
A GE dishwasher door that won’t close can often be fixed with proper installation and correct leveling. If the door is misaligned, lift it and move it back onto the hinges until you hear it lock in place.
If the door latch is faulty, a replacement is necessary, which you can perform yourself.
Here’s a quick overview of the common causes of your GE dishwasher’s door problems, along with the necessary steps to resolve them.
| Causes | Solutions |
| Newly Installed Dishwasher | • To close a newly installed GE dishwasher, push in on the top center of the control panel until the door latches. |
| Poor Leveling | • Unplug the dishwasher or turn it off at the circuit breaker. Wear protective gloves. • Unmount the access panel at the bottom of the dishwasher using a ¼” nut driver. • Use a Phillips screwdriver to unthread the screws mounting the dishwasher to the cabinet. • Open the dishwasher door and remove the lower rack. • Place a carpenter’s level on the rack rail to check if the dishwasher is balanced from front to back. • Slightly pull the dishwasher out of the cabinet. • Set the carpenter’s level on top of the door to check if it’s level from side to side. • Adjust the leveling legs using your hands or a wrench. Rotate the leg clockwise to raise its height and counterclockwise to lower it. • Use the carpenter’s level to check if the dishwasher is balanced horizontally and vertically. • Mount the dishwasher to the cabinet and reinstall the access panel. • Restore power. |
| Incorrect Rack Installation | • Press the handle on both sides of the upper rack to adjust its height. • Push the rack down to lower it, or pull it up to raise it. |
| Improper Loading of Dishes | • Add glasses, bowls, cups, and other small items to the top rack. Place them upside down, facing the spray arm. • Load plates, platters, and other similar items vertically on the bottom rack, allowing water jets to pass through the dinnerware for optimal wash performance. • Add utensils to the silverware basket. Mix the knives, forks, and spoon to avoid nesting. |
| Misaligned Door | • Open the door at a 15-degree angle from the tub. • Hold the door with both hands and carefully lift it. Move it back onto the hinges until it snaps into place. • Check if the door opens and closes smoothly. If it doesn’t, repeat steps 2 and 3. |
| Damaged Door Gasket | • Unplug the dishwasher and turn off the water supply valve. • Open the door and carefully pull out the old rubber gasket. • Take the new gasket. Turn it around and locate the colored mark that indicates its center point. Align the mark with the door latch or the center of the tub. • Insert the gasket into the groove with the mark facing inward. Then, work your way around the door. • Finish by pressing the gasket into the channel to prevent any issues with the door. • Close the door properly and check if it latches. • Restore power to the dishwasher and turn on the water supply. |
| Faulty Door Latch | • Unthread the screws securing the dishwasher to the countertop. • Extend the upper rack and pry the tabs to release the end caps on the slide rails Then, pull the rack off the rails. • Unfasten the screws on the access panel at the base of the dishwasher. Remove the panel and set it aside. • Carefully move the dishwasher out of the cabinet. • Open the door and unthread the screws securing the latch. • Disconnect the wire on the old latch to release it. Then, reconnect the wire to the new door latch. • Mount the latch in place using its screws. Gently slide the dishwasher into the cabinet. • Reinstall the access panel along with its screws. Reattach the top rack. • Rethread the mounting screws to secure the dishwasher to the cabinet. • Plug in the dishwasher and turn on the water supply. |
Newly Installed Dishwasher
If your dishwasher is new, its door gasket needs enough time to properly sit within the groove.
Simply put, there is nothing wrong with your GE dishwasher. At this point, the rubber seal that goes around the door is still very stiff, which is why the dishwasher can’t close properly.
Just continue using your GE dishwasher because the heat from the cycles will make the rubber gasket more pliable. About 10 wash cycles might be needed for the seal to seat properly.
Solution: To close a newly installed GE dishwasher door, push in on the top center of the control panel until the door latches.
Poor Leveling
Whenever you’re moving the dishwasher out of the cabinet for maintenance, make sure that it’s installed and leveled properly. If you don’t, the door might make contact with the cabinet, preventing it from closing all the way.
One of the tell-tale signs of poor leveling is a crooked dishwasher. Aside from affecting the door operation, it can also influence the dish rack operation and cleaning performance.
If you open the door of a poorly leveled dishwasher, the rack will just roll out. It indicates that the dishwasher is angled forward and must be adjusted accordingly.
What you’ll need:
- Protective gloves
- ¼” nut driver
- Phillips screwdriver
- Carpenter’s level
- Wrench
Solution: To level a GE dishwasher, follow these steps:
- Step 1: Unplug the dishwasher or turn it off at the circuit breaker.
- Step 2: Wear protective gloves.
- Step 3: Unmount the access panel at the bottom of the dishwasher using a ¼” nut driver.
- Step 4: Remove the toe-kick panel, if your model has it.
- Step 5: Use a Phillips screwdriver to unthread the screws mounting the dishwasher to the cabinet.
- Step 6: Open the dishwasher door and remove the lower rack.
- Step 7: Place a carpenter’s level on the rack rail to check if the dishwasher is balanced from front to back.
- Step 8: Carefully pull the dishwasher out of the cabinet.
- Step 9: Set the carpenter’s level on top of the door to check if it’s level from side to side.
- Step 10: Adjust the leveling legs using your hands or a wrench. Rotate the leg clockwise to raise its height and counterclockwise to lower it.
- Step 11: Use the carpenter’s level to check if the dishwasher is balanced vertically and horizontally.
- Step 12: Reinstall the access panel and mount the dishwasher onto the cabinet.
- Step 13: Plug in the dishwasher.
| Tip: • If your dishwasher has a rear leveling system, you can adjust the height of the back and front legs from the front of the unit. Adjust the front legs first before you work on the back legs. • To adjust the rear leveling system, turn the bolt clockwise to raise the height and counterclockwise to lower it. |
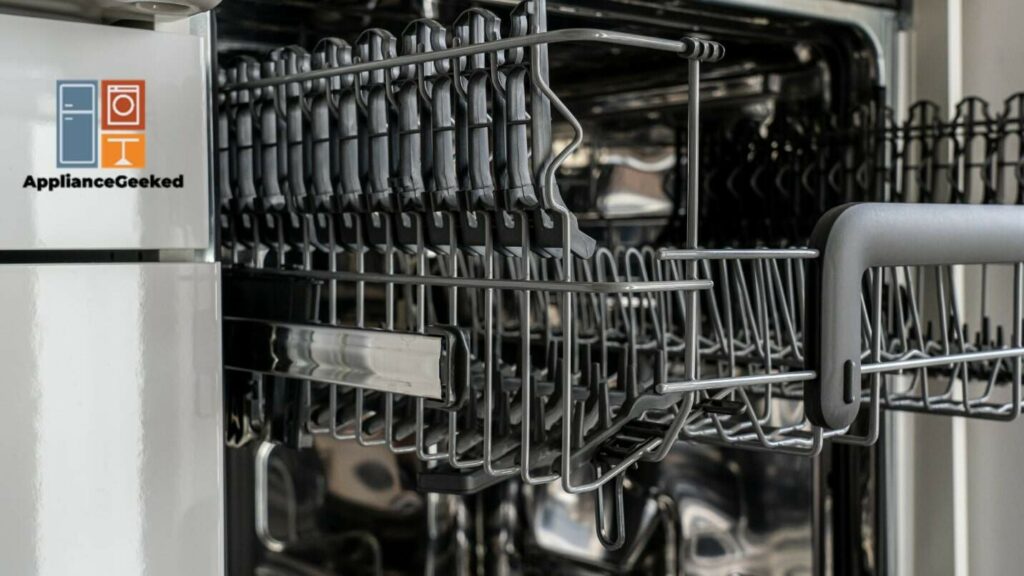
Incorrect Rack Installation
GE dishwashers have varying rack designs and can be configured differently depending on the model.
For models that start with GDF/GDT/PDT/CDT/DDT/ADT/ZDT, they come with an adjustable upper rack. You can adjust it up to 2 inches lower or higher to accommodate larger items on the bottom rack.
Both sides of the rack must be adjusted. If only one side is raised or lowered, it can prevent the door from closing properly.
Solution: To adjust the height of the upper racks, press the handle on both sides of the rack. Push the rack down to lower it, or pull it up to raise it.
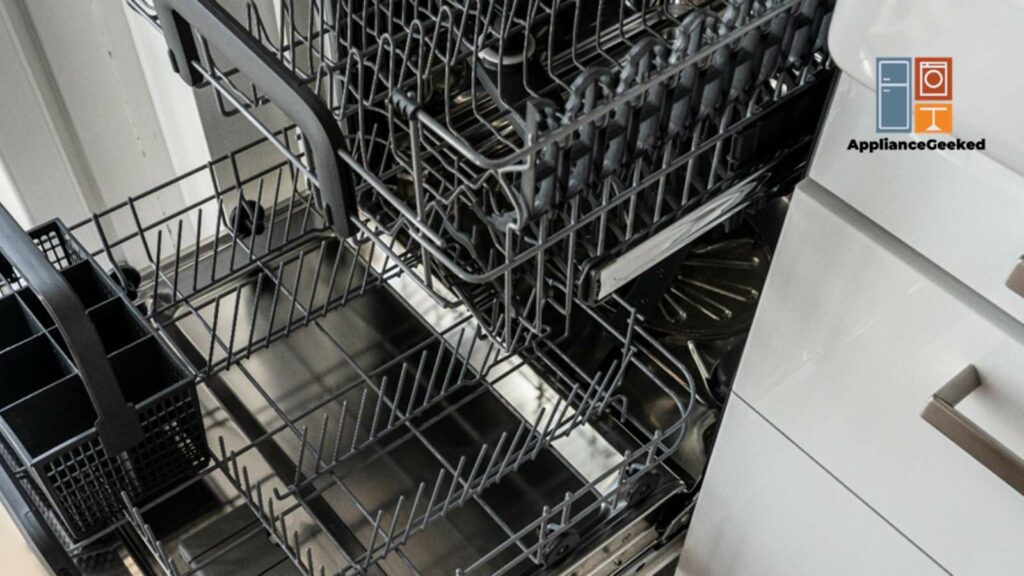
Improper Loading of Dishes
There is a correct way to load your dishwasher. If you’re not doing it the right way, it will cause all sorts of performance issues.
The spray arms will not rotate and the soap dispenser will not open(Ge dishwasher soap dispenser not opening). Your dishwasher door might not even latch properly due to a poorly loaded dishwasher.
To optimize the performance of your appliance, load your dinnerware and cookware in the right racks.
Solution: Follow this dishwasher loading guide to prevent obstructions and achieve sparkling clean dishes after every wash.
- Upper Rack: Add mugs, cups, wine glasses, and other small items on the top rack. Angle them upside down facing the center of the dishwasher so that the spray arms can clean them thoroughly.
- Lower Rack: Load plates, platters, and other similar items vertically on the bottom rack, allowing water jets to pass through the dinnerware for optimal wash performance.
Add large cookware along the side or the back of the lower rack, angling them downward toward the spray arms for better cleaning. Make sure their handles don’t stick out of the racks.
- Silverware Basket: Mix and distribute the silverware in the basket to prevent nesting. Place knives and forks with their handles facing up to prevent injury when unloading.
Load tall cutlery in front of the basket to prevent the soap dispenser from getting obstructed. Make sure the utensils don’t extend through the basket so that the door can latch properly.
| Tip: • Dishwasher-safe plastics can be placed in the upper and lower racks in models without an exposed heating element. • Never mix stainless and sterling steel cutlery in the basket to prevent pitting. • Place the silverware basket in the lower rack unless the user manual suggests otherwise. On select models, you can install the basket on the door or the upper rack. |
Misaligned Door
If your racks are installed correctly but the door appears crooked, it could be an alignment issue. Perhaps the door has come off its hinges.
With a quick visual inspection of the hinges, you can easily confirm this. You must fix this issue right away as it can cause your dishwasher to leak—if it even runs a cycle.
Solution: To fix a misaligned GE dishwasher door, follow these steps:
- Step 1: Unplug the dishwasher and turn off the water supply.
- Step 2: Open the door at a 15-degree angle from the tub.
- Step 3: Gently lift the door up and move it back onto the hinges until it snaps into place.
- Step 4: Check if the door opens and closes smoothly. If it doesn’t, repeat steps 2 and 3.
Damaged Door Gasket
Like other dishwasher components, the door gasket can get damaged for a variety of reasons, including natural wear, intense use, or poor maintenance.
Whether the rubber seal is loose or worn out, it will require replacement, which you can do without professional assistance.
Solution: To replace a GE dishwasher door gasket, follow these steps:
- Step 1: Unplug the dishwasher and turn off the water supply valve.
- Step 2: Open the door and carefully pull out the old rubber gasket.
- Step 3: Take the new gasket. Turn it around and locate the colored mark that indicates its center point.
- Step 4: Align the mark with the door latch or the center of the tub.
- Step 5: Insert the gasket into the groove with the mark facing inward. Then, work your way around the door.
- Step 6: Finish by pressing the gasket into the channel to prevent any issues with the door.
- Step 7: Close the door properly and check if it latches.
- Step 8: Restore power to the dishwasher and turn on the water supply.
| Tip: Avoid stretching out the rubber gasket when you’re installing it. This will cause misalignment in the corners and the tails. |
Faulty Door Latch
There’s nothing you can do to save a broken door latch. Once it is defective, you must replace it to continue using your dishwasher.
You can order a new seal from GE Appliance Parts or any repair shop near you. Make sure to get a replacement for your specific dishwasher model.
Solution: Enter diagnostic error code mode to check the door status and confirm if it is closed properly. If the latch is broken, replace it.
- Step 1: Simultaneously press the Start and Cycle Select buttons for 5 seconds.
- Step 2: Close the door.
- Step 3: Check the LED lights on the display.
If the LED light is blinking, it means that the dishwasher detects an open door. In this case, you must buy a new door latch and replace the faulty one.
What You’ll Need:
- Phillips screwdriver
- 1/4” drill driver or nut driver
- New door latch
To replace a broken door latch on a GE dishwasher, follow these steps:
- Step 1: Unplug the dishwasher and turn off the water supply valve.
- Step 2: Unthread the screws securing the dishwasher to the countertop.
- Step 3: Extend the upper rack and pry the tabs to release the end caps on the slide rails.
- Step 4: Pull the rack off the rails.
- Step 5: Unfasten the screws on the access panel at the base of the dishwasher.
- Step 6: Remove the panel and set it aside.
- Step 7: Carefully move the dishwasher out of the cabinet.
- Step 8: Open the door and unthread the screws securing the latch.
- Step 9: Disconnect the wire on the old latch to release it.
- Step 10: Connect the wire to the new door latch.
- Step 11: Mount the latch in place using its screws.
- Step 12: Gently slide the dishwasher into the cabinet.
- Step 13: Reinstall the access panel along with its screws.
- Step 14: Reattach the top rack.
- Step 15: Rethread the mounting screws to secure the dishwasher to the cabinet.
- Step 16: Plug in the dishwasher and turn on the water supply.
- Step 17: Test if the dishwasher runs a cycle.
Frequently Asked Questions
If your GE dishwasher door often falls open, it’s a pretty clear indicator that it is having trouble latching properly. In such cases, you might even have to slam the door shut just to get it to latch.
Another way to confirm a bad door latch is by entering the diagnostic error code mode on your GE dishwasher. You should do this once you’ve ruled out more common issues like installation problems.
Just press the Start and Cycle Select buttons simultaneously for 5 seconds, then close the door. If the LED indicator light is blinking, your dishwasher is detecting an open door.
A GE dishwasher door will appear crooked or misaligned when one side comes off the hinges. You can easily fix this by opening the dishwasher door, lifting it with both hands, and pushing it back until the door locks into place.