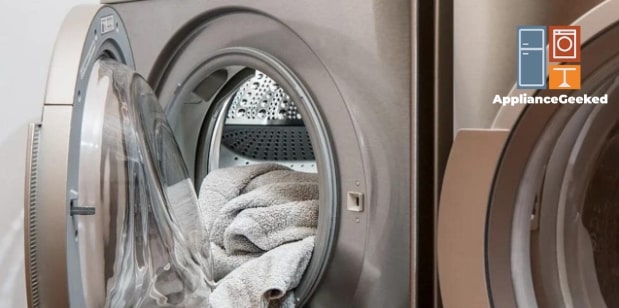
Samsung dryers are well-known for being user-friendly, durable, and easy to maintain — it’s no wonder they’re a staple for every household!
Despite its handiness, though, your dryer isn’t completely foolproof. Under careless mistakes or eventual wear and tear, it can run into errors.
But every problem has a solution — better yet, every problem can be avoided if you know what to keep an eye out for.
This guide will prepare you for all the common issues your dryer may encounter. From recognizing the problem to troubleshooting it, we’ll walk you through all the steps!
Common Samsung Dryer Issues and How to Troubleshoot Them
Your dryer may send error codes, which can tell you which part of the dryer to troubleshoot. In some cases, these errors are part of a bigger issue in your dryer’s components.
Below you’ll find common issues that you might encounter with your Samsung dryer and their corresponding solutions.
| Problems | Solution |
| Dryer won’t start | Check if the dryer’s door is firmly shut. The light inside the dryer’s drum should turn off when you close the door. Deactivate special settings like Child Lock or Eco Dry. Afterward, restart the dryer. Upon restart, press the Start button and keep an ear out for a low humming from inside the dryer. A humming noise indicates that the motor is running. |
| Dryer won’t spin | Turn off the Child Lock setting, then run a Timer test on your dryer to check if it can start a cycle properly. Once it starts a cycle, unplug your dryer and reach into the drum and spin it by hand to check for any possible damage to the drum system. |
| Dryer won’t heat up or dry clothes | Unplug your dryer and cycle the circuit breaker. Clean the exhaust vent, lint filter, and moisture sensor of any residue or lint buildup. Afterward, check for any damage to the heating element or thermal fuse. |
| Dryer takes too long to dry clothes or ends the cycle too early | Restart the dryer to make sure that special drying settings like Eco Dry are not activated. Check the exhaust vent, lint filter, and moisture sensor for any residue or lint buildup. |
| Dryer makes squeaking or grinding noises | Fill the drum only ¾ of the way during a cycle. If the squeaking or grinding noise persists, unplug your dryer and reach into the drum to spin it by hand. If there’s a faint squeaking or grinding noise, check for damages in the drum system. |
Remember to begin each troubleshooting method by resetting your dryer. This can deactivate any special settings you might have accidentally switched on.
Afterward, you can safely proceed to open your dryer’s back or front panels and replace faulty internal components.
But what causes these issues in the first place? We’ll explain more below, so keep on reading!
Dryer Won’t Start
Your dryer is all powered up and loaded with laundry for your first cycle, but suddenly, it refuses to start, and you’re wondering ‘what happened?’
A dryer that won’t start is an across-the-board issue, and it’s one of the problems where you’ll have to check every part of your dryer to diagnose the problem.
The first thing to do in this situation is to start with the easy parts — reset your dryer. Let it rest for 30 to 60 seconds before powering it back on.
If the issue persists, here are common causes you should look into and troubleshooting tips for a Samsung dryer that won’t start.
| Cause | Solution |
| Door not latched | Check if the door’s latch is installed securely in place. Listen for an audible click when you close the dryer’s door. If there’s none, replace the mechanical lock on the door latch. |
| Defective door switch | Observe if the light inside the drum turns off when you close the door. Unplug the dryer and check for loose or damaged wirings on the door switch assembly. Replace them if necessary. |
| Dryer settings | Observe the symbols that light up on the dryer’s display screen. Deactivate dryer settings that use delayed start times or longer drying times. Also, make sure that the Child Lock setting isn’t activated. |
| Start switch failure | Check if the Start button is operating properly by pressing it and waiting for the dryer to hum. If you don’t hear humming after pressing Start, unplug the dryer and run a continuity test on the switch’s wirings, or replace it with a new one. |
| Faulty dial timer | Unplug the dryer and run a continuity test on the dial timer. If there’s no continuity, replace the dial timer. |
| Defective main control board | Unplug the dryer and check the main control board for any loose or damaged wiring. Replace the control board if necessary. |
| Insufficient power or voltage | Check if the dryer’s power cord is loose or damaged. Make sure it’s connected to a power circuit and not an extension cord. |
| Blown thermal fuse | Unplug the dryer and remove the drum to access the heating element. Test the thermal fuse for continuity or any damages. Replace the fuse if necessary. |
| Loose or damaged drum belt | Unplug the dryer and reach into the drum to spin it by hand. If it turns freely, remove the top and front panels of the dryer to inspect the drum belt. Replace it if necessary. |
| Malfunctioning belt switch | Unplug the dryer and disassemble the panels to get access to the drum belt. Check if the belt switch is damaged. Replace it if necessary. |
| Broken idler pulley | Unplug the dryer and remove the top and front panels to access the drum. Remove the drum and the drum belt to inspect the idler pulley. Check if it can spin easily on his shaft; if not, replace it. |
| Drive motor failure | Unplug the dryer and remove its panels to get access to the drive motor and blower wheel. Check the blower wheel for any blockage and clean it out as necessary. Inspect the motor attached to it for any damage and replace it. |
Dryer Won’t Spin
The more you use your dryer, the sooner it’ll run into mechanical issues. When you find your dryer all powered up and loaded but won’t spin, a likely cause for this is worn-out internal components in its drum system.
The drum system consists of your dryer’s drive belt, idler pulley, drum roller and axle, drum bearing, and drum glide. These are arranged in a pulley system, so when one of these gets worn out or damaged, it affects how the rest of the drum system functions.
Though this is an issue that happens over time, there are instances where neglect speeds up the wearing down of your dryer’s drum system.
Take a peek at what can cause your Samsung dryer not to spin, even if it powers on just fine.
| Cause | Solution |
| Child lock activated | Press and hold the two buttons above the Child Lock label for 3 seconds or until the smiling icon on the dryer’s display screen disappears. |
| Insufficient power or voltage | Check the dryer’s power cord for any loose or damaged wiring. If the dryer is connected to an extension cord, transfer it to a separate circuit to make sure it’s receiving sufficient electrical power. |
| Door switch malfunction | Unplug the dryer and carefully unscrew the door assembly. Check the door switch for any loose or damaged wiring. |
| Broken drive belt | Unplug the dryer and reach into the drum to spin it by hand. If it turns easily, the belt is either loose or broken. Disassemble the dryer to replace the broken drive belt. |
| Broken idler pulley | Unplug the dryer and access the drum by disassembling the top and front panels. Remove the drum and its belt to inspect the idler pulley at the back. Check if it can spin easily on his shaft; if not, replace it. |
| Broken drum roller and axle | Unplug the dryer and access its drum. Remove the drive belt and turn the drum by hand. If the drum has difficulty turning, check the rollers and their axles for any damage. |
| Worn out drum bearing | Unplug the dryer and access the drum. Remove the drive belt and turn the drum by hand. If the drum has difficulty turning and is making a squeaking or grinding noise, replace the drum bearing. |
| Damaged drum glide | Unplug the dryer and remove the front bulkhead to get access to the drum glides. Check the glides for wearing or damage, and replace them if necessary. |
| Drive motor failure | Unplug the dryer and locate the drive motor and blower wheel under the drum. Check the blower wheel for any blockages and clean it out as necessary. Inspect the motor attached to it for any damages and replace it. |
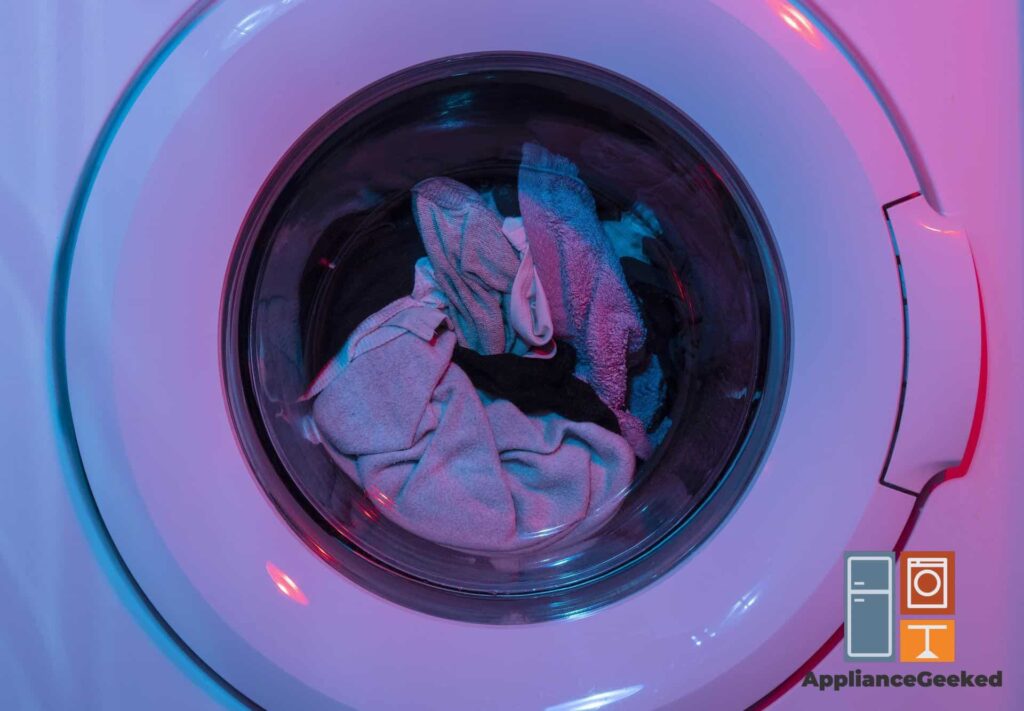
Dyer Won’t Heat Up or Dry Clothes
Another issue that baffles users is a Samsung dryer that starts a cycle but doesn’t heat up or dry clothes. Unlike mechanical errors, this issue is something you’ll likely encounter if you’re not careful.
From a drying setting you accidentally activated to a damaged heating element, the causes can get more technical as you list them out, so we’ll start with the easiest to understand first.
When you find your Samsung dryer not heating or not drying clothes, here are the causes you should look into.
| Cause | Solution |
| Overloading or underloading | Only fill 3/4 of the drum to allow enough hot air to circulate. Furthermore, every cycle should be at least ⅓ full. |
| Incorrect cycle setting | Check if your dryer is set to a cycle that requires less heat, i.e. Eco Dry. |
| Moisture sensor residue | Unplug your dryer and clean the moisture sensor with mild soap and water. Towel dry them. |
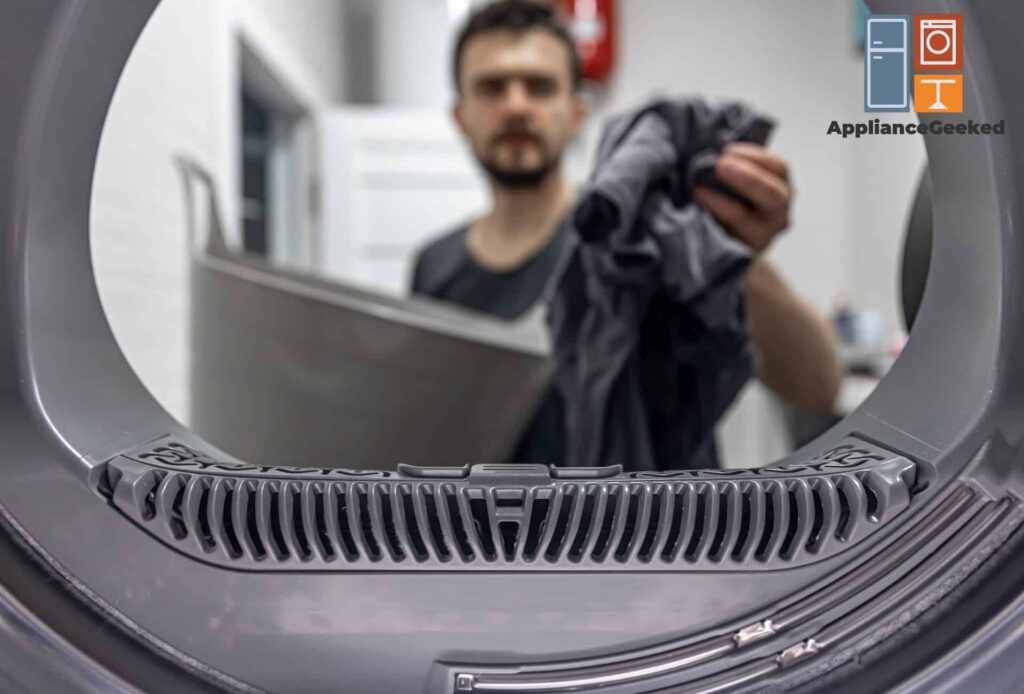
| Clogged lint filter | Remove the lint filter and clean it under cold water with no soap. Dry it thoroughly before putting it back in the dryer. |
| Vent blockage | Refer to your manual to know if your dryer can run a blockage test. A blockage test can tell you how much lint and debris buildup the exhaust vent has accumulated. If your dryer doesn’t come with a vent blockage test, proceed to clean the vent pipe immediately. |
| Insufficient power or voltage | Check for any loose or damaged connection in the power cord. Plug your dryer directly into a power circuit and not into an extension cord. Furthermore, check in with an electrician to test your area’s power supply for stability. A fluctuating power supply will cause your dryer to stop drying clothes halfway. |
| Damaged heating elements | Unplug your dryer and check your model’s user manual. Locate the heating element in your dryer and inspect it for signs of damage. Replace the heating element by uninstalling the old one from its housing and disconnecting the electrical wires. |
| Blown thermal cut-off fuse | Check your manual to locate and access the thermal assembly. Wait for the fuse to cool down completely before removing it. Once you located the fuse, disconnect it and replace it with a new one. |
| Faulty cycling thermostat | Refer to your dishwasher’s tech sheet and locate the heating element. Next, remove its electrical connectors and unthread the screws to remove the thermostat from the heating element. Install the new thermostat and secure it in place. |
| Malfunctioning control board | Call a professional repair service to fix your control board heater relay. You can also opt to change the entire board if the damage is severe. |
Dryer Taking Too Long to Dry Clothes or Ends the Cycle Too Early
When you notice that your clothes are taking too long to dry each cycle — or the opposite when the dryer signals that clothes are dry even though they’re still a little damp — the first thing you should check is your dryer’s drying settings.
Some of your dryer’s settings are programmed to use less heat at the beginning of a cycle or even delay the entire cycle altogether, so it’s likely that a longer drying cycle is just a result of a setting you accidentally set.
Here’s a quick rundown of why your dryer is having irregular drying cycles and how to fix it.
| Cause | Solution |
| Vent blockage | Refer to your manual for the dryer’s blockage test. If your dryer doesn’t have this feature, proceed to clean the vent pipe. |
| Overloading or underloading | Your laundry load should be at least ⅓ of the drum and no more than ¾ of it every cycle. |
| Incorrect cycle setting or dryness level | Check if your dryer is set to a cycle that requires less heat, such as Eco Dry or Damp Dry. Increase the dryer’s dryness level and start another cycle. Check if Delay Start/End is activated. Restart your dryer to deactivate the timer. |
| Moisture sensor residue | Clean the moisture sensors with mild soap and water. Towel dry them twice before starting a cycle. |
| Clogged lint filter | Remove the lint filter and clean it under cold water with no soap. Dry it thoroughly before returning it to the dryer. |
| Tripped circuit breaker | Turn the circuit off for 30 seconds, and then turn it back on. If the circuit breaker keeps on tripping, call an electrician. |
| Insufficient power or voltage | Check if your outlet meets the required electric voltage (240V). Make sure that your dryer is plugged into a power outlet and not an extension cord. Check for loose or damaged connections in the power cord. |
| Clogged or damaged blower wheel | Remove the dryer exhaust vent and run a cycle to check if the airflow in the vent area is weak. Unplug the dryer and check if the blower fan is obstructed. Clean it out with water if necessary. Turn the blower wheel by hand. If it wobbles in place, replace it. |
| Damaged heating element | Unplug your dryer and inspect the heating element for signs of damage. Replace the heating element if necessary. |
| Blown thermal cut-off fuse | Refer to your manual for the location of your dryer’s thermal assembly. Wait for the fuse to cool down completely before removing and replacing it. |
| Faulty cycling thermostat | Unplug your dryer to access the heating element. Next, remove the electrical connectors and unthread the screws connecting the thermostat to the heating element. Install a new thermostat and secure it in place. |
| Malfunctioning control board | Unplug the dryer and check the main control board for any loose or damaged wiring. Call a professional repair service to help you locate and fix your control board heater relay. Replace the control board if necessary. |
Dryer Makes Squeaking or Grinding Noises
A constant but low humming or buzzing sound from your dryer is a telltale sign that its motor is working perfectly fine — or at the very least, that the motor can power on.
An occasional thumping is normal, too; your clothes may get into contact with the walls of the drum as they spin.
But when the thumping becomes nonstop and drowns out any other noise from your dryer — or worse, if a squealing or grinding noise joins in — that’s when you should unplug your dryer and inspect it for mechanical damages.
Squealing, thumping, or grinding noises usually point to an issue in the dryer’s drum system. You can learn more about it from the table below.
| Cause | Solution |
| Unsteady placement | Align your feet to the dryer. Make sure that your feet and all of the dryer’s corners are levelled. |
| Overloaded drum | Do not fill the drum more than ¾ of the way each cycle. Dry your laundry in separate hauls. |
| Debris or foreign objects | Turn clothes with zippers, large buttons, and snaps inside out before loading them into the dryer. Check if debris or foreign objects (e.g. keys, cards, coins, etc.) get caught inside the drum or are stuck in the door cavity. |
| Misaligned exhaust vent | Readjust the exhaust vent pipe so that it fits securely in place. Make sure that the vent pipe doesn’t rattle against any other part of the dryer, especially the power cord. |
| Broken idler pulley | Unplug the dryer and access the drum by disassembling the top and front panels. Remove the drum and its belt to inspect the idler pulley at the back. Check if it can spin easily on his shaft; if not, replace it. |
| Broken drum roller and axle | Unplug the dryer and disassemble the dryer’s top and front panel to get access to the drum. Remove the drive belt and turn the drum by hand. If the drum has difficulty turning, check the rollers and their axles for any damage. |
| Worn out drum bearing | Unplug the dryer and remove the top and front panels to get access to the drum. Remove the drive belt and turn the drum by hand. If you hear a squeaking or grinding noise alongside having difficulty turning the drum, check the drum bearing for any damage. |
While some of these issues can be pretty easy to troubleshoot, it’s better to be safe than sorry, so don’t hesitate to call for professional help when the method has gotten too technical for you.
More importantly, prevention is better than cure — that’s the same for your appliances, too.
Watch out for signs of wear and tear, and remember to regularly clean the parts that accumulate dirt and debris over time.