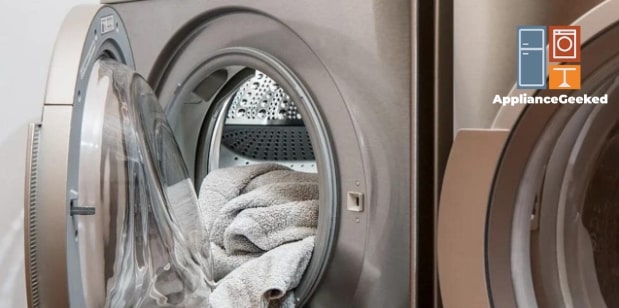
Is your Samsung dryer all powered up but won’t start any tasks?
There are various reasons this might be happening, ranging from a simple dryer setting issue to something more complex that involves the interior of your dryer’s panel.
We’ll guide you through them one by one, so let your dryer rest for a while as you go over our instructions below.
Why is your Samsung dryer not starting?
One of the common reasons your Samsung dryer won’t start is because of a door error. It could also be due to motor, mechanical, or electrical issues.
Before you troubleshoot other parts of the dryer, however, first ensure that the door assembly is firmly latched.
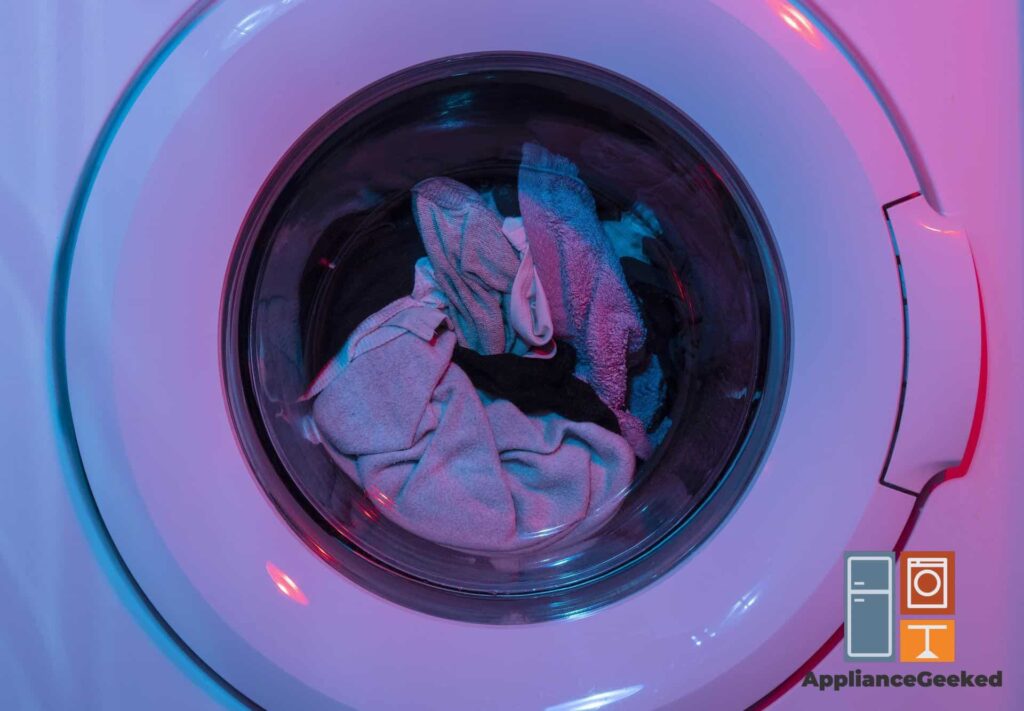
An indicator of a failure in your dryer’s door assembly is if the light inside the dryer drum doesn’t turn off even after closing the door.
When that happens, it means your dryer isn’t receiving correct signals about the door assembly. Unless your dryer receives the signal that the door is firmly closed, it won’t start any tasks.
If the problem doesn’t seem to lie in the door assembly, don’t start panicking yet!
There are other parts or components on your dryer that might be contributing to the issue, such as a failure in your dryer’s motor, drum system, or control board.
We’re here to help you figure it out by providing a comprehensive list of other reasons and solutions to this issue, so unplug your dryer for a while and read on below for more details.
Common Causes of a Samsung Dryer Not Starting
When your Samsung dryer won’t start, many parts of it may be involved. It’s not a simple error that involves one specific component.
Troubleshooting this issue might require you to inspect your dryer from top to bottom and replace more than one element.
That’s why we’ve prepared a guide that addresses each possible issue, starting from the easiest part you can access. To know more about it, keep reading below.
| Cause | Solution |
| Door Not Latched | Check if the door’s latch is installed securely in place. Listen for an audible click when you close the dryer’s door. If there’s none, replace the mechanical lock on the door latch. |
| Defective Door Switch | Observe if the light inside the drum turns off when you close the door. Unplug the dryer and check for loose or damaged wirings on the door switch assembly. Replace them if necessary. |
| Dryer Settings | Observe the symbols that light up on the dryer’s display screen. Deactivate dryer settings that use delayed start times or longer drying times. Also, make sure that the Child Lock setting isn’t activated. |
| Start Switch Failure | Check if the Start button is operating properly by pressing it and waiting for the dryer to hum. If you don’t hear humming after pressing Start, unplug the dryer and run a continuity test on the switch’s wirings, or replace it with a new one. |
| Faulty Dial Timer | Unplug the dryer and run a continuity test on the dial timer. If there’s no continuity, replace the dial timer. |
| Defective Main Control Board | Unplug the dryer and check the main control board for any loose or damaged wiring. Replace the control board if necessary. |
| Insufficient Power or Voltage | Check if the dryer’s power cord is loose or damaged. Make sure it’s connected to a power circuit and not an extension cord. |
| Blown Thermal Fuse | Unplug the dryer and remove the drum to access the heating element. Test the thermal fuse for continuity or any damages. Replace the fuse if necessary. |
| Loose or Damaged Drum Belt | Unplug the dryer and reach into the drum to spin it by hand. If it turns freely, remove the top and front panels of the dryer to inspect the drum belt. Replace it if necessary. |
| Malfunctioning Belt Switch | Unplug the dryer and disassemble the panels to get access to the drum belt. Check if the belt switch is damaged. Replace it if necessary. |
| Broken Idler Pulley | Unplug the dryer and remove the top and front panels to access the drum. Remove the drum and the drum belt to inspect the idler pulley. Check if it can spin easily on his shaft; if not, replace it. |
| Drive Motor Failure | Unplug the dryer and remove its panels to get access to the drive motor and blower wheel. Check the blower wheel for any blockage and clean it out as necessary. Inspect the motor attached to it for any damage and replace it. |
| Error Code | Observe if the dryer is flashing an error code. Refer to your manual for the corresponding solution. |
These issues may seem overwhelming to read, but most of these parts are closely connected, so checking on one leads to the other easily.
We’ll get into more detail on what can cause these issues and how to resolve them step by step, so keep reading to learn more.
Door Not Latched
The first fix to consider when your Samsung dryer won’t start is inspecting the door system for any damage.
This is because your dryer is designed to only do tasks when the door is closed. If its system doesn’t receive a signal confirming the door is closed and ready, it won’t start any command.
Normally, the dryer will send you a dC error code to let you know that you left the door open.
Solution: Check if the door’s latch is installed securely in place.
Listen for an audible click when you close the dryer’s door. If there’s none, replace the mechanical lock on the door latch or the electrical lock on the door assembly.
Follow our guide on the dC error code and how to resolve other door-related issues.
Defective Door Switch
Another part of the door assembly you shouldn’t neglect to check is the door switch. You can find this behind the drum’s door, connected to the dryer’s control panel by wiring.
When one of these wirings comes loose or gets damaged, it comprises the communication between your dryer’s door and the rest of the appliance.
This means your dryer won’t be able to detect the opening or closing of the door properly.
Solution: Observe if the light inside the drum turns off when you close the door or listen for an audible click.
If the door doesn’t click as you close it, unplug the dryer and check for loose or damaged wirings on the door switch assembly.
Likewise, if the door closes but the light inside the drum stays on, inspect the door switch assembly.
Replace wirings or the entire switch assembly if necessary.
Dryer Settings
Your Samsung dryer has various settings that can make your drying cycles more convenient.
Some of these settings delay the start of a drying cycle according to a set time, while some use minimal heat at the beginning of the load, resulting in longer drying times.
In these cases, it’s easy to mistake that your dryer isn’t starting. Before troubleshooting other parts of your dryer, double-check that the following settings aren’t activated:
- Delayed Start: This setting allows your dryer to start at a preselected time. This is depicted by a clock icon.
- Child Lock: This setting locks all the buttons on your control panel except for the Power button and control knob. This is depicted by a smiling lock or a child icon.
- Delicates or Damp Dry: This setting starts the drying cycle slowly and prolongs the drying time. This can be found around the dryer’s control knob or along other drying settings.
Solution: Observe the symbols on your dryer’s display screen. If the Delayed Start, Child Lock, Delicates, or Damp Dry icons or labels are lit up, deactivate them and restart your cycle.
To deactivate each setting, follow these instructions:
- Delayed Start: Simply rest the dryer by powering it off and power it back on to cancel the delayed start schedule.
- Child Lock: Look for two buttons labeled with Child Lock and press them simultaneously for 3 seconds. On some models, the combination of these buttons is Temp. and Time.
- Delicates or Damp Dry: Stop the cycle and switch to other settings.
You can find Delicates along with other options such as Normal Dry, Active Wear, Bedding, etc. Meanwhile, you can find Damp Dry categorized as a Dryness Level.
For good measure, we suggest switching to the Normal Dry setting.
Start Switch Failure
The Start switch signals the motor when to begin a drying cycle. Without this button, your dryer has no other way of receiving a signal to initiate drying.
An indicator of a functioning Start switch is the low humming of the motor when you power it on.
Solution: Press the Start button and wait for the faint humming of the motor.
If there’s no humming, unplug the dryer and run a continuity test on the Start switch using a multimeter. If there’s no continuity, replace the Start switch.
Faulty Dial Timer
A faulty dial timer comes hand in hand with a defective control board, but in rare cases, replacing it can solve the problem.
When your dryer’s dial timer is damaged, it will cause unintentional delays in your drying cycles, particularly in the beginning.
However, as a dial timer can be tricky to diagnose alone, we recommend replacing the entire control board instead to be sure.
Solution: Consult your dryer’s manual for the location of the dryer timer.
Unplug the dryer and run a continuity test on the dial timer. If there’s no continuity, replace it.
Defective Control Board
Your dryer’s control board is responsible for receiving signals and deliberating if a command is possible under its current condition. When a control board malfunctions, it can send out wrong signals and will recognize errors that aren’t there in the first place.
Unlike switches or fuses, however, a control board can’t be easily tested. Check for physical damage and loose wiring instead.
Solution: Unplug the dryer and inspect the control board. Reconnect any loose wires or replace the control board if necessary.
Insufficient Power or Voltage
A foolproof troubleshooting method for any appliance is to turn it off and back on again. While this also applies to your Samsung dryer, we suggest checking your power cords before the good ol’ restart magic.
Your Samsung dryer requires a higher voltage (240V) than most appliances, and a common mistake people make with it is plugging it into an extension cord.
Furthermore, an inconsistent power supply can force it to stop doing tasks midway — or not start any at all.
Solution: Plug your Samsung dryer into a power circuit. Make sure that none of your circuit breakers is blown.
Check the dryer’s power cord for any loose or damaged connection. If you suspect fluctuating power supply from your home’s electrical system, consult an electrician.
Finally, remember to unplug your dryer when a power outage occurs to avoid wearing it down with sudden power surges.
Blown Thermal Fuse
Your dryer’s thermal fuse acts as a temperature regulator. It protects the dryer from overheating.
When the thermal fuse trips or gets overworked, it shuts down the dryer’s entire heating system as a safety measure so that the dryer won’t overheat even when the thermal fuse is busted.
In fact, the dryer won’t heat at all without a functioning thermal fuse.
Moreover, what overworks a thermal fuse is something simple: vent blockage.
A clogged vent reduces airflow to the dryer, trapping moisture and heat inside the drum, which results in longer drying cycles — ergo, it exposes your dryer to high heat for a longer time.
When a thermal fuse blows, it’s usually because your vent exhaust hasn’t been cleaned in a while.
Solution: Unplug your dryer and disconnect the vent pipe and lint filter. Clean both thoroughly with cold water and no soap.
Towel dry them twice before you return them to their housing.
After cleaning these two components, retrieve the thermal fuse. This requires removing the top and front panels and the drum for easier access to the dryer’s heating element.
Run a continuity test on the thermal fuse to check if electricity can flow through. If there’s no continuity, replace the thermal fuse.
Loose or Damaged Drum Belt
The drive belt controls the dryer’s spinning and ensures that the drum stays in place throughout a drying cycle. This is one of the components of your dryer that aren’t susceptible to technical errors.
When a drive belt comes loose or gets damaged, it’s usually because it’s old and worn out.
Even with a damaged drive belt, the drum can heat up, but it wouldn’t be able to spin without the belt’s support.
Solution: Unplug your dryer and reach into the drum to turn it by hand. If it spins freely, inspect the drive belt for wear and tear.
To access the drive belt, remove the top and front panels of your dryer. You can replace the drive belt without removing the drum.
Malfunctioning Belt Switch
In addition to the drive belt, most dryers have a belt switch that automatically powers off the dryer when the belt gets damaged. When a belt switch malfunctions, it’ll shut your dryer down even if the drive belt is in mint condition.
The belt switch may get worn down from regular use or because your dryer is aging.
A telltale sign of a functioning belt switch is a low humming inside your dryer when you attempt to start a cycle.
More importantly, before you attempt to troubleshoot the belt switch, ensure that your dryer’s model does have a belt switch in the first place. Some Samsung dryers, especially older models, don’t have this component.
You can input your dryer’s model number on the Samsung help site to determine whether or not your dryer has a belt switch.
Solution: If your dryer has a belt switch, unplug your dryer and run a continuity test on the belt switch. If there’s no continuity, replace the belt switch.
If your dryer doesn’t have a belt switch, but you suspect that the drum system is damaged, our guide on what prevents your dryer from spinning might help you diagnose the problem.
Or you can keep reading on for a couple more troubleshooting methods involving your dryer’s drum system.
Broken Idler Pulley
The driver belt mentioned earlier is one part of your dryer’s drum system. This drum system consists of pulleys, rollers, and more wirings that support each other.
Because they’re all directly connected, when one of them malfunctions, it dominoes and results in one thing: your dryer’s drum not spinning.
In the case of the idler pulley, also known as tension rollers to some, it holds the drive belt up and makes sure that the belt is tense enough to regulate the drum’s spinning.
When the idler pulley gives out, it loosens the drive belt. The trickier part is that you can’t just put lubrication on it and move on.
When an idler pulley gets damaged or worn, you’ll have to replace both the pulley and the drive belt as a preventive measure.
A broken pulley will make squeaking or grinding sounds you’ll hear alongside the regular thumping inside the dryer drum.
Solution: Unplug the dryer and remove the drum and the drum belt to access the pulley.
Note that this might be a bit difficult as you’ll have to reach under the drum first to remove the belt out of the pulley.
Once you have open access to the idler pulley, you can now replace it — it doesn’t take 5 minutes!
Drive Motor Failure
Your dryer’s motor is like a beating heart that keeps your dryer going. If it fails, the dryer goes down with it.
With a damaged motor, the dryer might power on when connected to a circuit, but the motor won’t be able to circulate that power throughout other parts of the dryer.
As a result, your dryer might light up, but it won’t start.
That is why troubleshooting a dryer’s motor should be your last resort. Before you replace the motor, ensure that everything else we mentioned in this guide is working properly.
The dryer’s motor usually malfunctions because it’s worn out or because power surges have burned it. If you notice a burning smell around your dryer whenever you start it, have a professional look at the motor immediately.
Otherwise, if none of the other items in our guide seems to be causing your dryer’s inability to start, listen for the low humming of the motor as you start a cycle.
If you can hear it humming, don’t replace the motor just yet — it might just be a blocked blower fan obstructing the motor.
Solution: Power off your dryer and unplug it.
Remove the panels to get access to the blower fan and motor. Check the blower fan first for any obstructions.
If there are no obstructions or dust buildup on the blower fan, replace the motor.
Error Code
If your dryer is displaying a series of letters (sometimes combined with numbers), pay attention. They may be error codes, and recognizing them will make it easier to identify the problem.
Solution: Solutions vary depending on the error codes you get. Refer to your manual or Samsung Smart Dryer App to diagnose the error code.
You can also refer to our guide on Samsung dryer error codes.
Failure to start is a general problem that your dryer can face, and as such, there’s a broad range of other issues you have to investigate.
You may even find that the root of the problem isn’t just a single issue and that you’ll have to fix two or more parts together.
When it gets too technical for you, don’t hesitate to call a professional for help. It would save you more time, money, and energy.